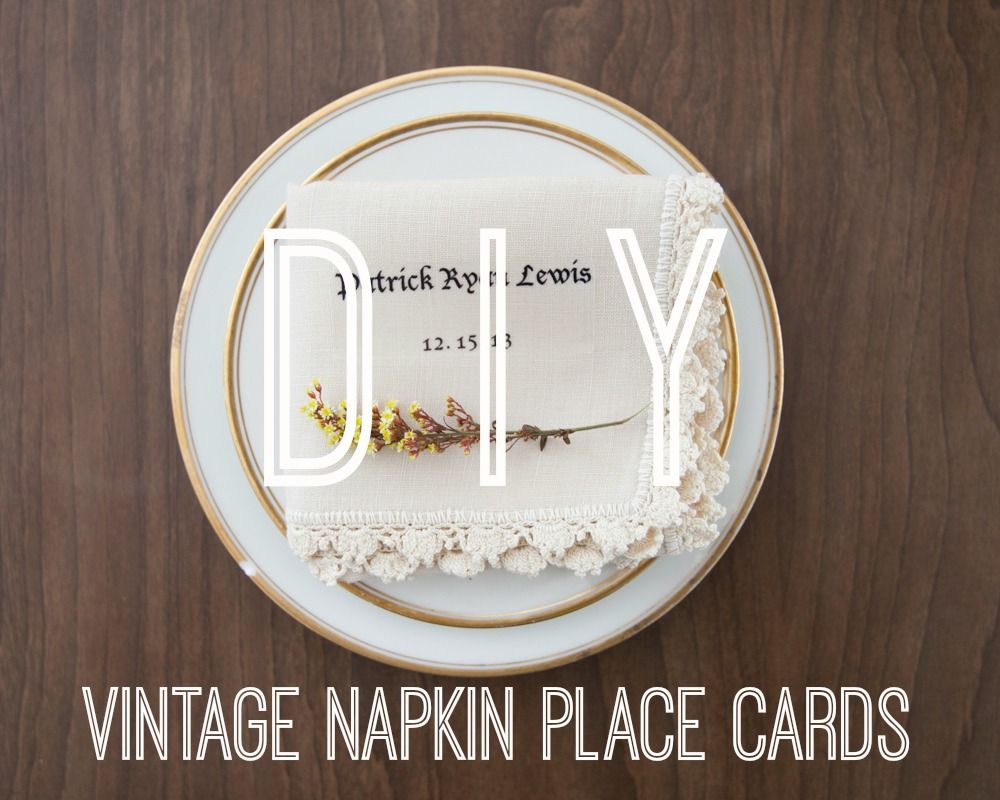
 This afternoon’s project is an awesome way to personalize you wedding to each and every guest without breaking the bank! We started with vintage napkins that we found on Etsy. Cotton or linen napkins are highly recommended for the best results with the iron on transfer. We love the idea of theming them to each table, changing the color or pattern so that they double as a seating chart. They also could simply be awaiting each guest at their seat. We added the wedding date so that they could be a sweet souvenir for each guest but your options are truly limitless! Be extra careful with your iron since you will need to use it on the highest heat setting, and be sure to empty all of the water from the steam reservoir before you begin. With any kind of iron-on transfer, moisture is the enemy. We love how crisp and clean our end result was and we added just a sprig of flowers to complete the look! Each napkin took us only a few minutes to make so even if you are having a big wedding this would be a fun and easy way to add a personal touch. Press away !!
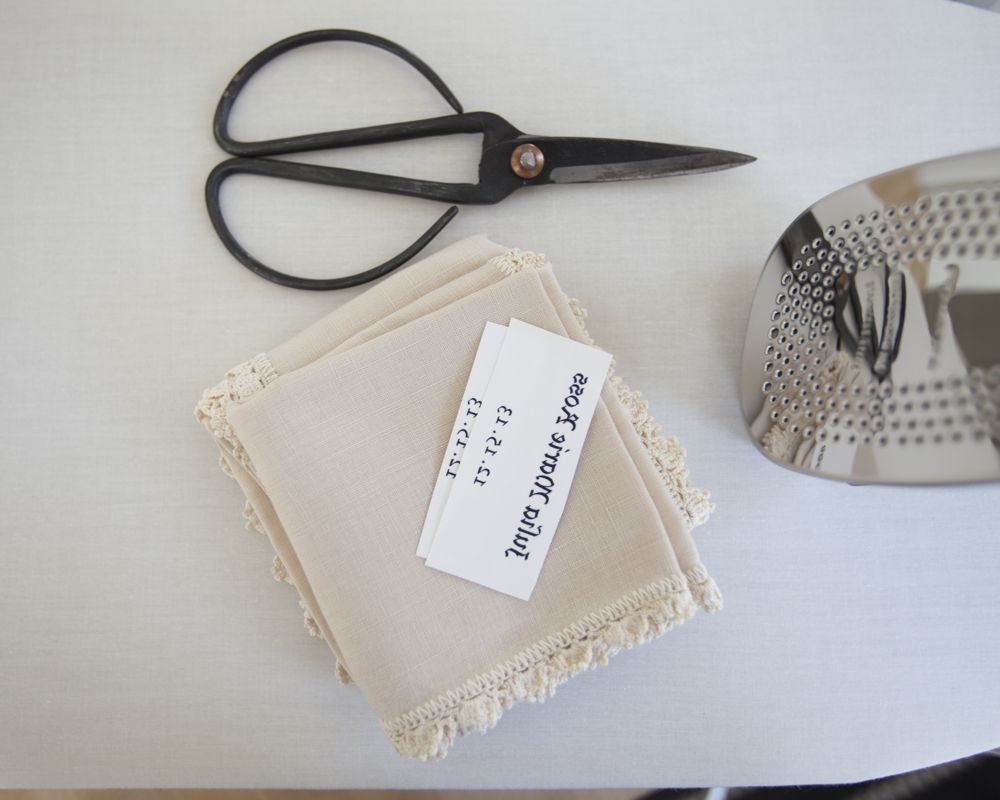
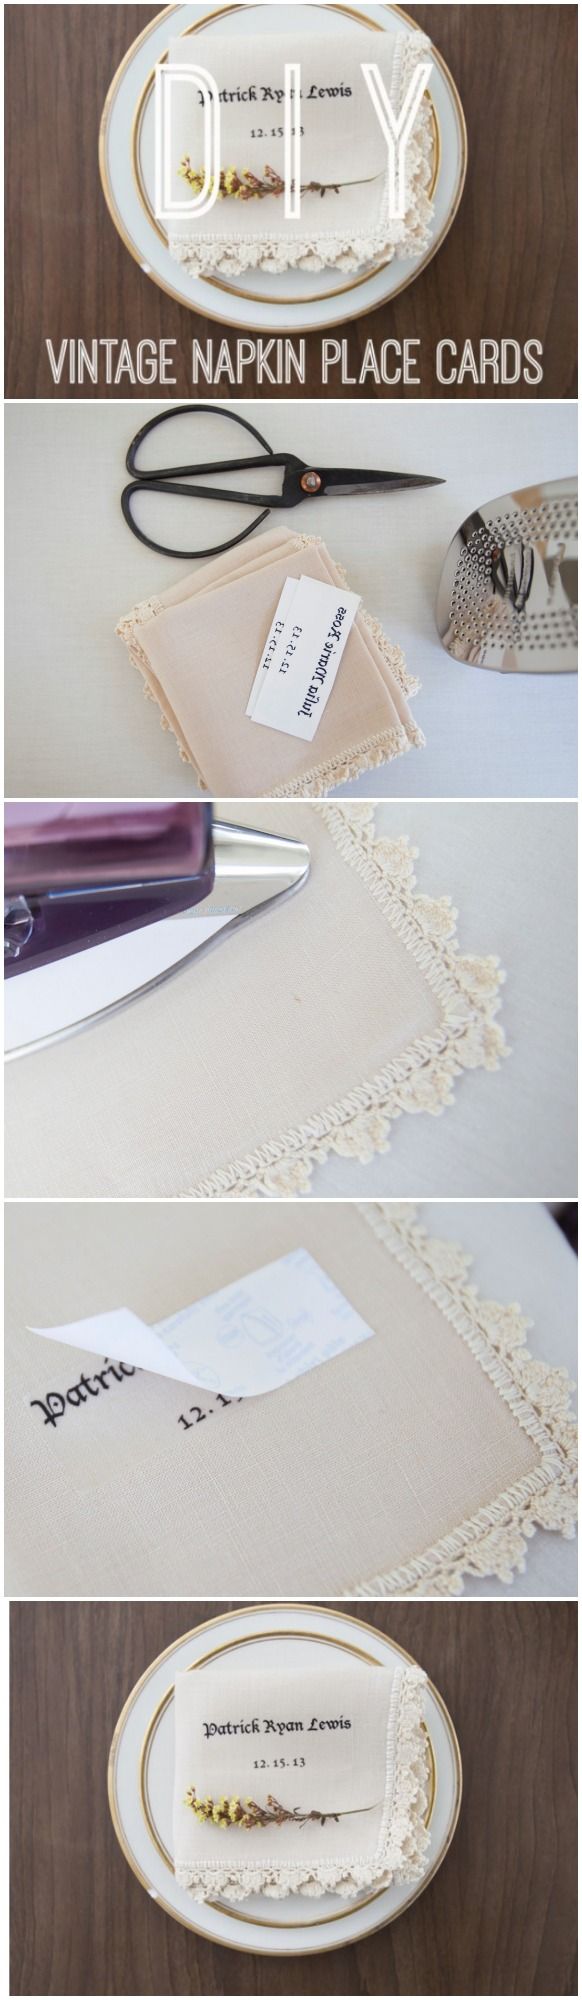
What You’ll Need : Printable Iron-On Material / Vintage Napkins / Iron / Ironing Board / Scissors
1) Print guests names out on iron on material. You will need to flip the writing so that it is backwards. Most Iron-On material comes with free software that will do this for you, for this project we used Avery brand! Once it’s printed, you will then need to cut out the name as close to the lettering as you can.
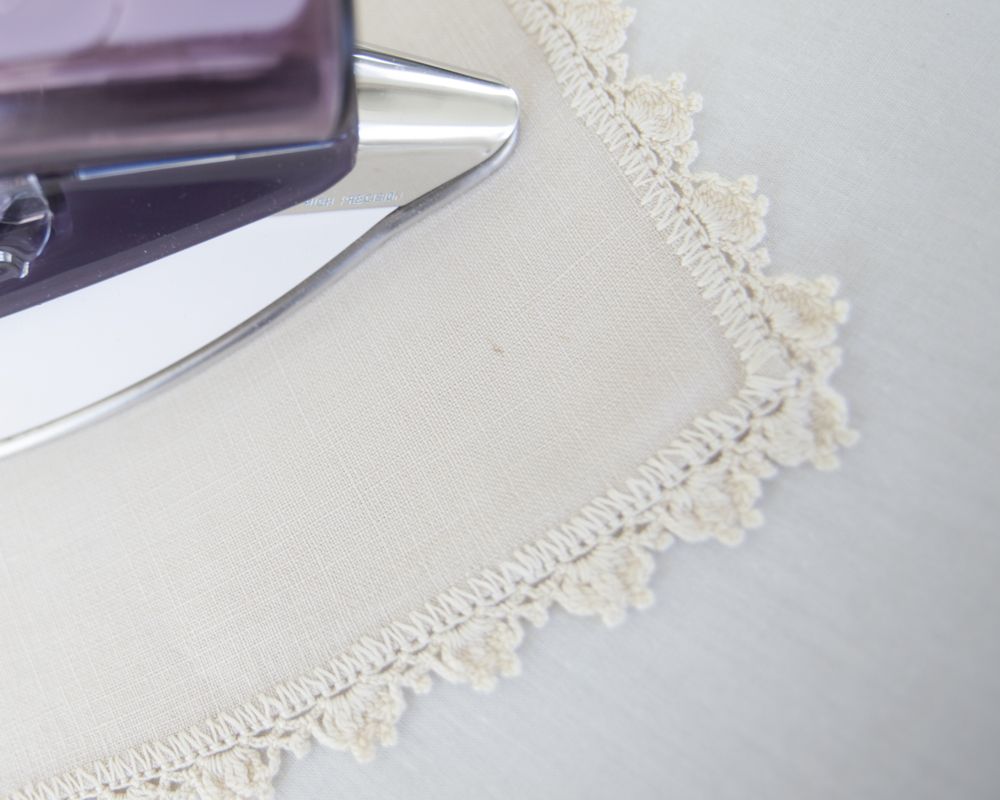
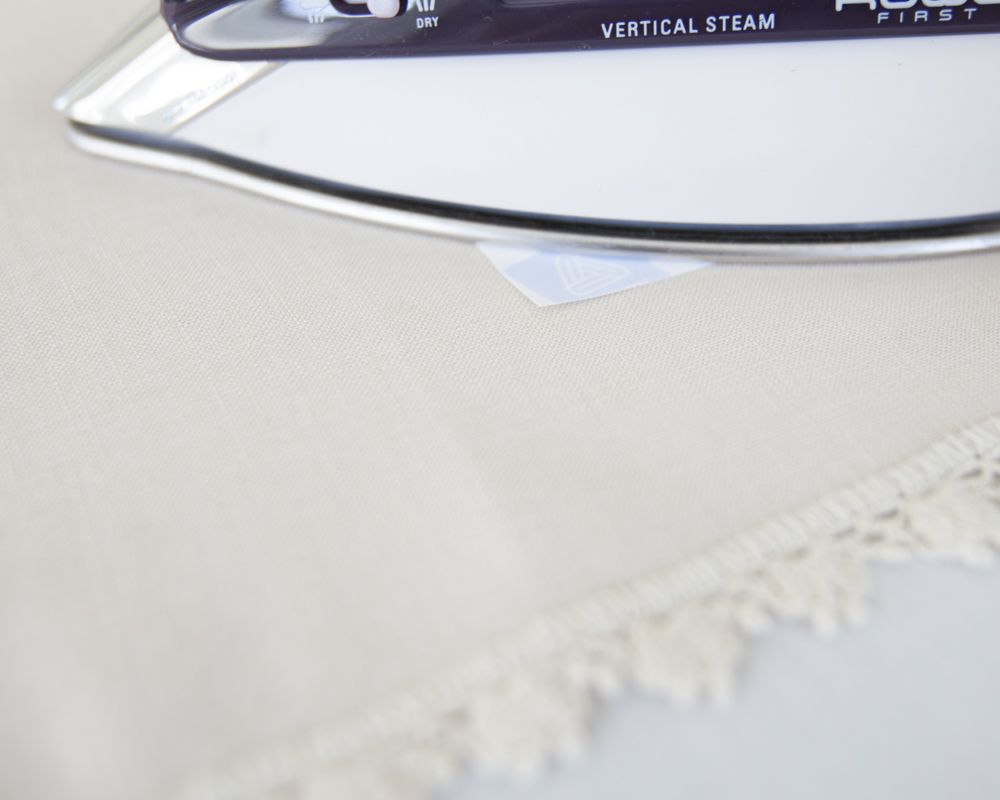
2 ) Next, using your iron on the hottest setting, iron the napkin you are going to use. Make sure there is NO steam coming from your iron. Pre-ironing the napkin removes excess water that could be in it.
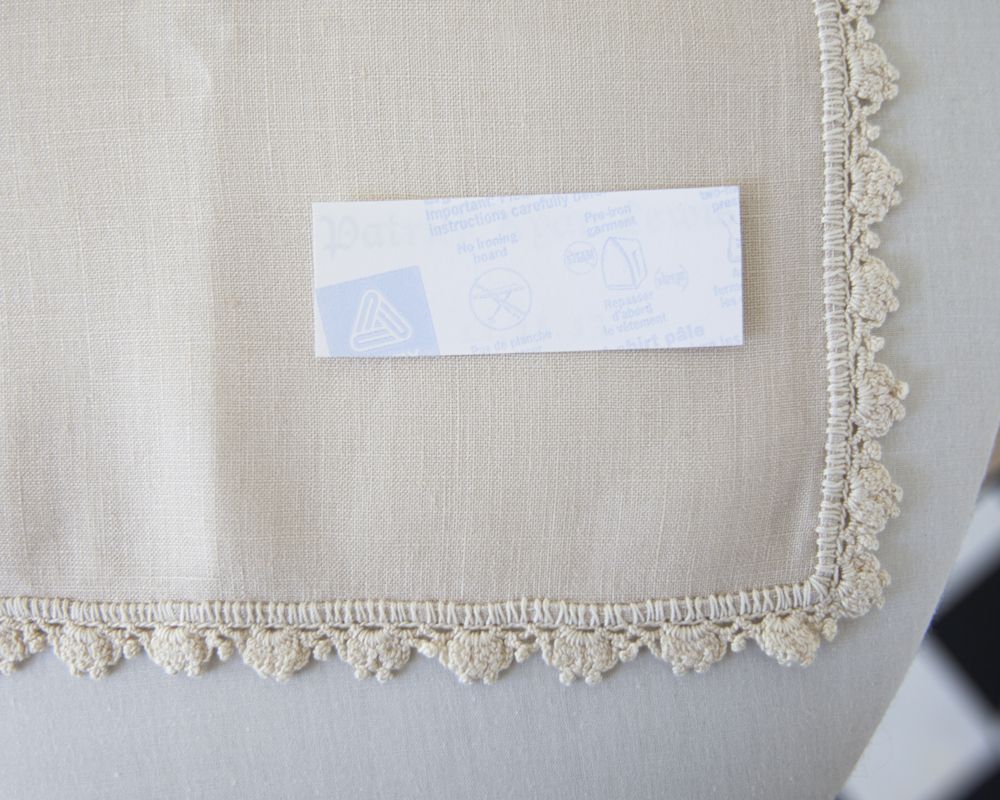
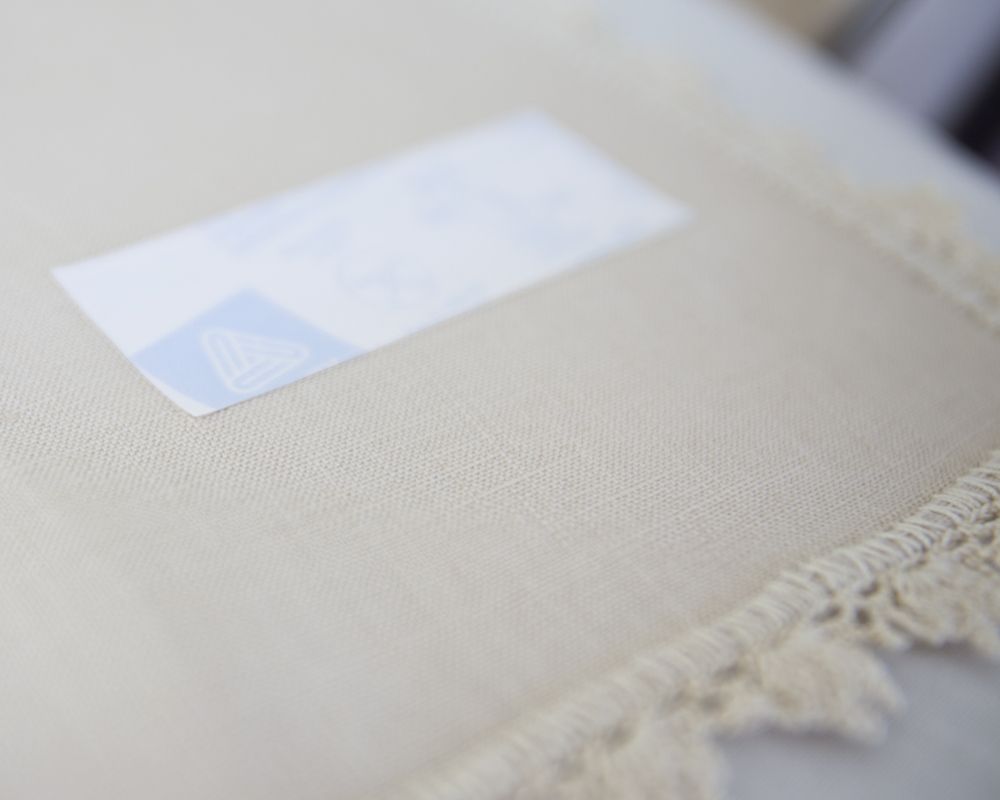
3 ) Position the name on the napkin where you want it to go, lettering side down.
4 ) Make multiple passes with your iron, pressing as hard as you can. You will see the corners come up if it is not sticking. If that is the case turn up the heat on your iron and press harder until the corners start to stick.
5 ) Once the transfer is firmly attached to the napkin, allow it to cool for at least two minutes.
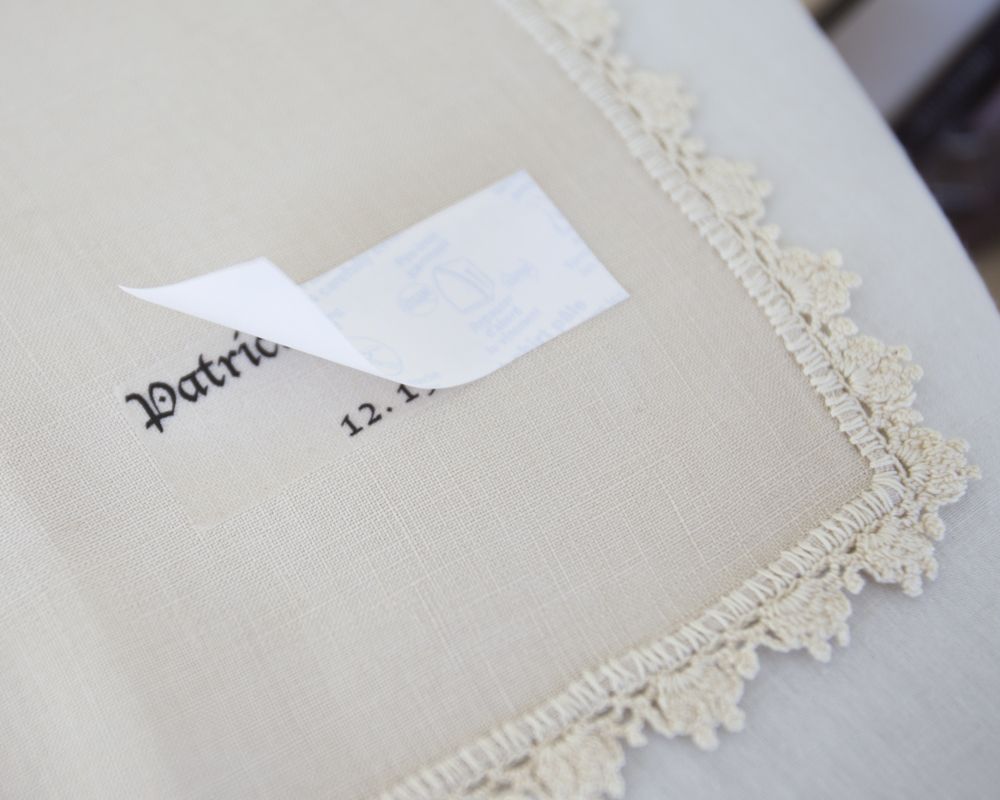
6 ) Starting carefully at one corner, lift off the backing of the transfer to reveal the writing!
7 ) Fold and garnish with a sprig of wildflowers !
Photography : MCR PROJECTS
Step By Step


No Comments