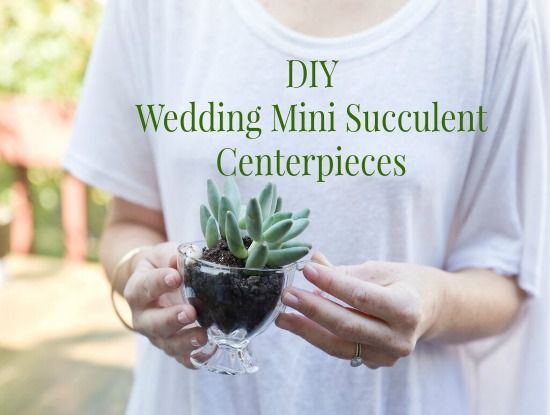
Your wedding flowers are the highlight of your wedding décor, from the florae that create a picturesque ceremony setting to the arrangements that adorn your reception tables. Most unfortunately, however, these gorgeous blooms have a fleeting lifetime: They’ll only keep for just a few precious days post-wedding. But your succulents, however, can find new life. So, don’t despair over your soon-to-wilt wedding flowers—create a living keepsake instead by making a meaningful—and pretty—habitat for your wedding plants. This tutorial explains how to turn those succulents into living memories that double as fun home accents. With minimum upkeep, you can continue to enjoy them for years to come! A big thank you to event company, Swoon California and Willhouse Photography for creating this fun DIY project and sharing it! See more of our Rustic Wedding DIY Projects.
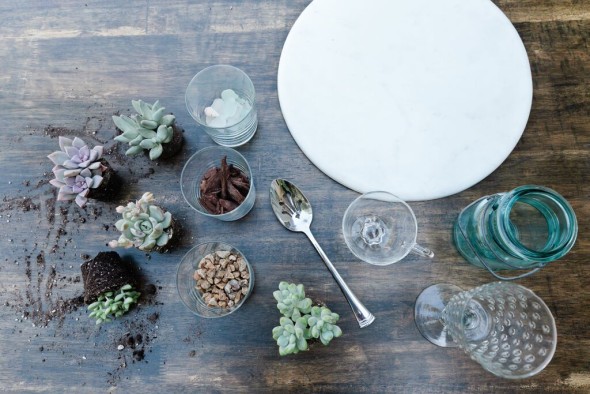
What you’ll need:
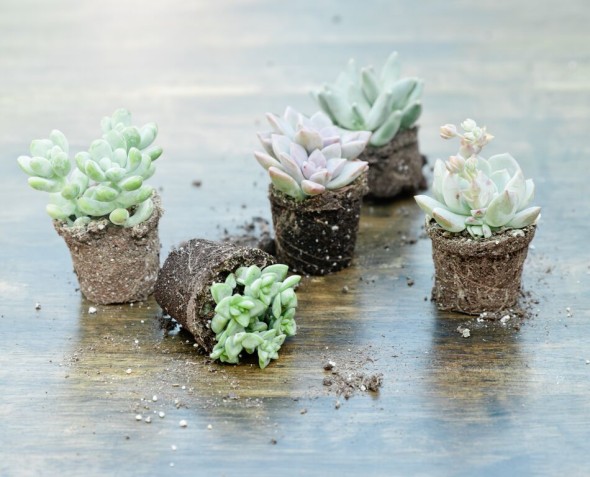
Succulents
Potting soil
Bark
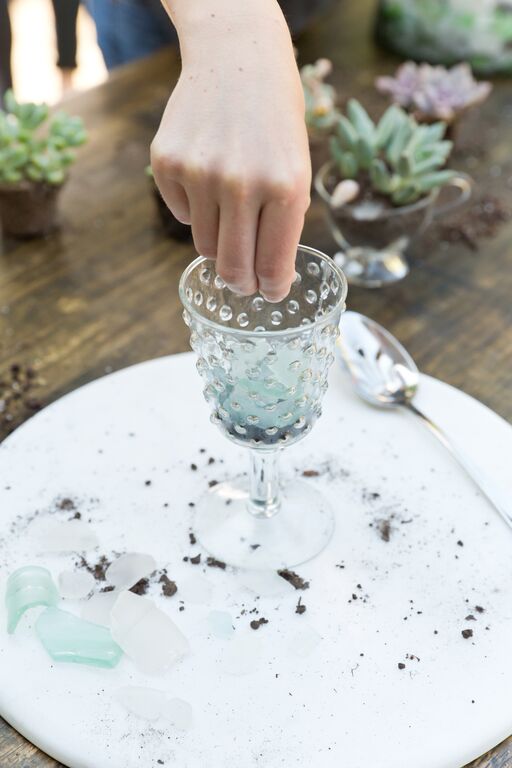
2-3 layering materials: Sand, dirt, gravels, rocks, sea glass, shells etc.
A vessel for your terrarium (clear glass is best so you can see the layers)
A cup of water
A spoon
Directions:
1. Create a base layer of dirt in your vessel, spooning in a layer 1/4 inch and patting it
down so it’s lightly packed.
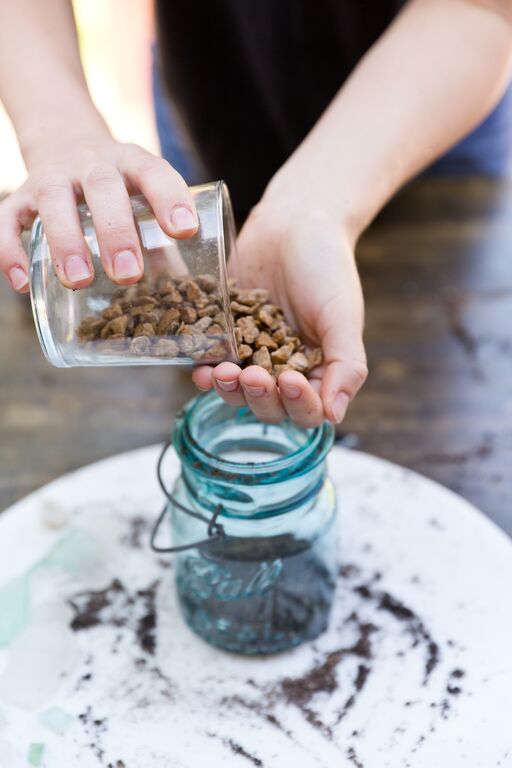
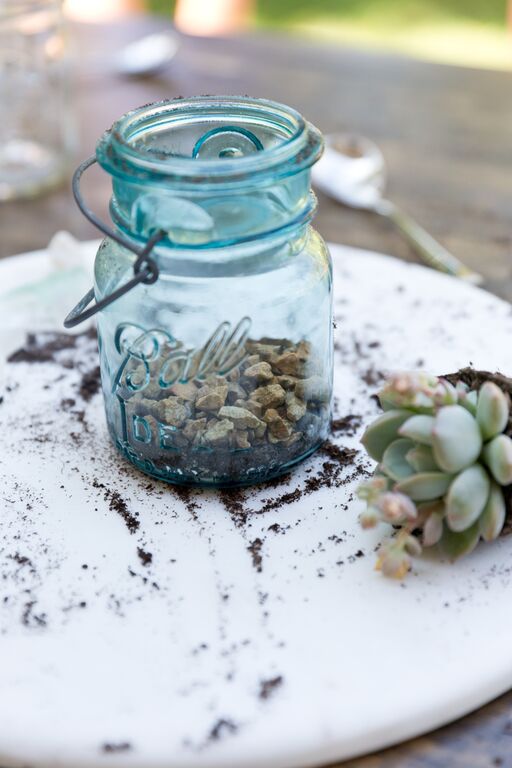
2. Layer on gravel, rocks, or sea glass—about 1/3 of an inch. (Put in more than you think
you need, as the layers will look thinner from the outside.)
3. Layer on bark, patting it down to minimize gaps.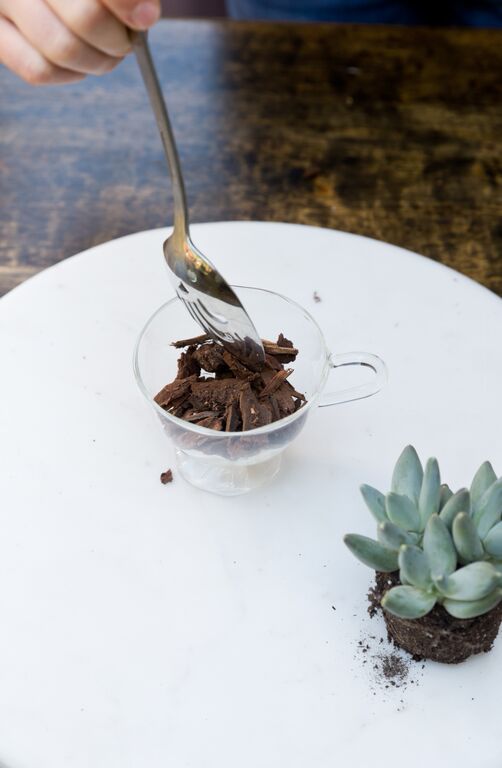
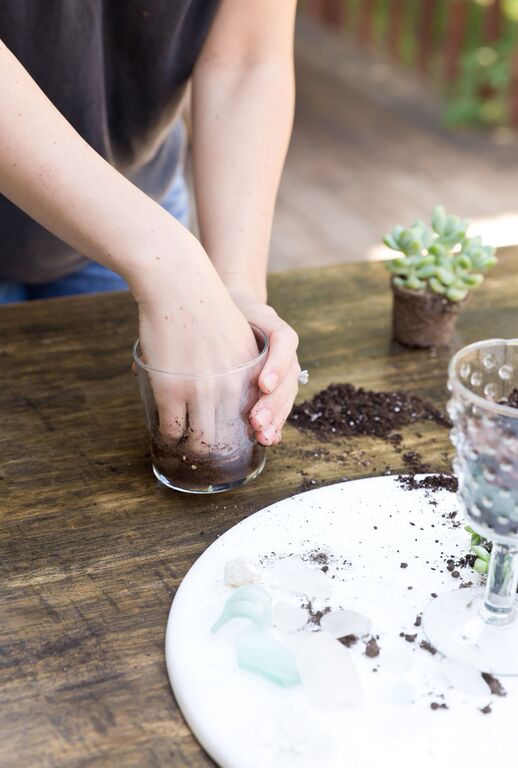
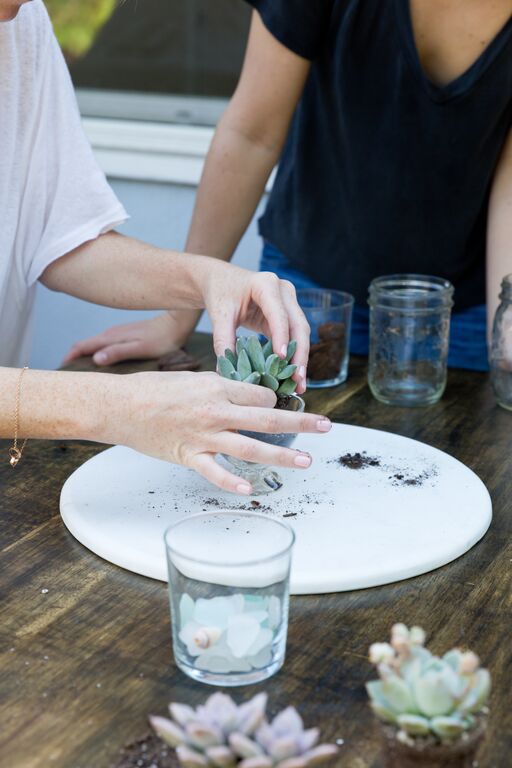
4. Wet your hand, then grab a handful of potting soil to place on top the bark (the water
keeps the soil together). Carve out a small hole, about 1/2 inch deep to plant your
succulent.
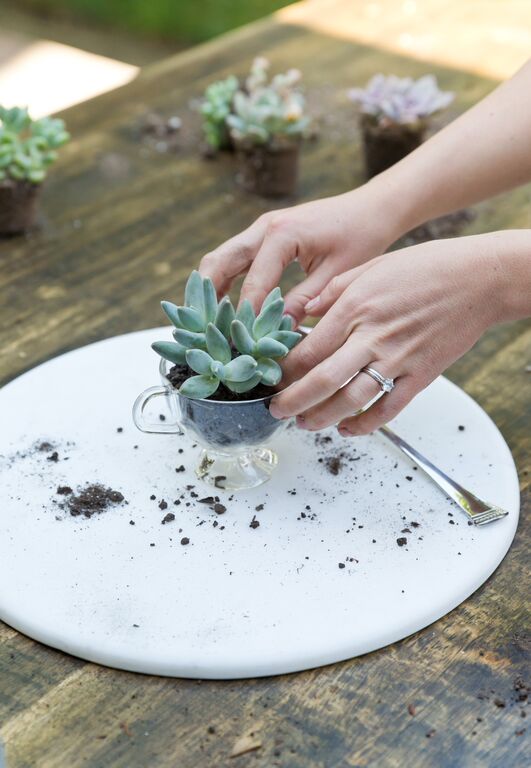
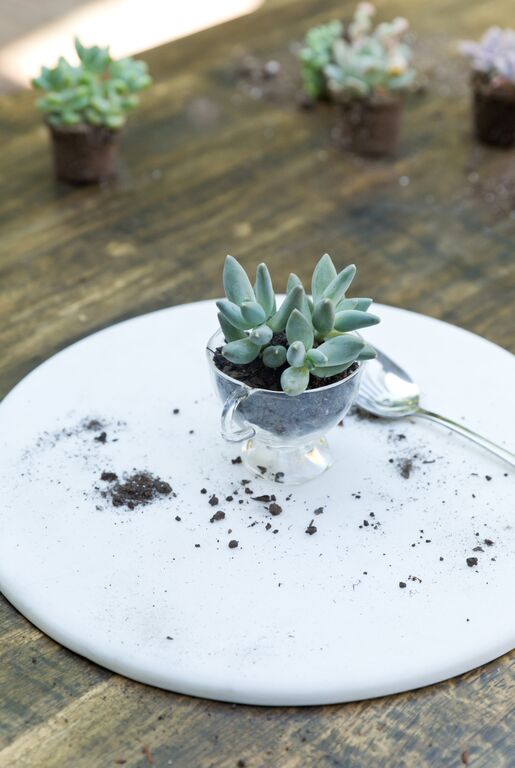
5. Plant your succulent, adding more wet soil as needed until the base is fully covered.
6. Add any final touches, like a shell, a rock, or a piece of sea glass, to the top.
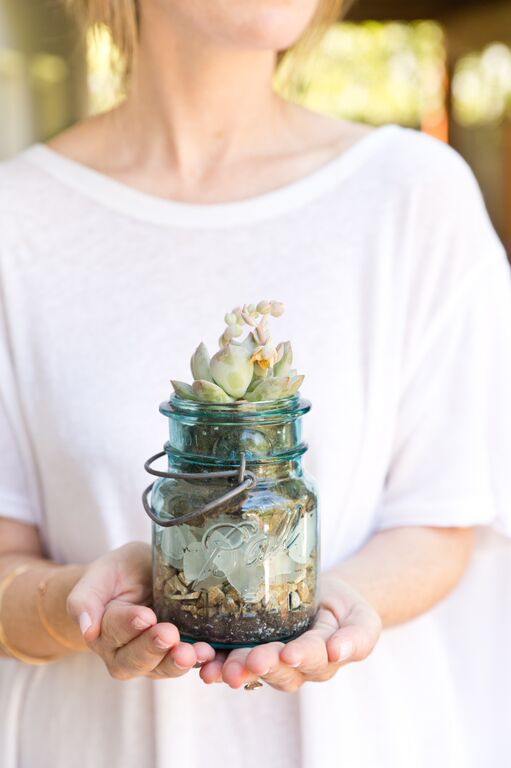
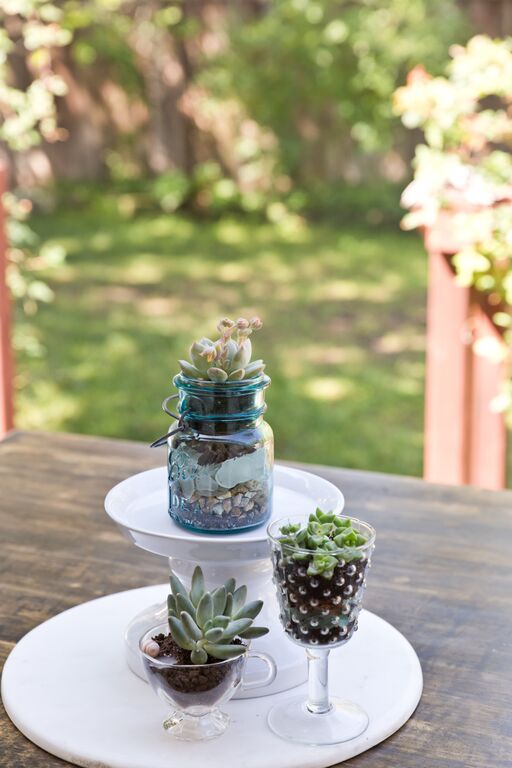
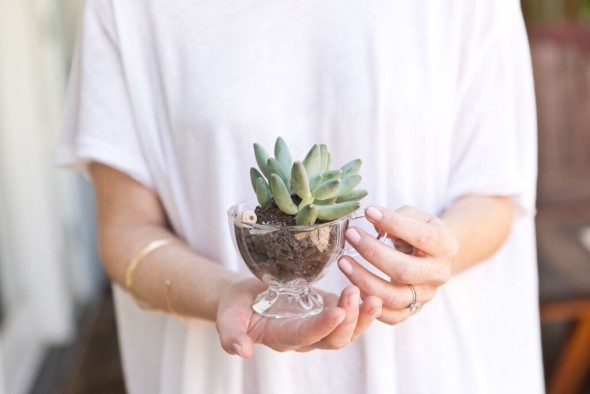

Sources – photography: Willhouse Photography / project & styling: Swoon California


No Comments