 Today’s project requires some power tools but it super straightforward and fun to do! We have seen lots of birch cake stands like at this gorgeous farm wedding and we have been feeling so inspired. So we decided to create a fun twist that we hadn’t seen anywhere yet! You could make this in a number of different scales and shapes too depending on your needs! As a tiered stand it could work for a lot more than just cupcakes too! It could be great for favors, place cards, pies, cookies, horsdeurves, the possibilities are endless! These were cut for us at our family cabin but we have seen lots of wood slices at the flower market in Los Angeles. You can also buy them from various sellers on etsy and ebay in a range of sizes. If you use larger pieces I would reccomend using thicker dowels to assure that your stand is sturdy enough! You also might want to test it ahead of time by placing heavier objects on the top shelf like a stack of books to make sure it will hold before you try it on your wedding day! As far as glue goes, we used super glue but you could also use wood glue or hot glue if you have it handy! Have fun!
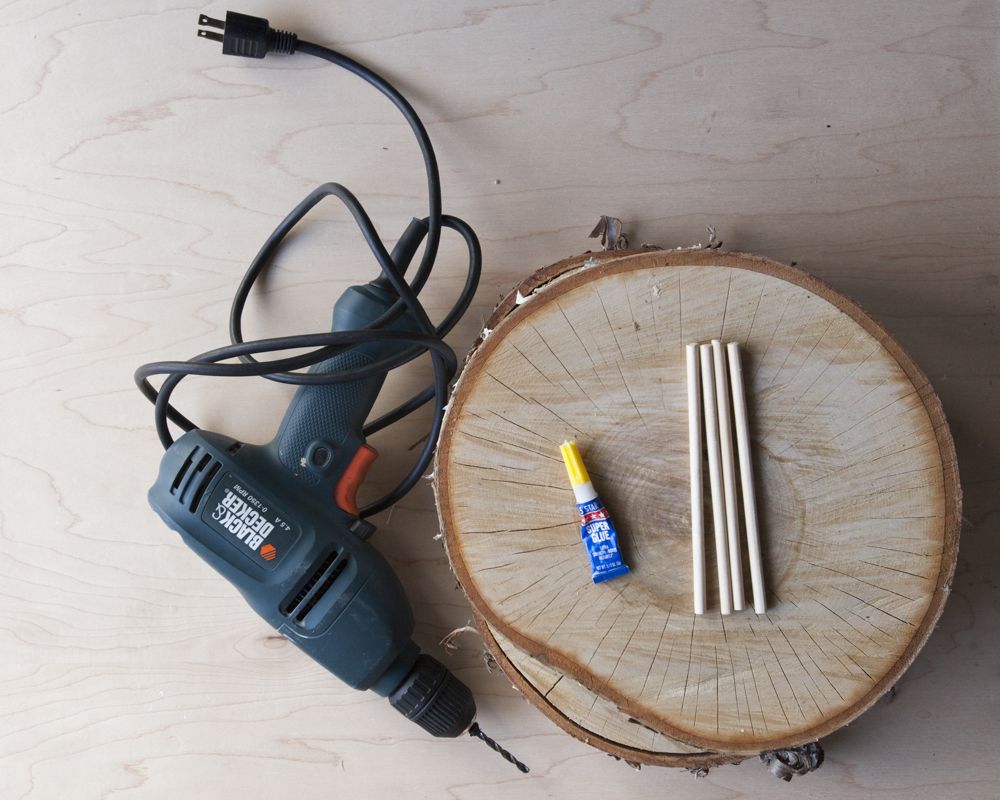
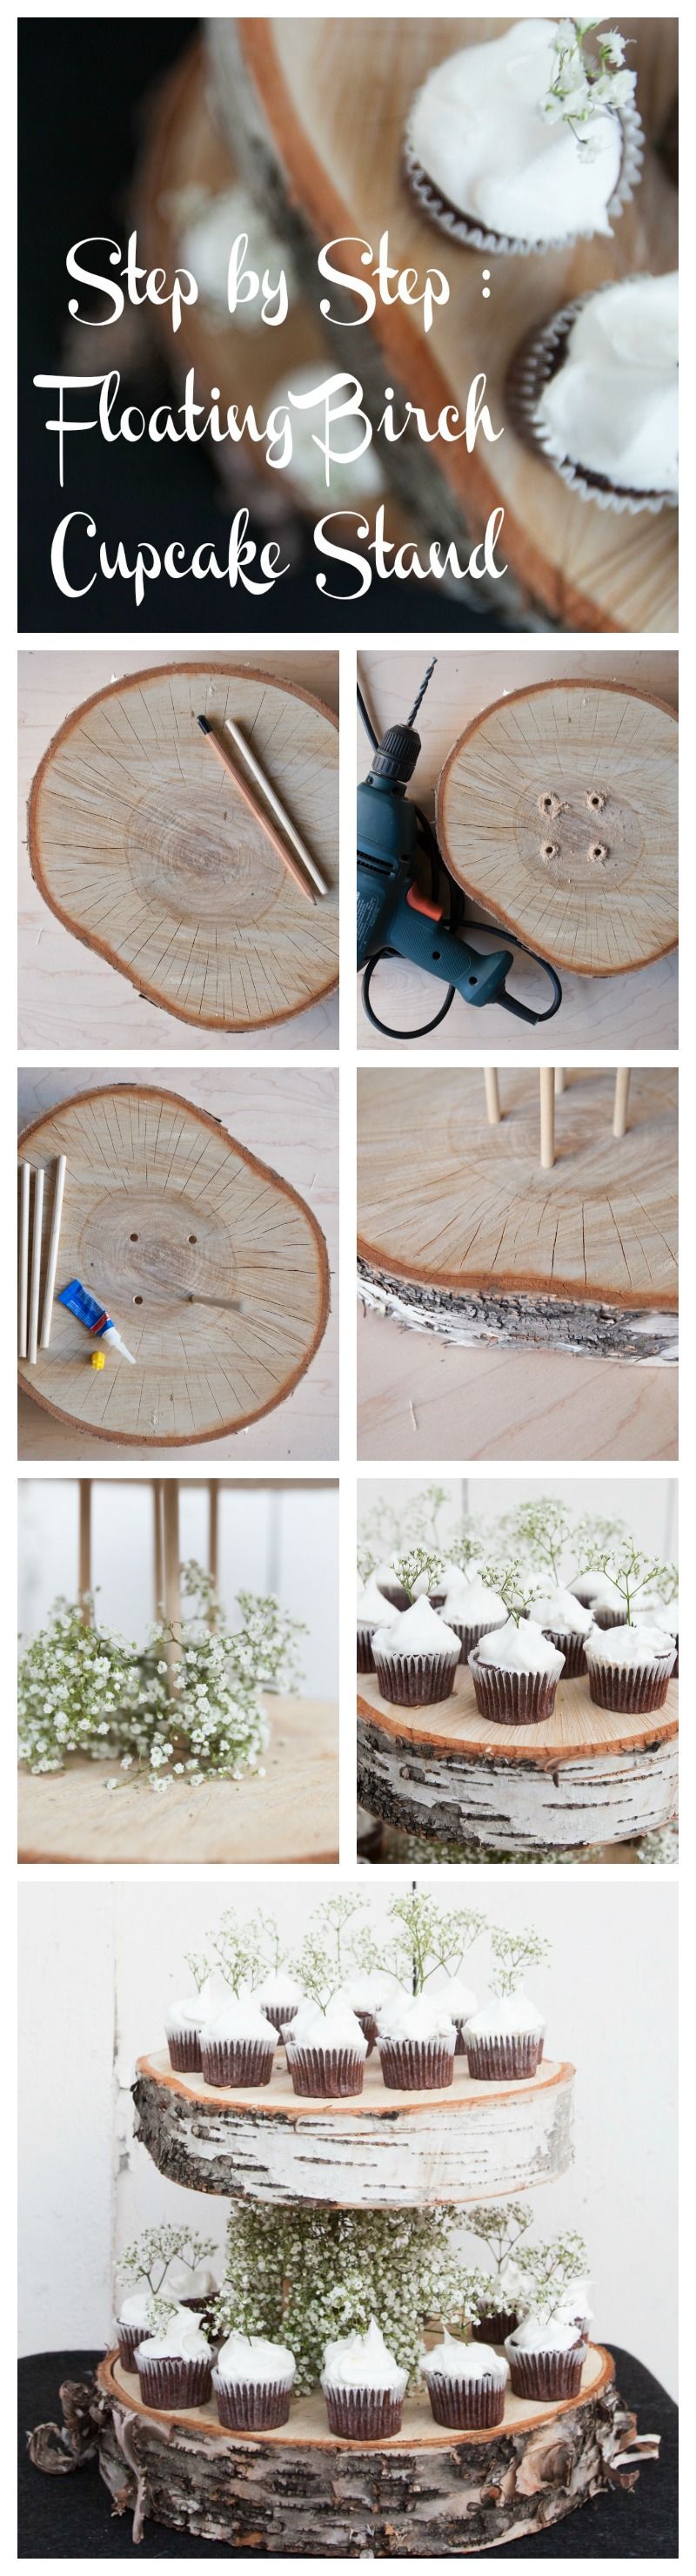
What You Will Need : Wood Craft Dowels / Super Glue / Power Drill / Two Birch Slices / Pencil
1) Trace the ends of each dowel so that they will form a small square.
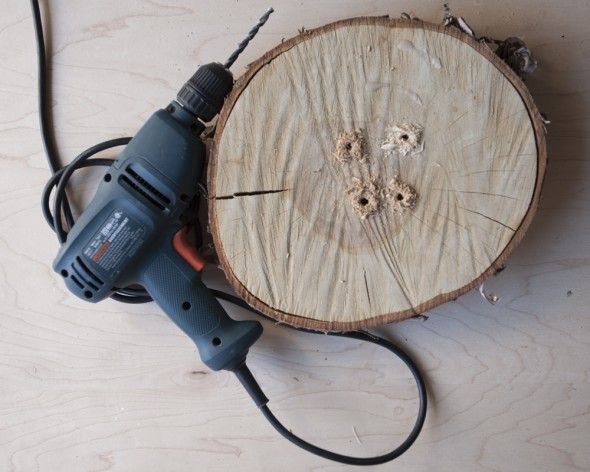
2) Using a drillbit equal to the size of the dowels, drill one inch into the wood slice in each place. Make sure that you drill straight down into the wood so that the dowels stand straight.
3 ) Glue the dowels into place with a drop of superglue in each hole.
4 ) Flip the slice with the dowels over and stand it on the second slice of birch gently. You may need to hold it in place if it does not balance easily. Trace the ends of the dowels for your second set of drilling guides. Remember to mark one hole it’s corresponding dowel so that you can keep track of the correct alignment.
5 ) Remove the top wood slice and drill one inch into the bottom slice, according to pencil markings.
6 ) Replace the top slice and slide the dowels into their drilled holes.
7. Once you have it even, you have the option to glue these dowels into place or leave them unglued is for easier transportation and reassembly.
8. If glued, set aside and allow glue to dry.
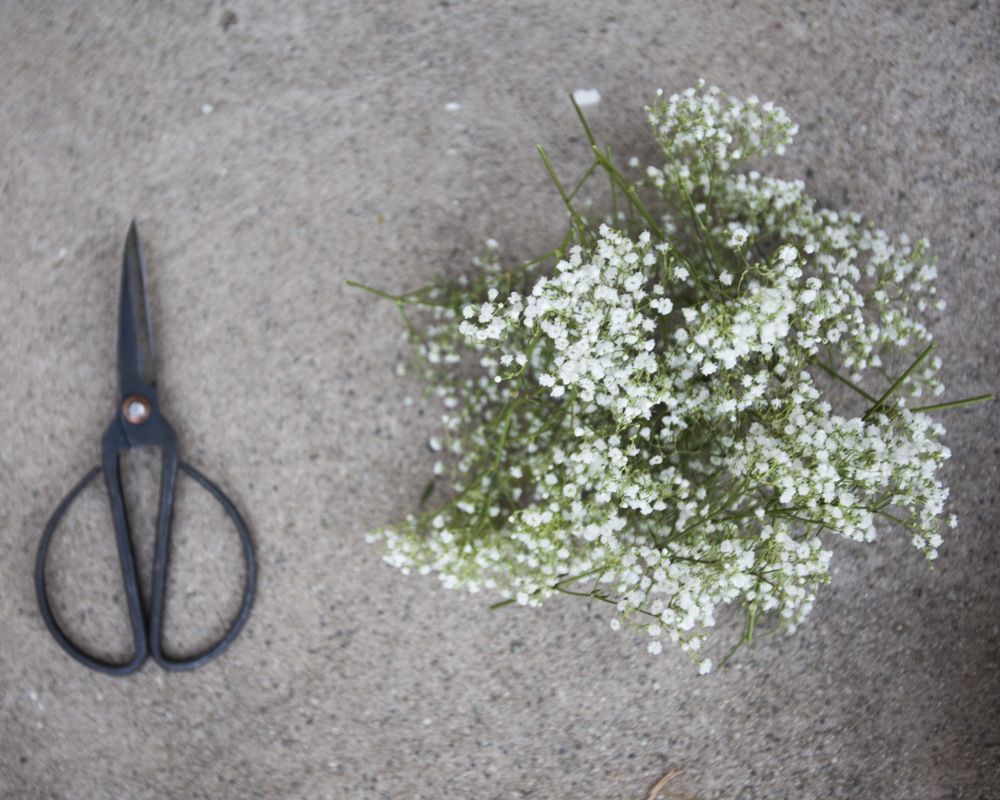
9. Cut short Sprigs of Baby’s Breath or other filler flowers. approximately 3 inches long.
10. Layer the sprigs between the center dowels, working around the base to the top.
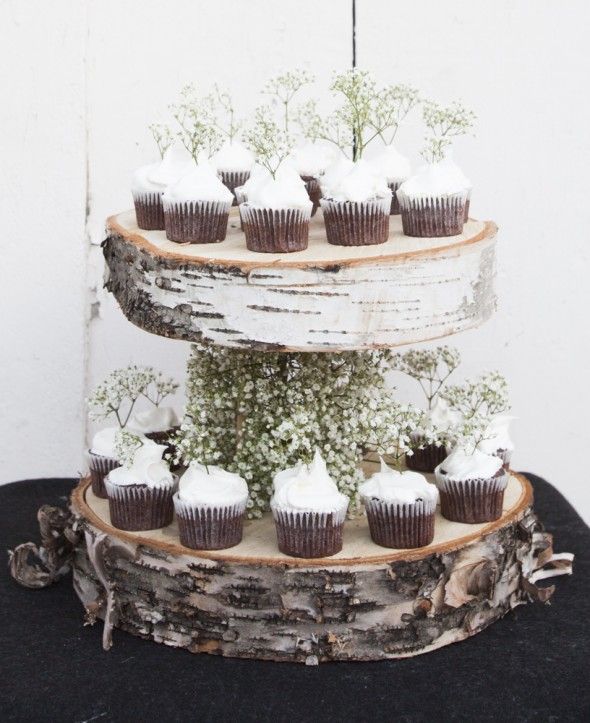
11. Once you reach the top, even the bunches out so that it looks evenly full. Save some baby’s breath for the cupcakes!
12. Place small sprigs of Baby’s Breath in the frosting on each cupcake to give them the illusion of a tiny forest!
13. Last step! Arrange your cupcakes on the different tiers of the stand.
Photography : MCR PROJECTS

No Comments