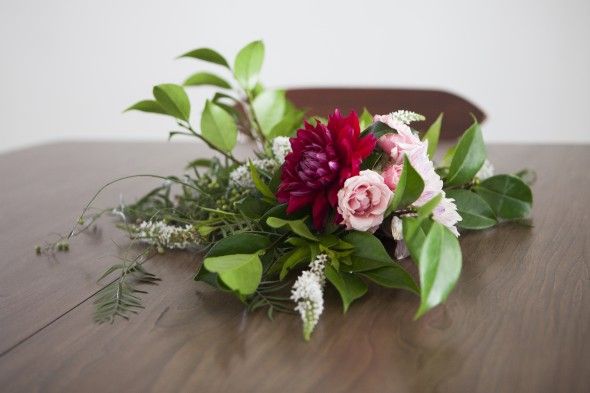
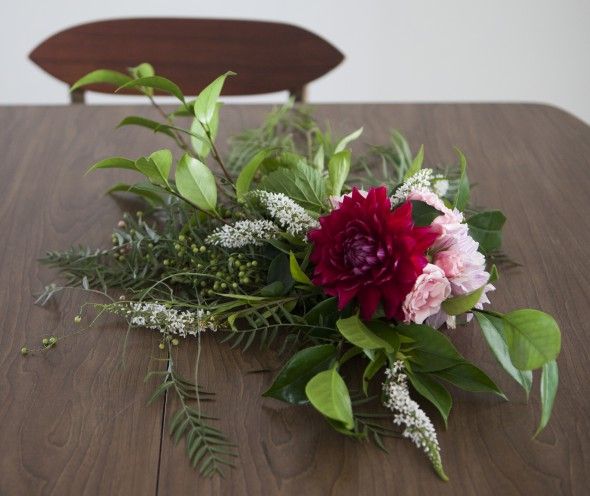
We love a weeping wedding bouquet! There is something about them that is so wild and emotional. Making your own is easier than it looks. It all comes down to the materials that you select. You want to be sure that you find some rigid branches an some softer greens that will show gravity’s effect on them a bit more. Happy making!
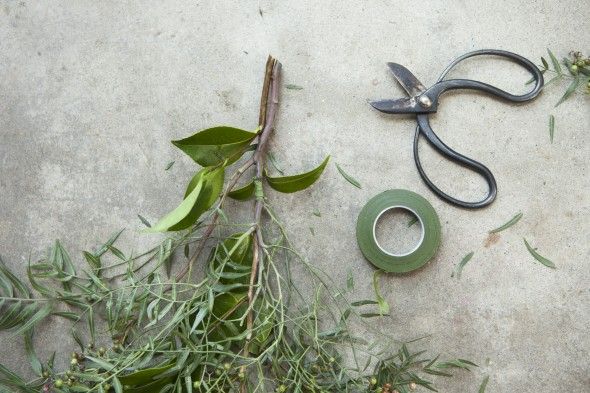
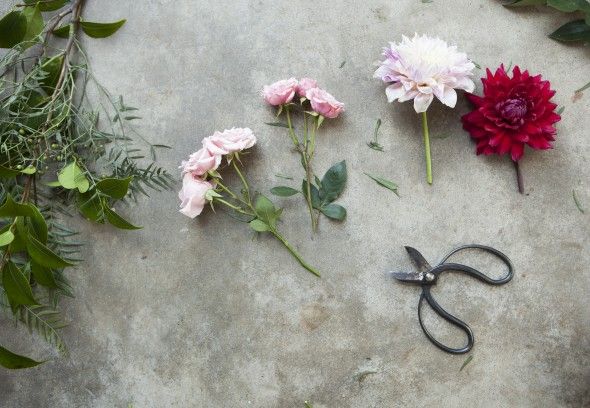
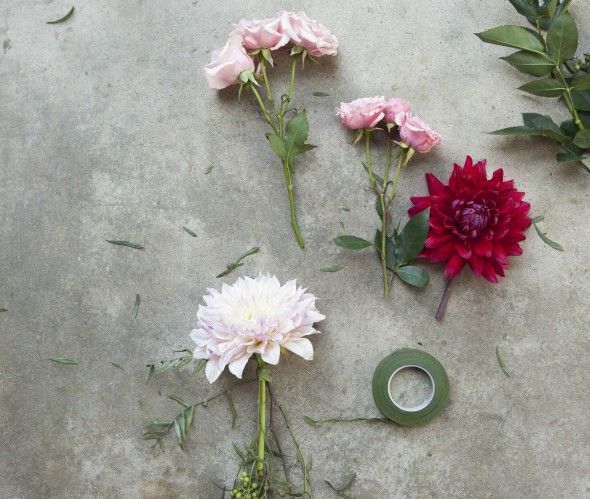
What We Used : Scissors / floral tape / large blossoms / small blossoms / filler flowers / peppercorn greens / wild blackberries / green branches
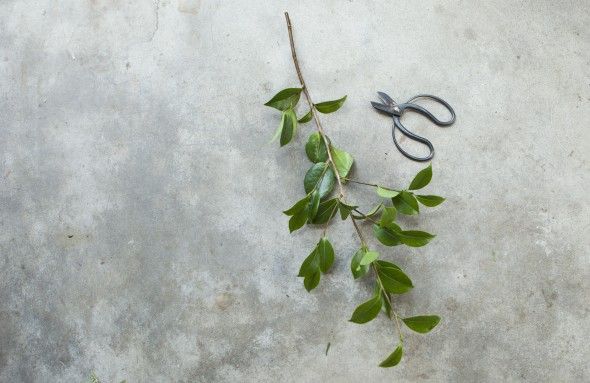
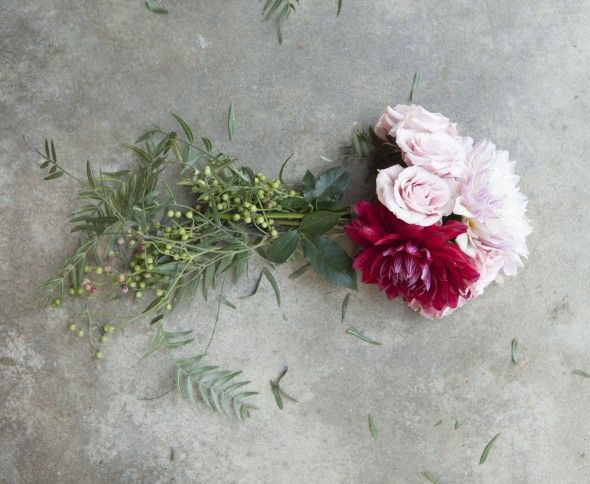
First you want to start off with the branch that will be the base for the weeping element of your bouquet. This is what you will be basing the size and shape of your bouquet on, so be sure it is the right size for you.
Next, add some of the softer greens to fill out the base. Secure it with floral tape.
Next trim your blossoms so that they have about 3 inches of stem.
Starting with the largest blossom, arrange them as you want them to bundle at the center of the bouquet and secure with floral tape and the base of their stems.
Once it is secure, attach this small blossom bouquet to the top stem of the base with the blossoms facing up and out of the base greens. You may have extra length on the stems, but leave it for now as you will need to use them to hold the bouquet.
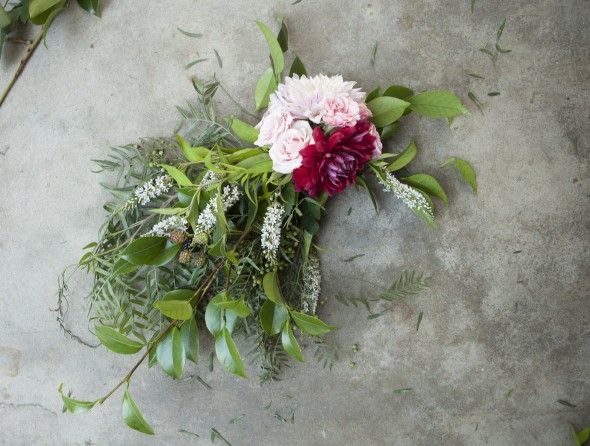
Next, add small greens to create a top base behind the blossoms. 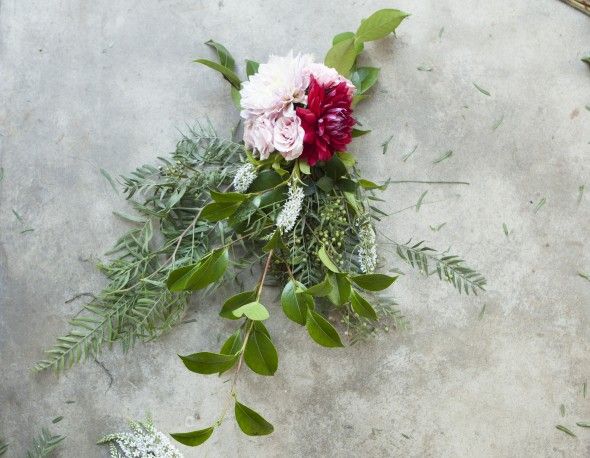
You will also want to add in fillers like small flowers and wild blackberries etc for a more wild effect.
You can now fill in any black spaces with extra filler greens and flowers until it feels full.
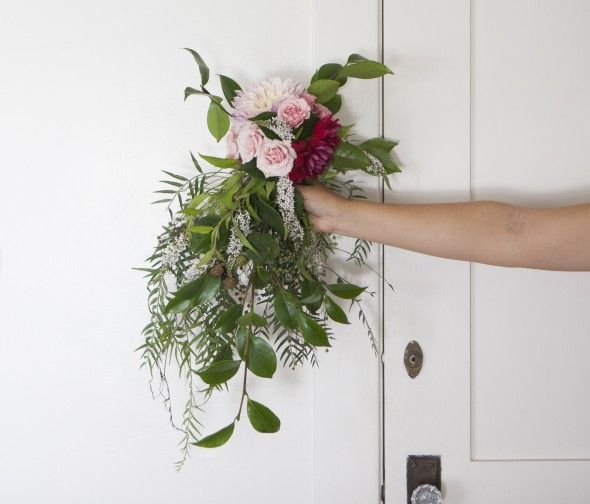
Holding the bouquet at the base of the blossoms, lift it up and try it out. The greens should cascade down from the base of the blossoms with a natural flow. You may need to rearrange the greens if they aren’t falling correctly!
These bouquets make for beautiful table arrangements when not in use! Place it somewhere safe – but in full view – until you are ready to carry in.

