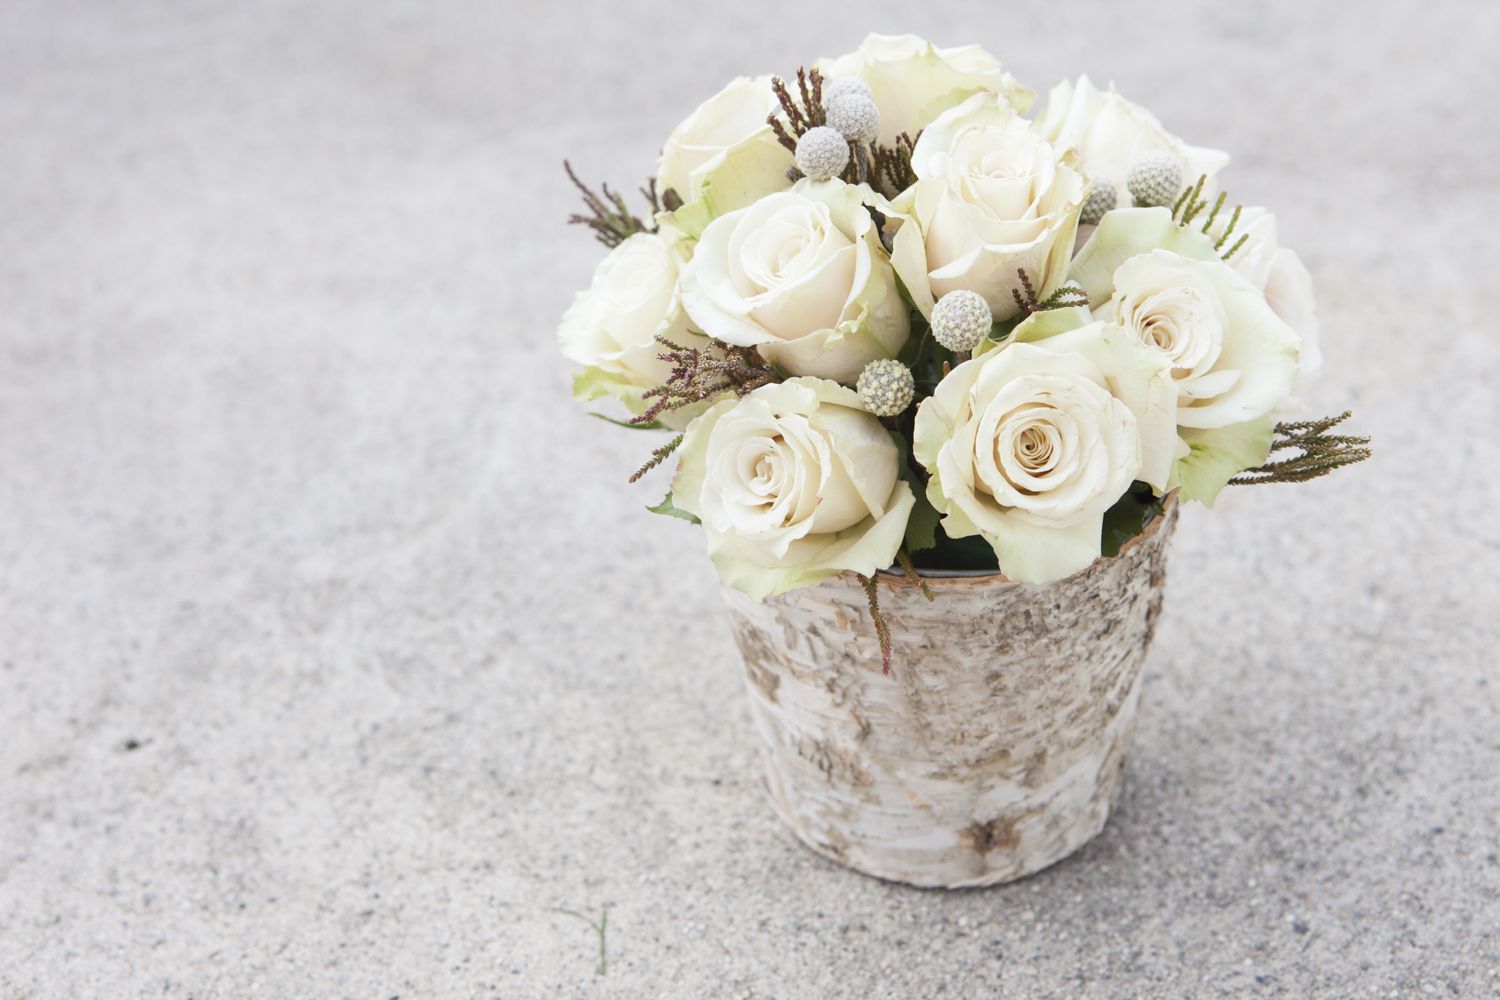
 When it comes to rustic weddings one of the staples is birch accents! It adds a perfectly rustic woodland wedding vibe to any decor and can be added to your wedding theme in a variety of ways. We have seen these birch vases in some gorgeous real weddings and so we wanted to show you just exactly how to use them yourselves to create beautiful centerpieces! We chose a mix of traditional white roses and some fun unique fillers to give this centerpiece an awesomely rustic woodland vibe. The birch vases come in all shapes and sizes and can be found at a variety of craft and floral supply stores. You could mix and match sizes to add extra dimension. Play around with it and have fun while you’re at it!
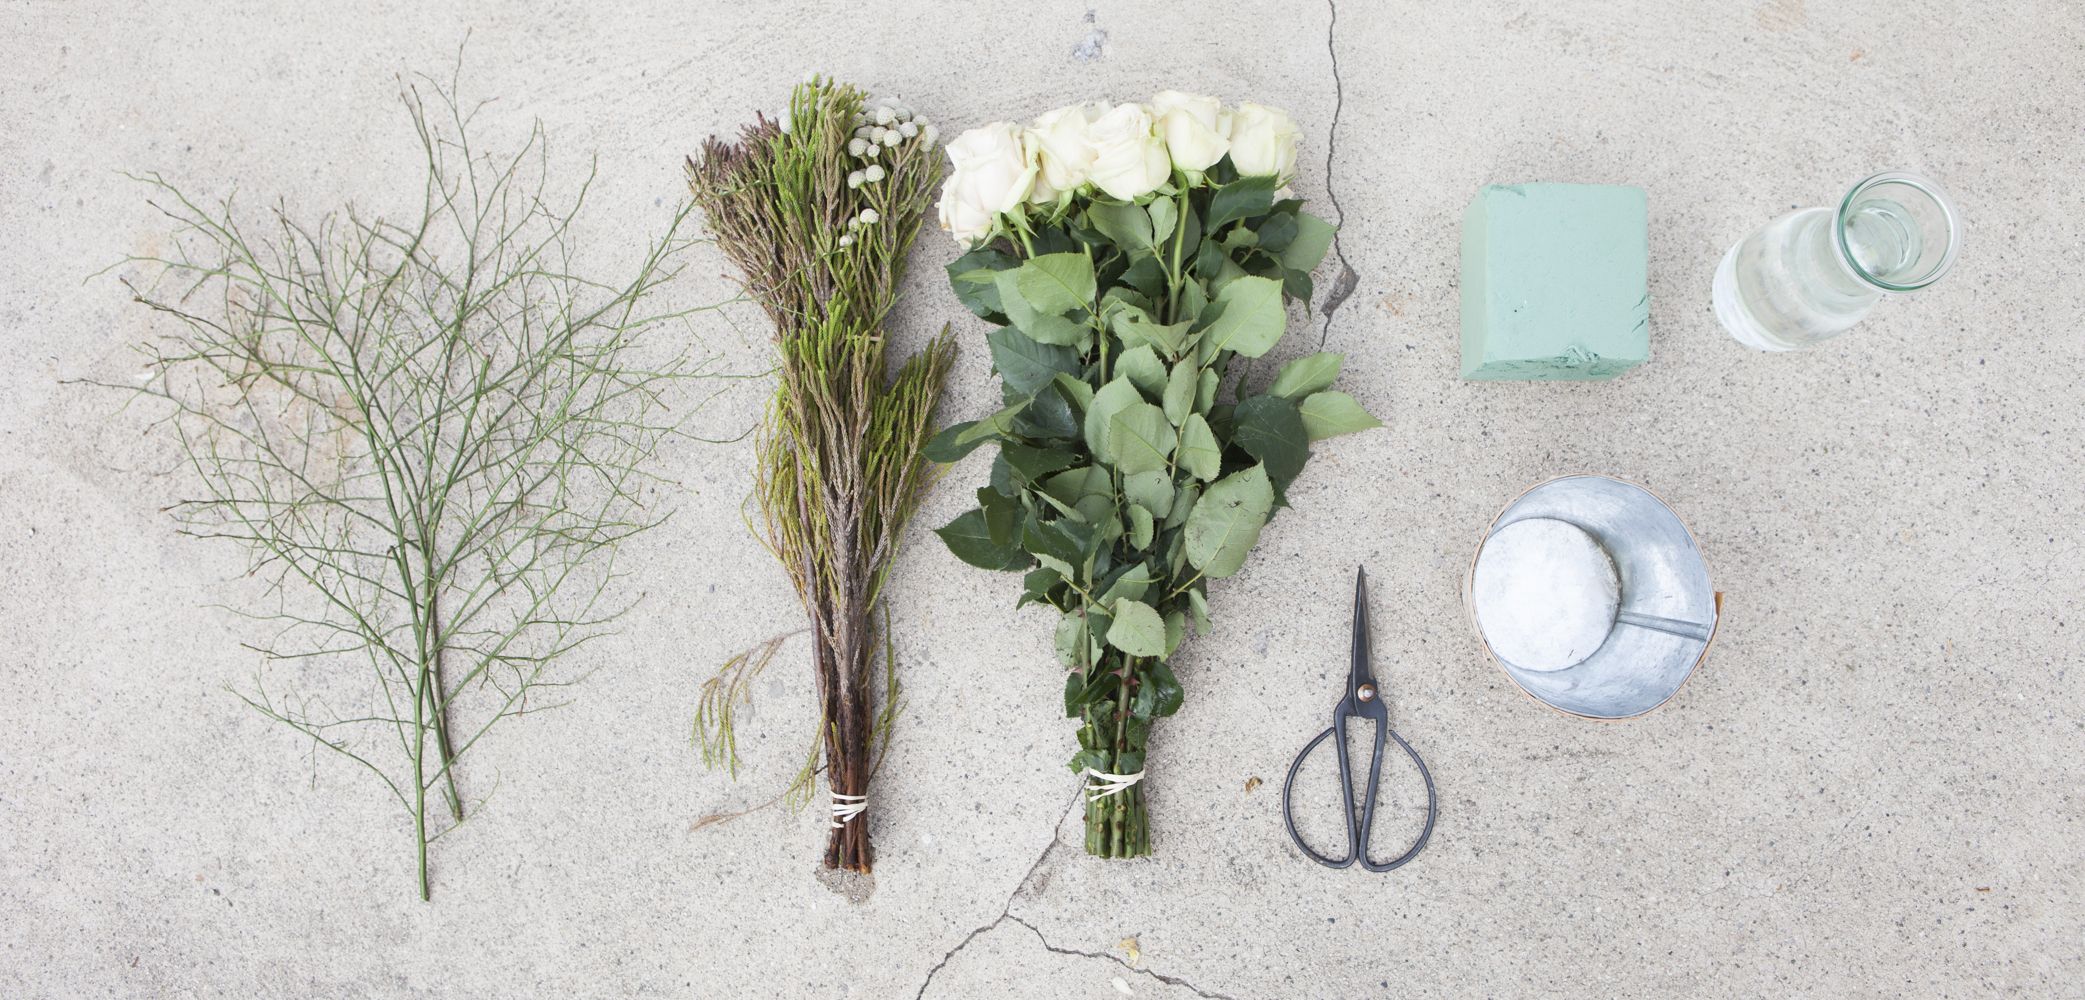
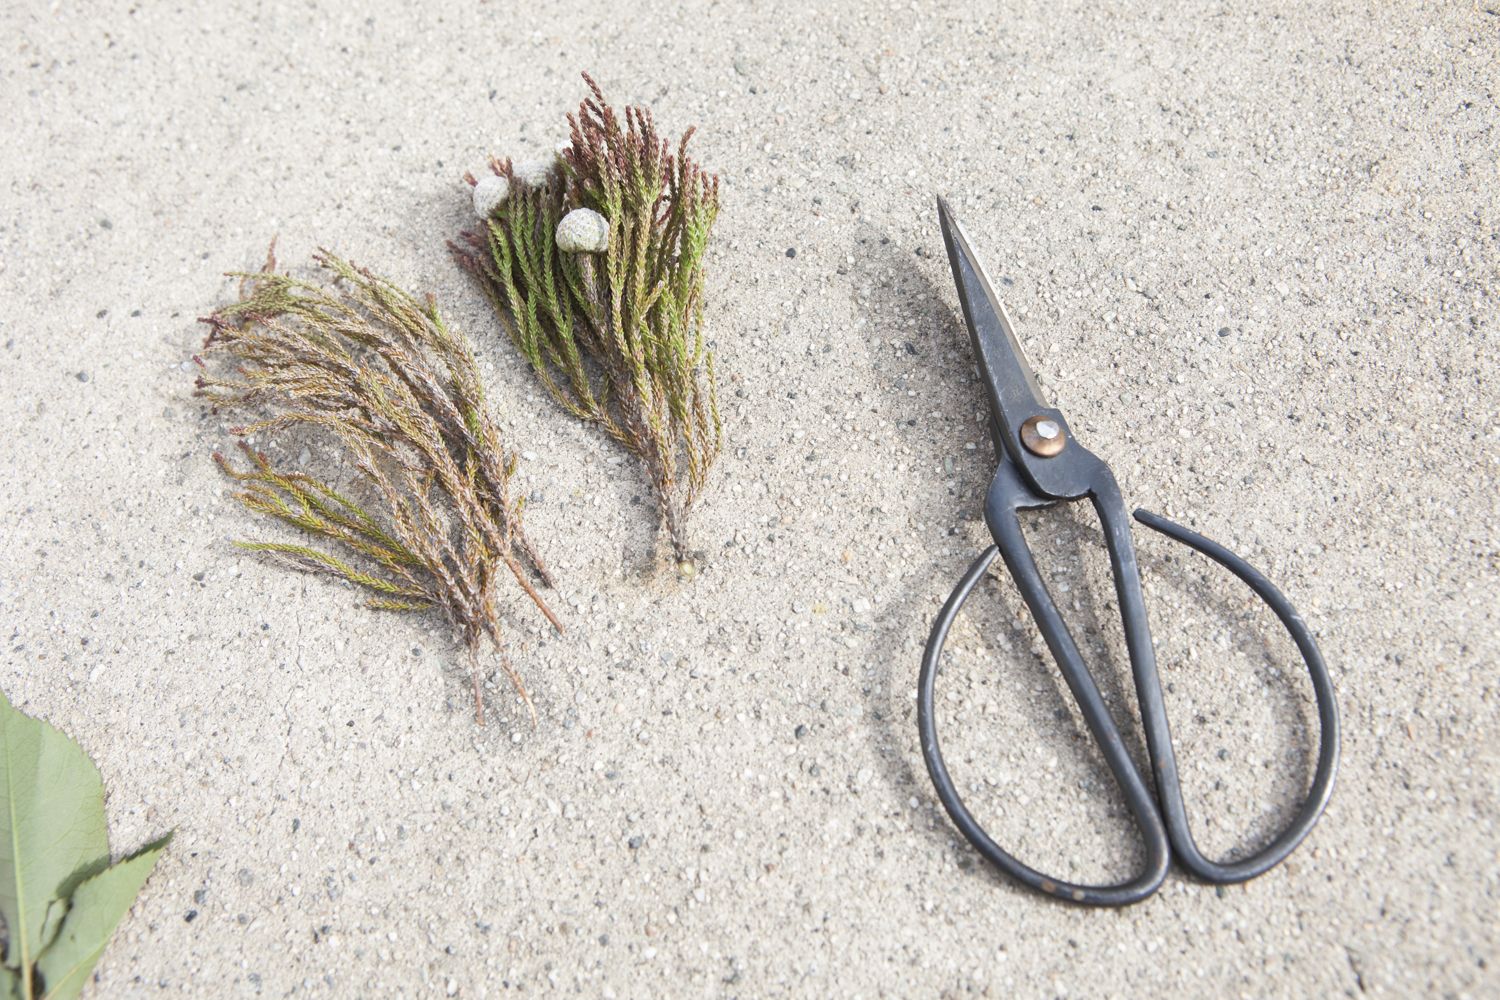
What You’ll Need : Green Wispy Filler / Berries / White Roses / Birch Vase / Foam Block / Scissors / Water
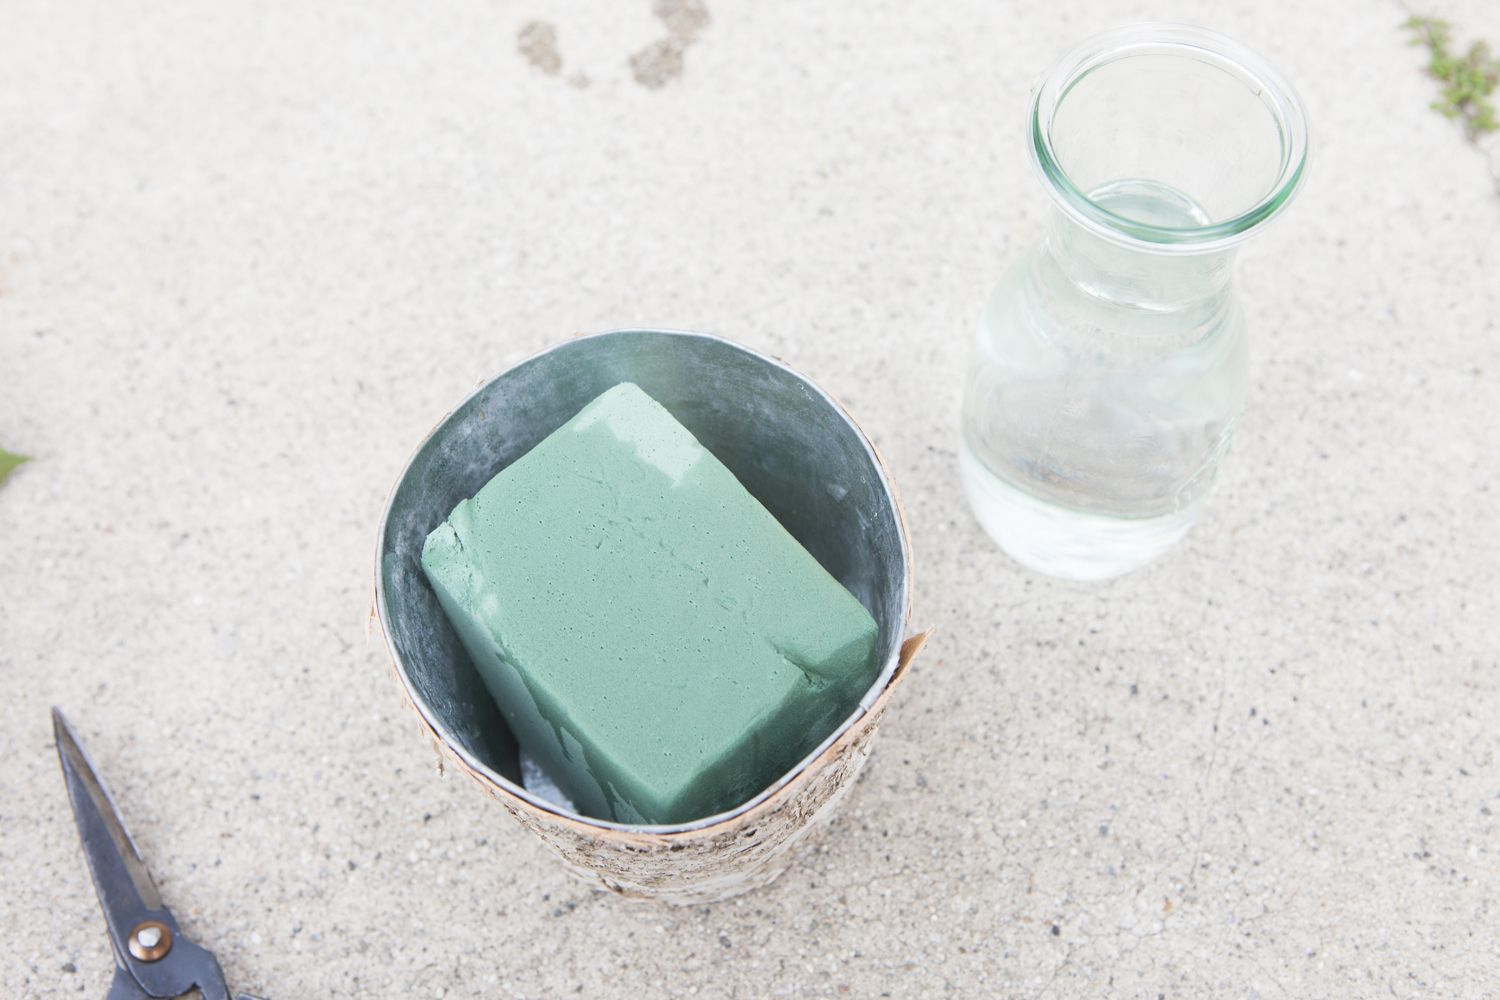
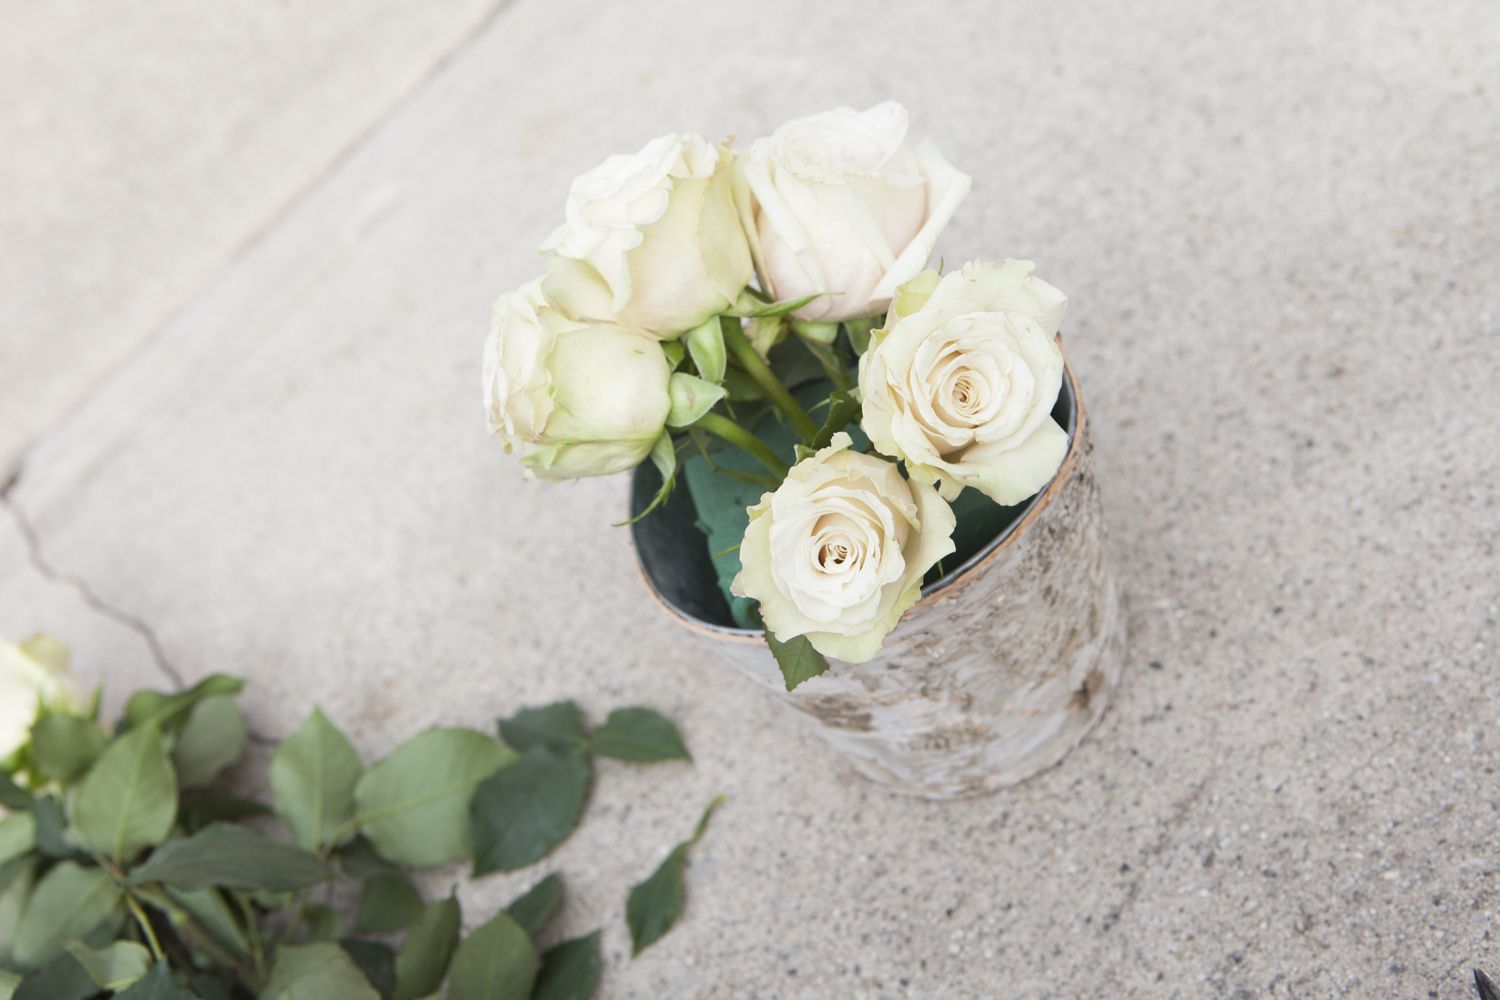
 First, make sure you don’t need a liner for your vase by testing it with some water. Then cut a foam block to fit snugly in your birch vase. Saturate the block with fresh water and then slide it into your birch vase.
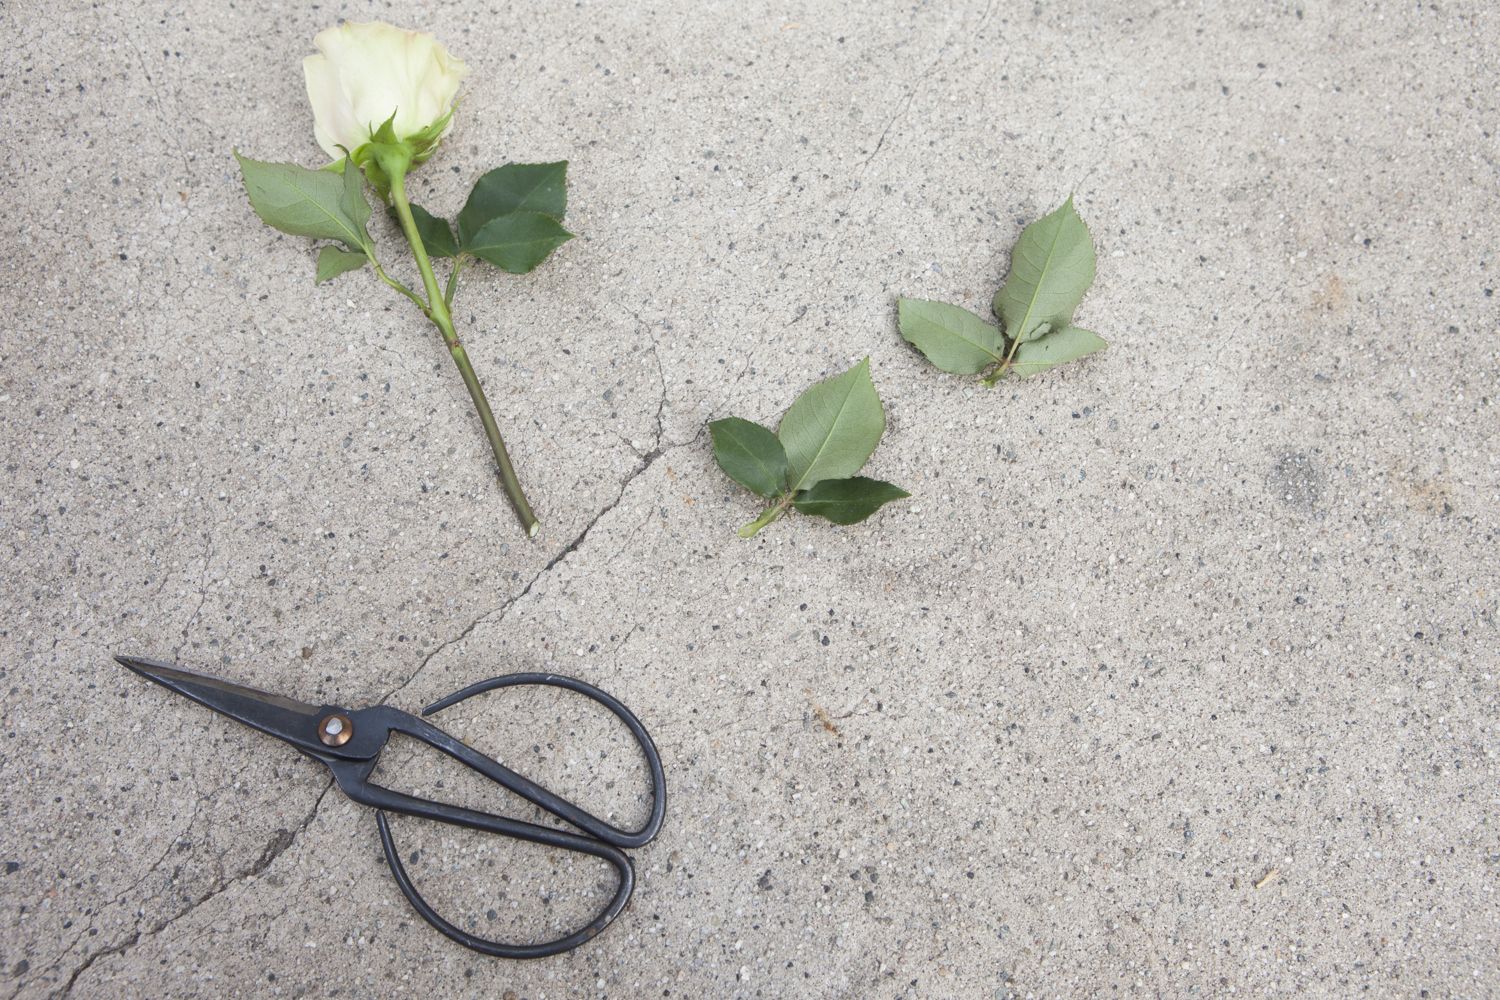
Trim the excess leaves from the rose stems, leaving a few per stem for a full, lush look. Trim the stems to that you have about two inches to push into the foam. Make sure the bottom two inches are free from leaves.
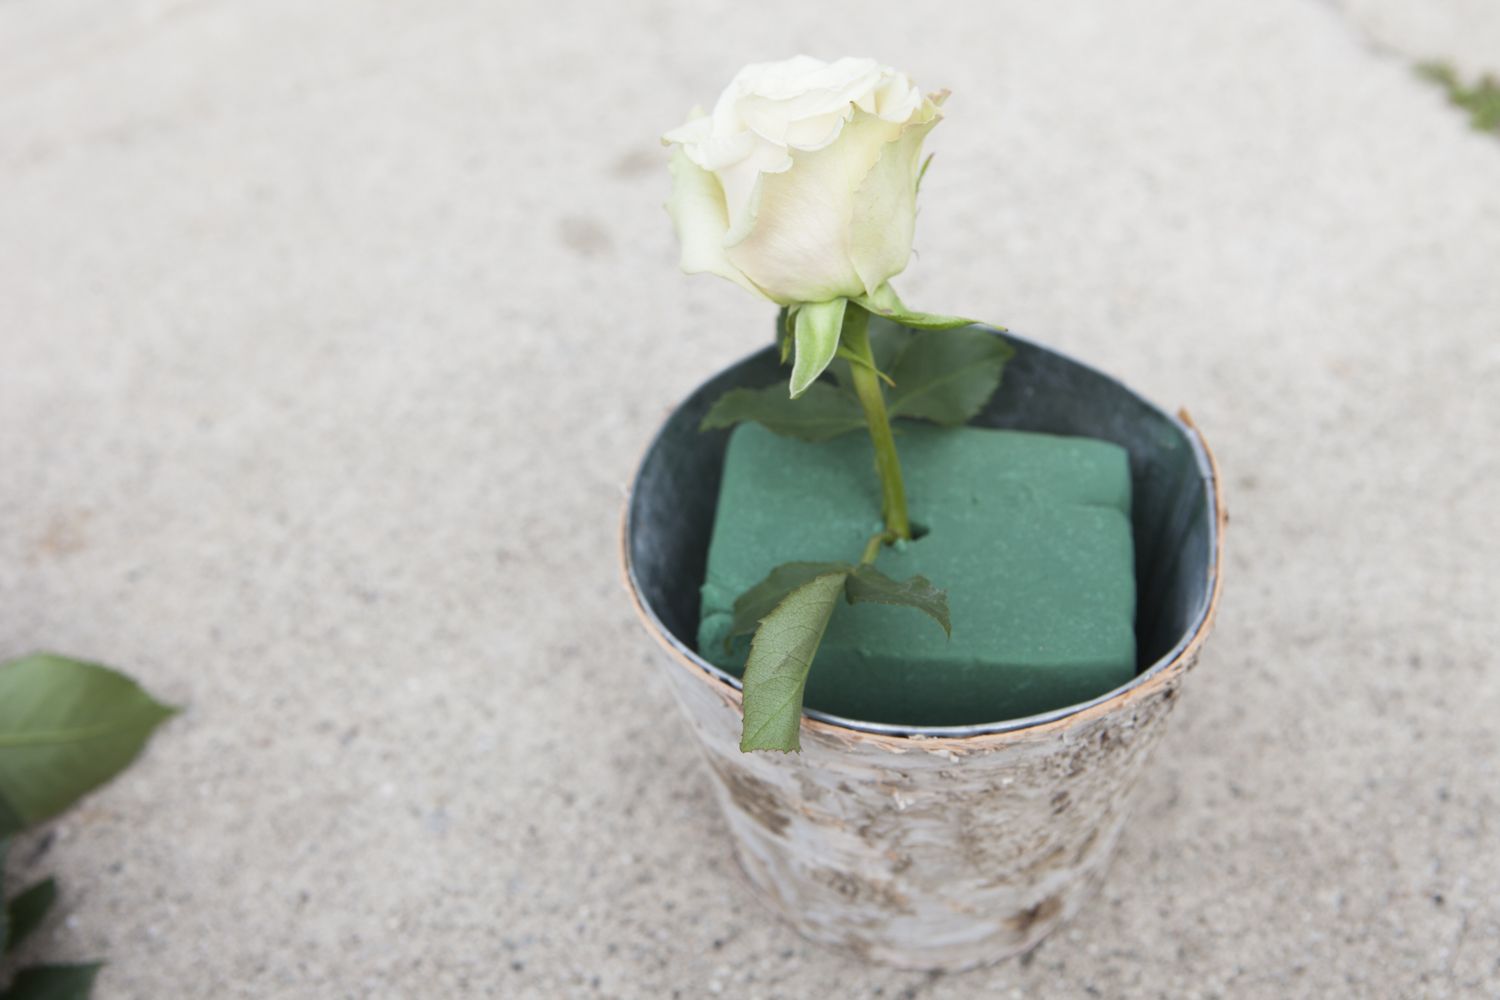
Push the stem into the foam so that it is the height that you want your centerpiece to be. You will probably have about two to three inches if stem showing below the blossom. Start with the center and then move out from there.
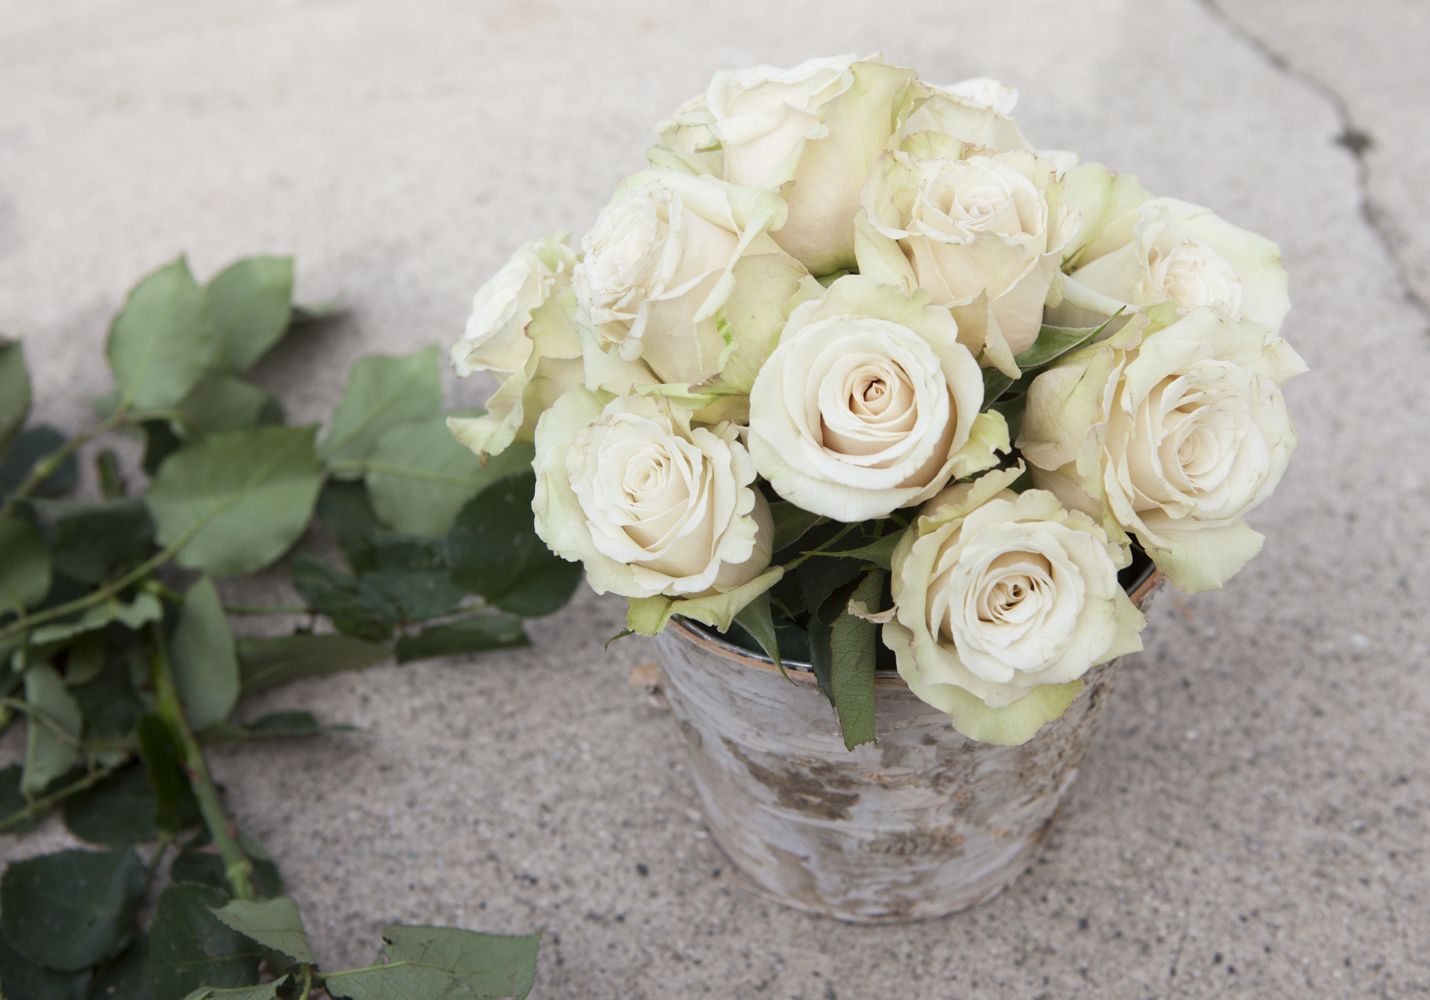
Add the rose stems at angles so that the blossoms face out in all directions equally. You may end up crossing some of the stems as you go.
Once you have the centerpiece feeling full and balances, you can push and pull the stems into and out of the foam until it feels perfectly round.
Next, trim your berries so that you can add small interest pieces between the blossoms. This will help fill in any gaps and also give the arrangement some texture and depth.
Slide the berries into the foam in the spaces between the blossoms. It doesn’t need to be perfectly even. Just add and take away until it feels right. We love how the texture and color of these berries looks with the birch vase.
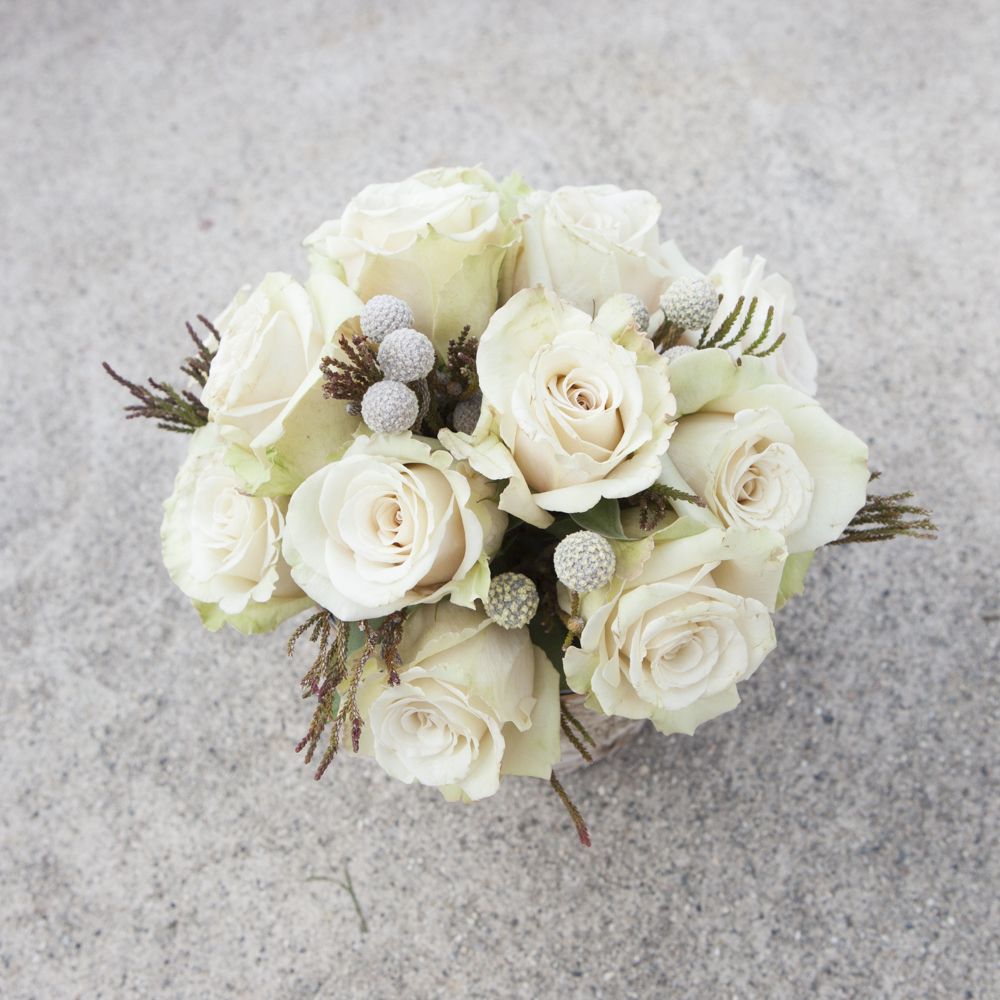
Your centerpiece may feel finished at this point! Turn it in all directions so be sure that it looks great from all angles.
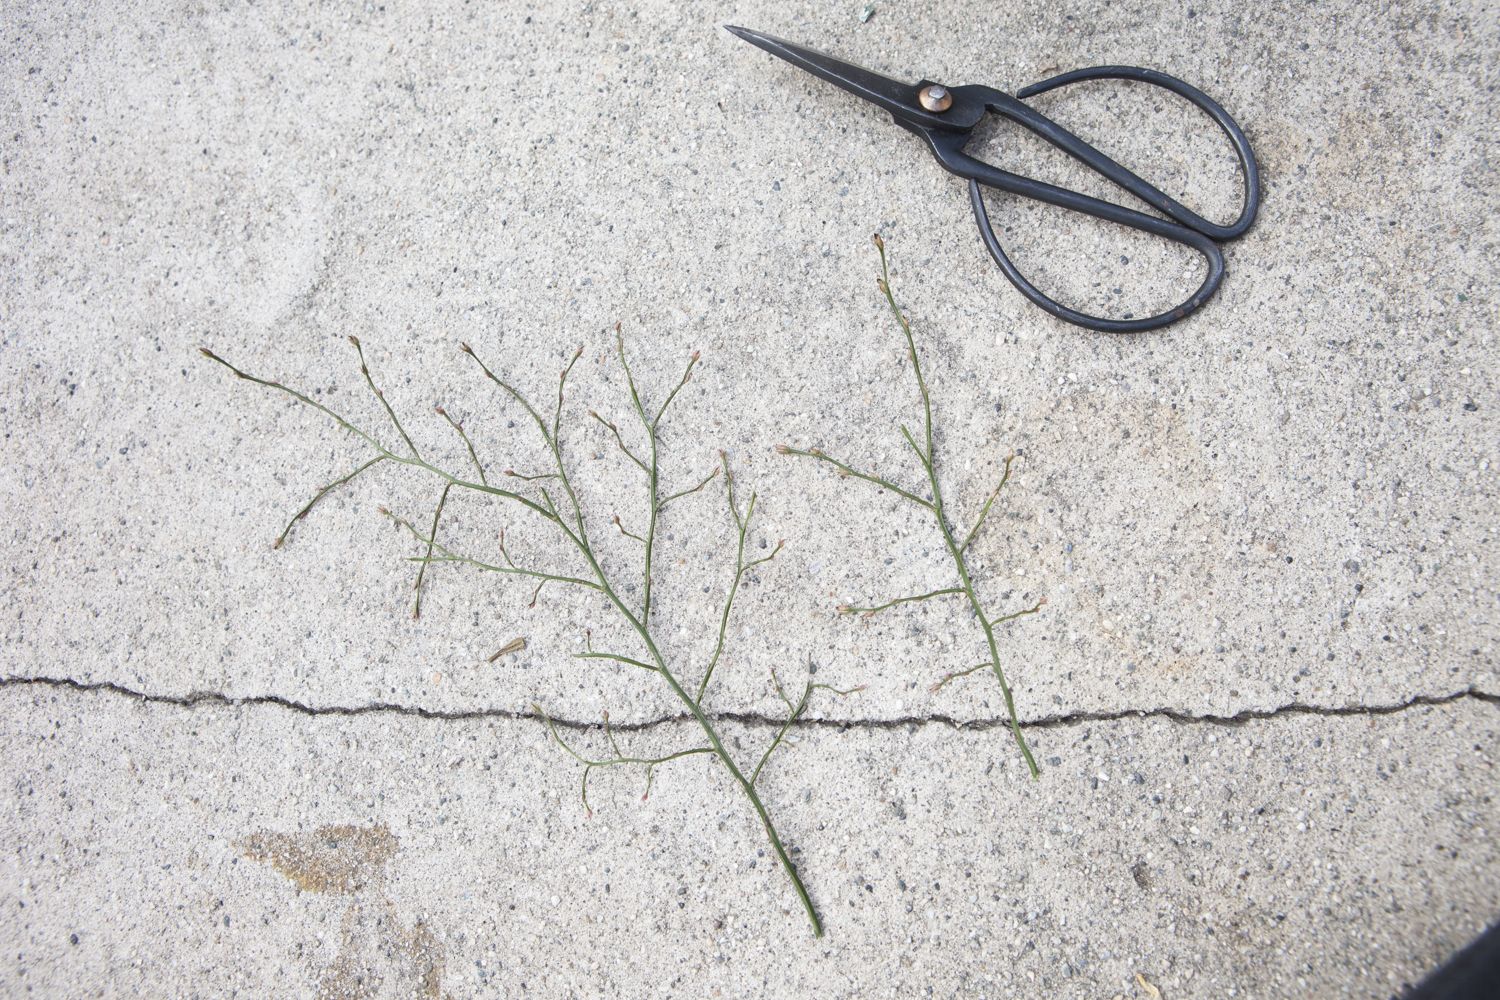
You may want to build out the centerpiece a bit more, making it feel less dense and more delicate. To do this, trim some wispy green fillers and tuck them into the foam in a few places.
And there you have a perfectly rustic woodland inspired centerpiece! It a unique take on a traditional wedding centerpiece that we think your guest will totally love!

Photography : MCR PROJECTS
Step By Step : 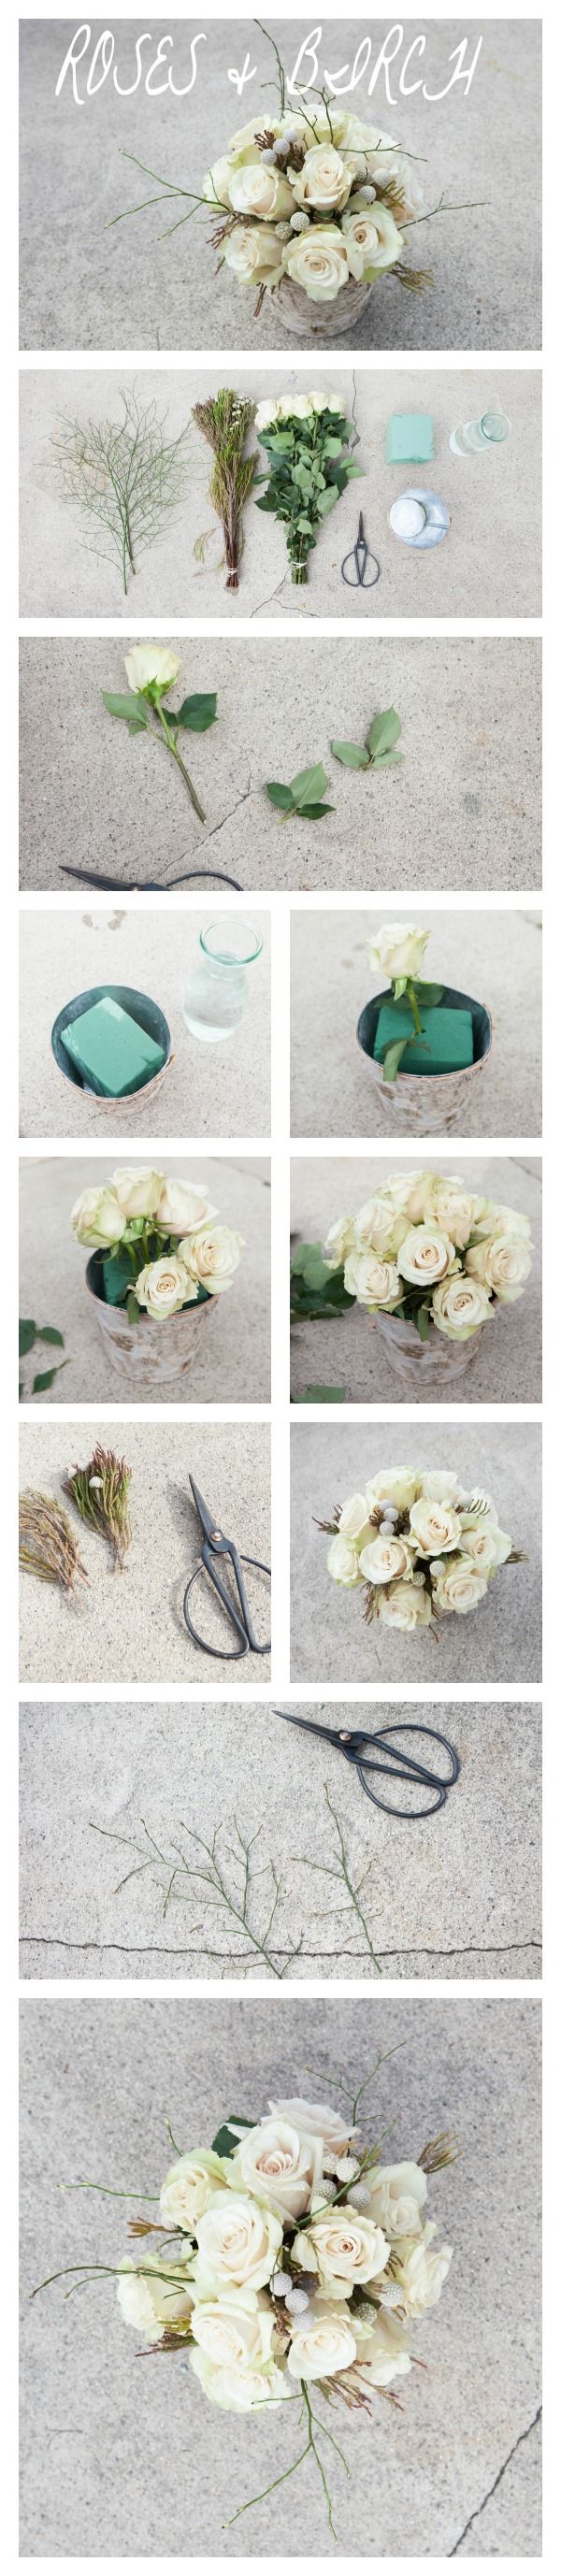
1 Comment
Wednesday Wedding Dump! | Canadian Bride Blogging
April 30, 2014 at 12:08 pm[…] Create a Woodland Birch Centerpiece […]