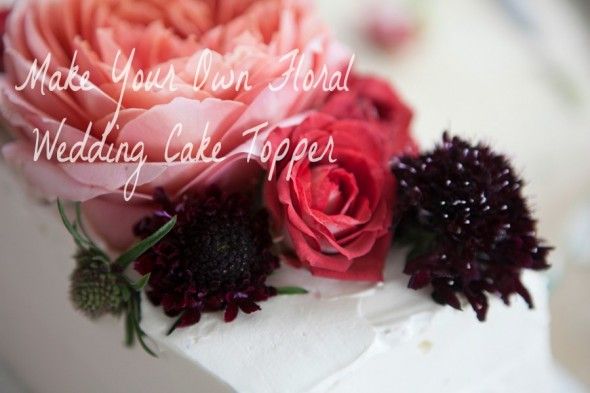
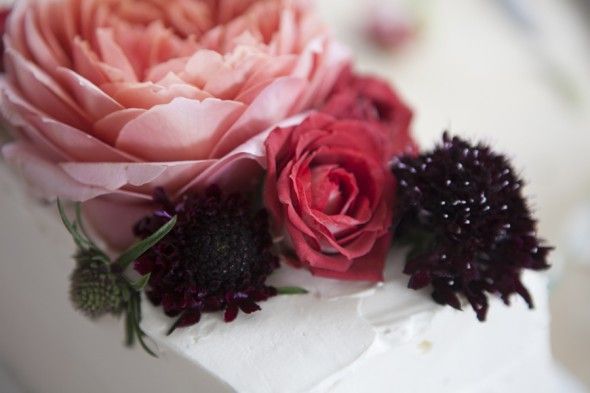
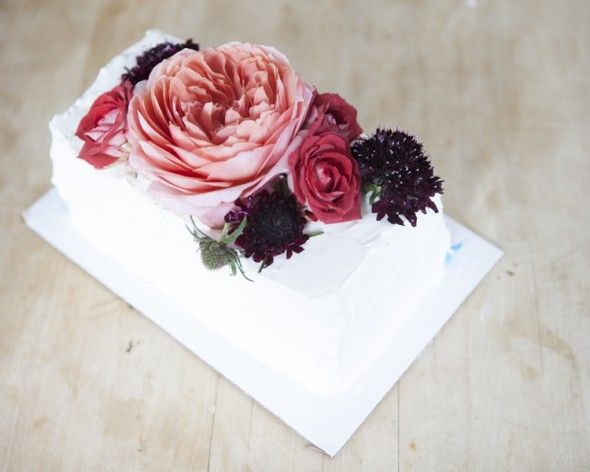
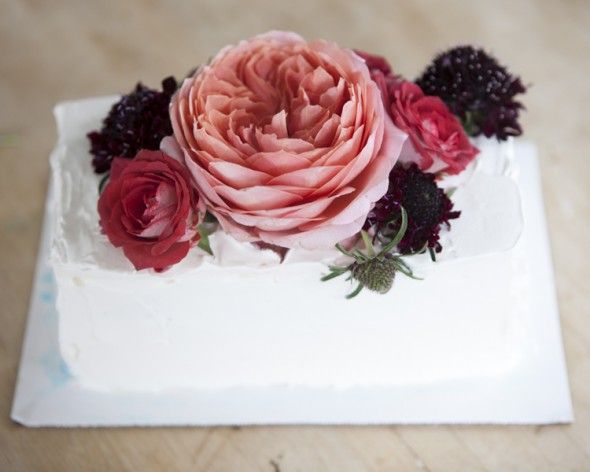
We have been loving all of the floral wedding cake toppers we have been seeing so we decided to show you how to do this yourself for all of our DIY brides! It is a great alternative to a traditional wedding cake topper and will tie in all of your floral decor so beautifully! See some of our favorite floral wedding cakes on the blog here : Floral Wedding Cakes.
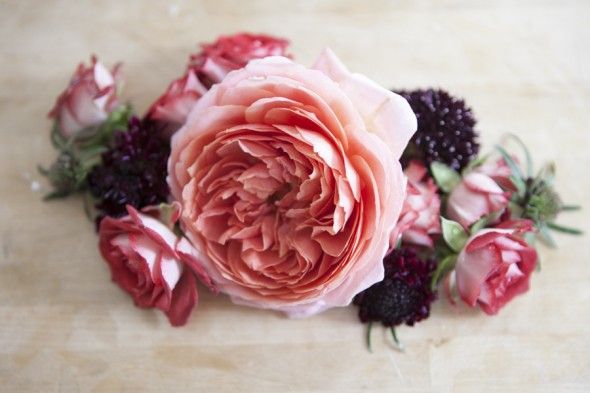
What you’ll need : Clippers / Garden Roses / Spray Roses / Accent Flowers / Greens ( Optional )
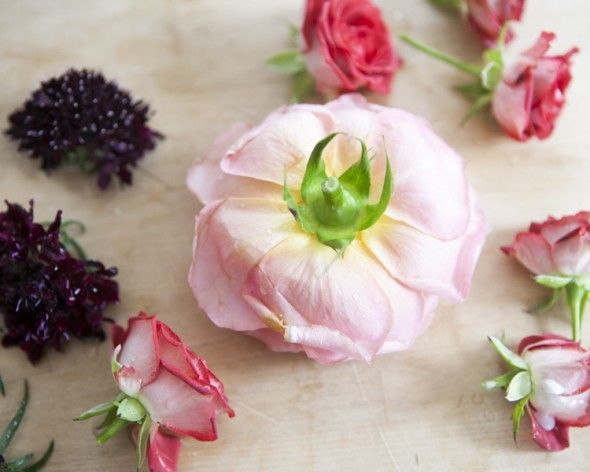
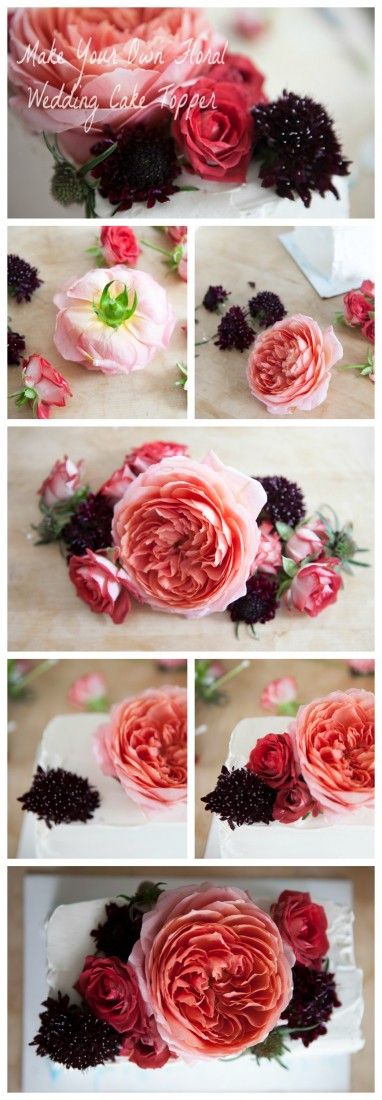
First, cut all of your rose buds cleanly at the base of the blossoms. Rinse the buds with fresh water to make sure they are nice a clean!
Pat the blossoms dry and sort them out on a clean countertop.
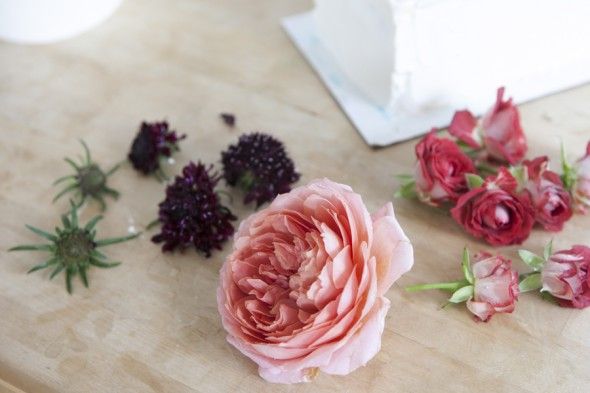
Arrange them on the countertop into the general shape that you want to have them in on top of the cake. This way you can play around with them without messing up the cake frosting if you change your mind. Its best to do this next to the cake so that you can eyeball it easily.
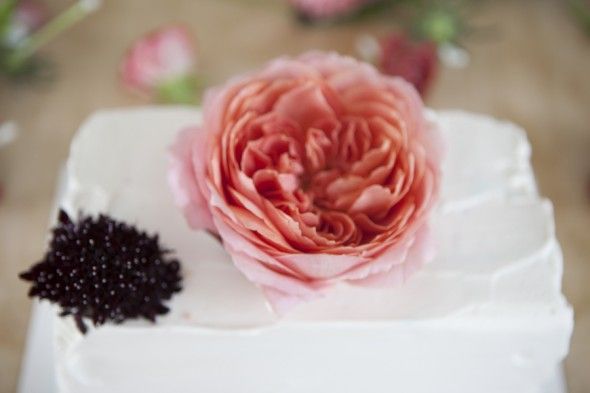
Start with your central blossom and press it gently into the top of the cake. Then begin to build in from the corners.
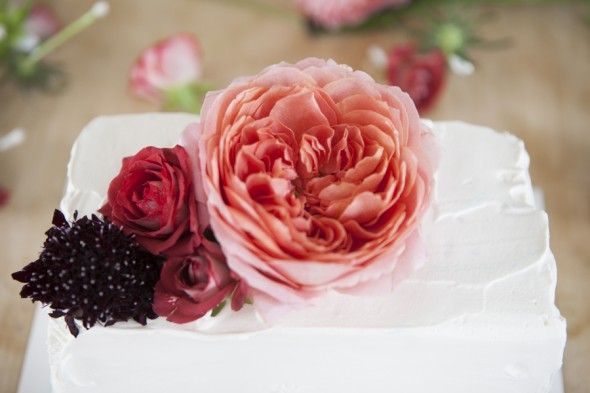
Fill in the gaps as you go, being sure to be gentle as you press the blossoms onto the frosting.
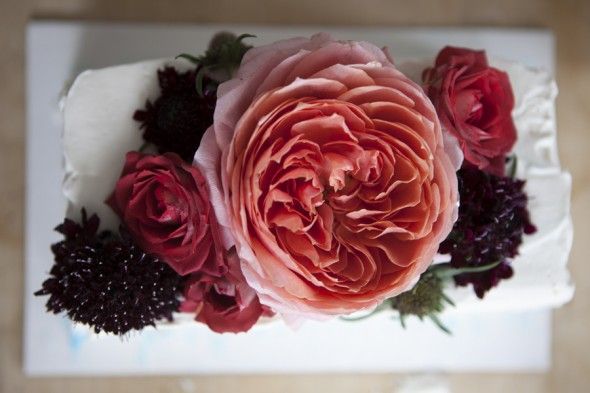
Move to the other corner, looking at the cake from the top and sides as you go to be sure it looks great from all angles. Now you can start to add any accent greens or flowers to close gaps that you see.
The blossoms will pile nicely as they settle onto the cake.
Take one final look all of the way around the cake and then quickly return it to the cooler! That way your cake and florals will stay fresh!
Your guests will be so impressed when they see your floral artistry!
Photography : MCR PROJECTS

No Comments