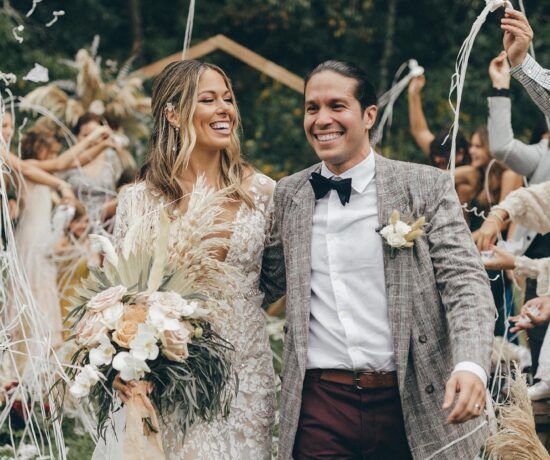
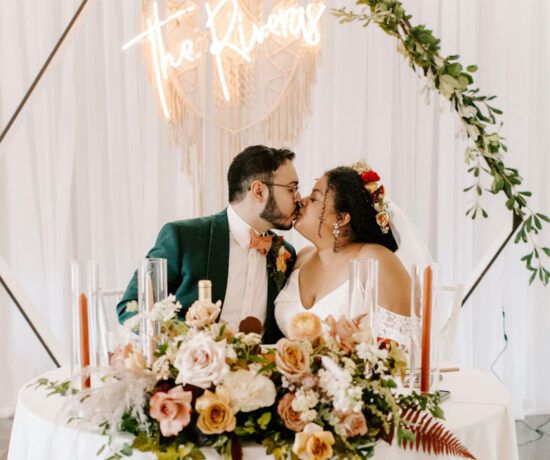
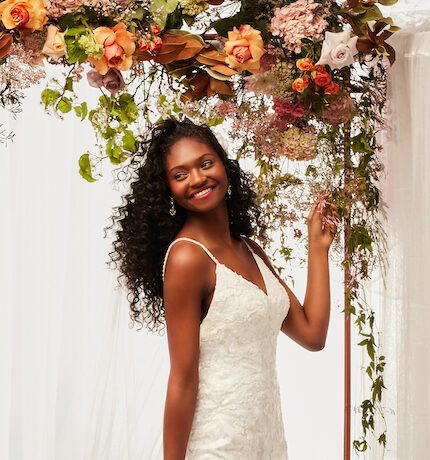
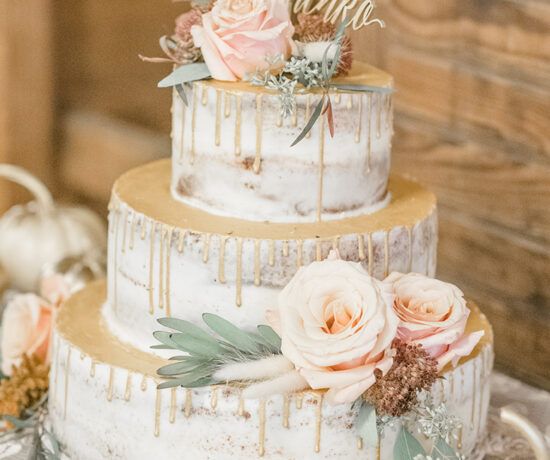
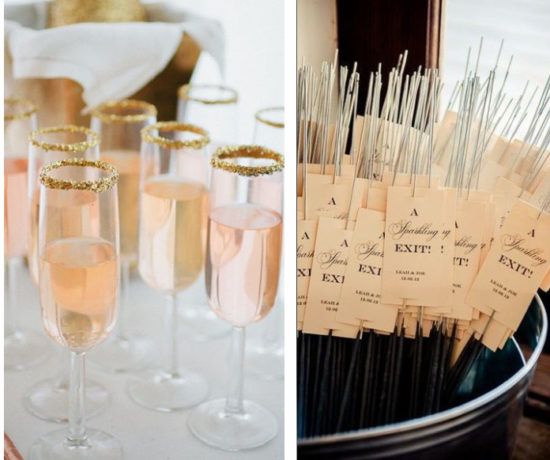
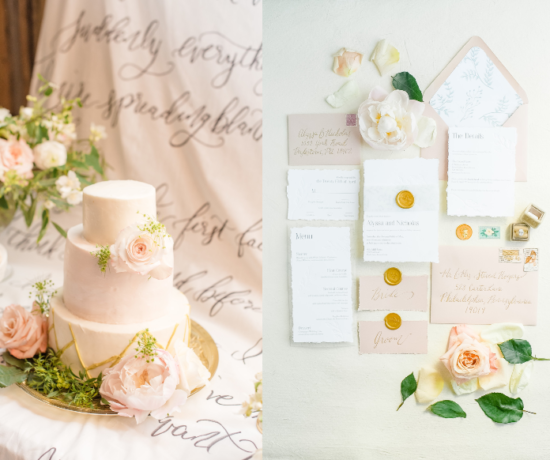
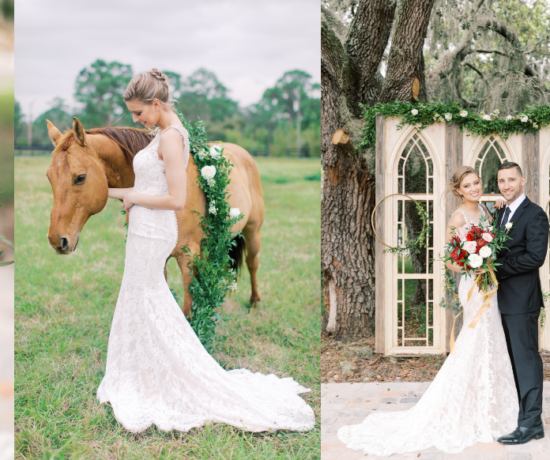
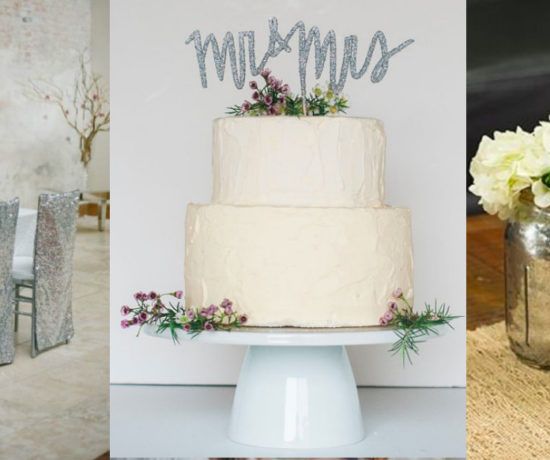
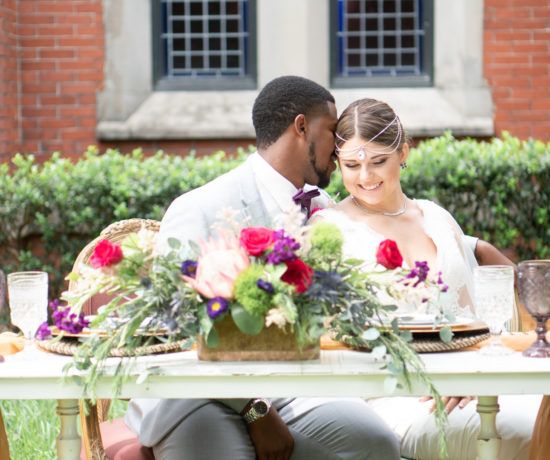
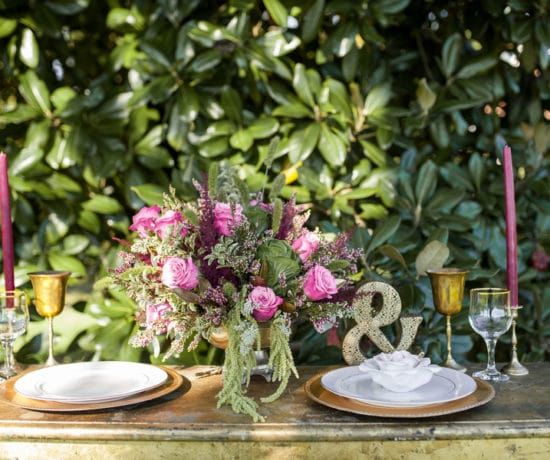
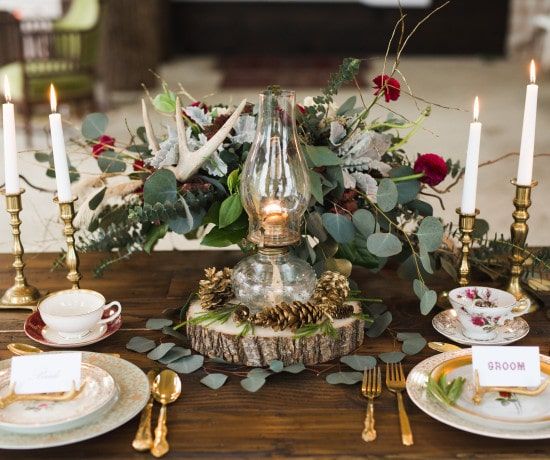
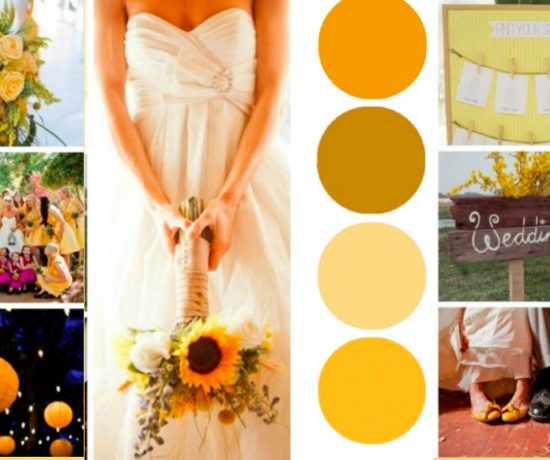
Rustic Country Wedding Decorations

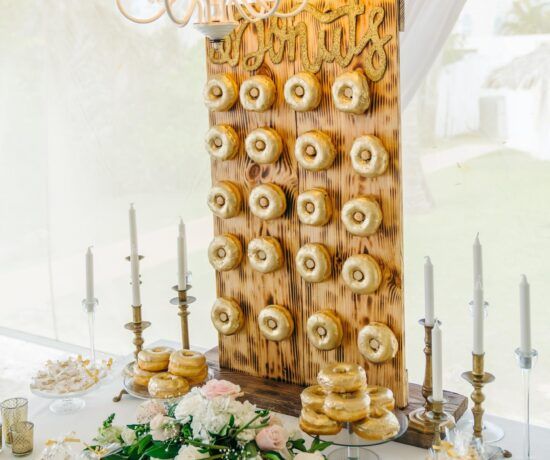
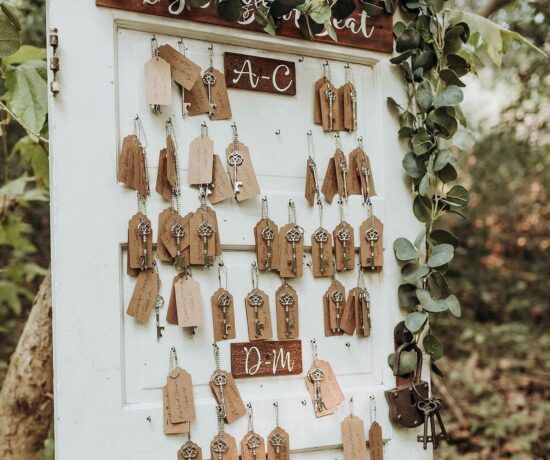
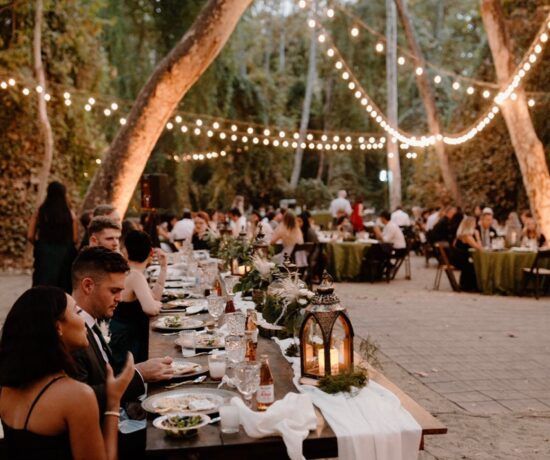
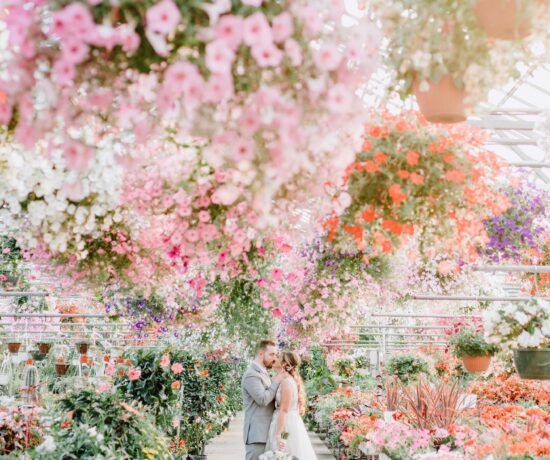
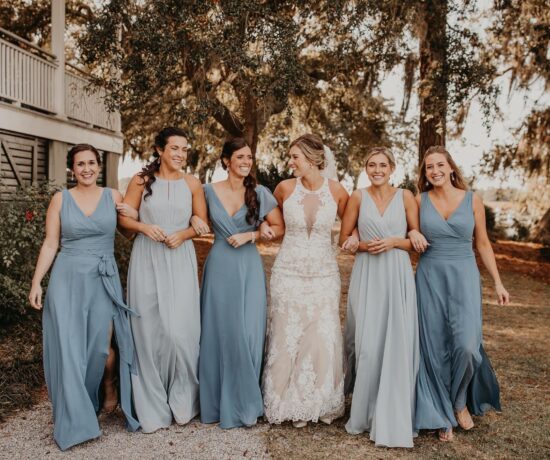
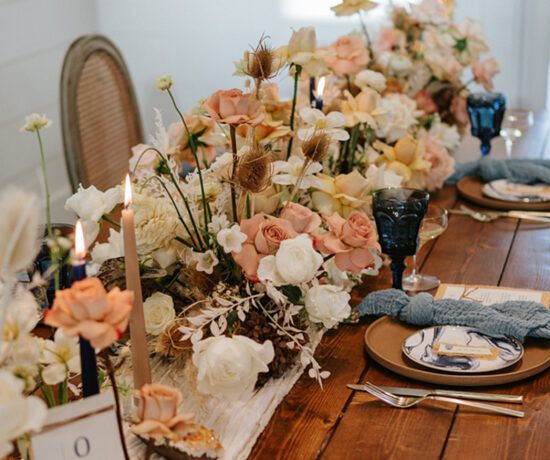
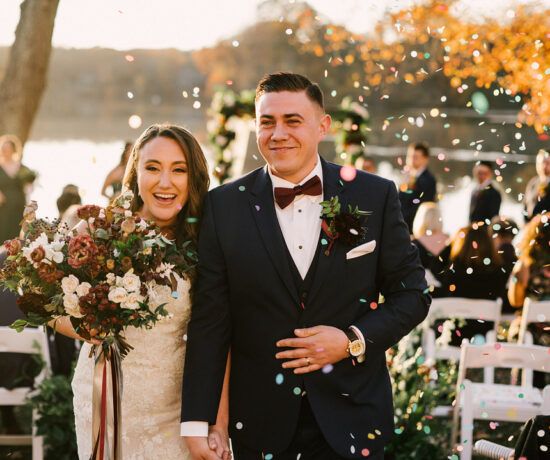
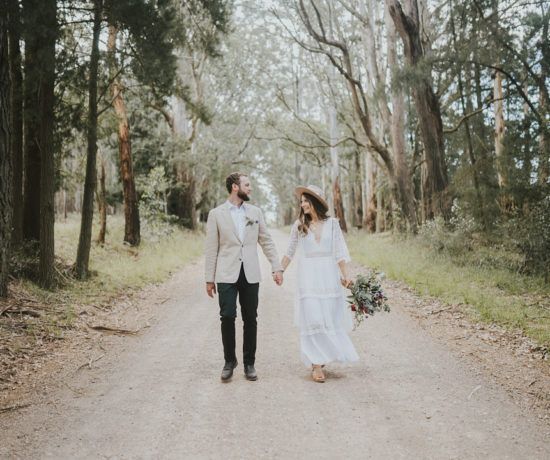
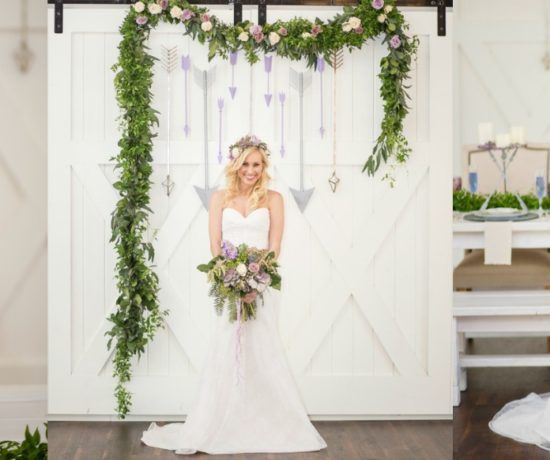
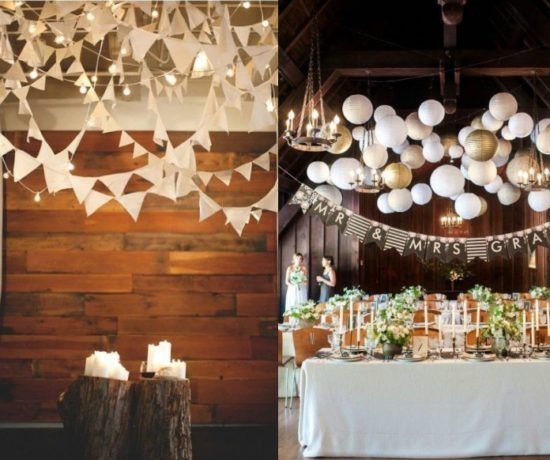
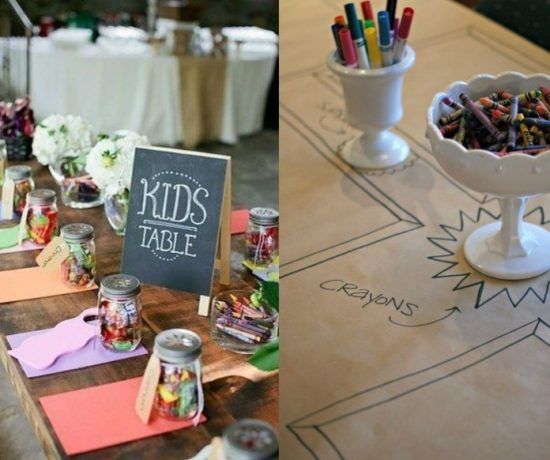
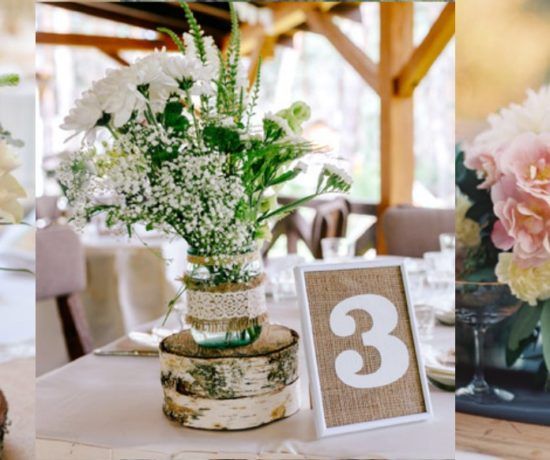
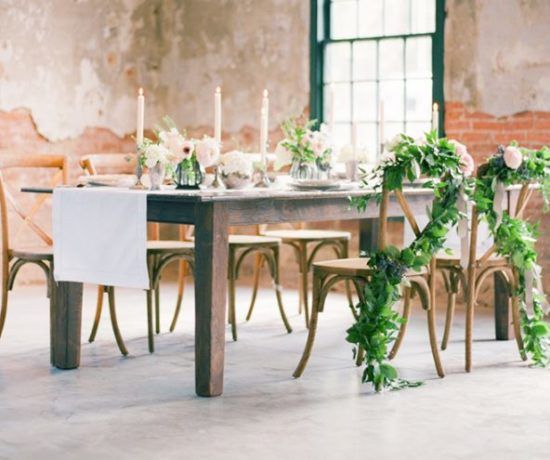
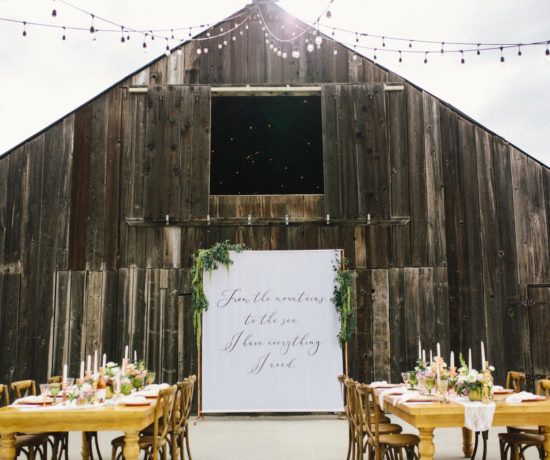
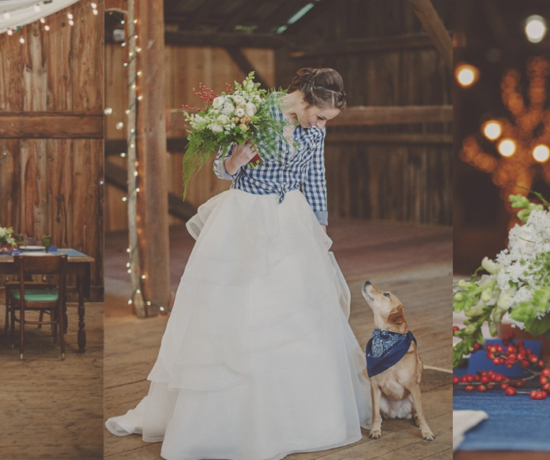
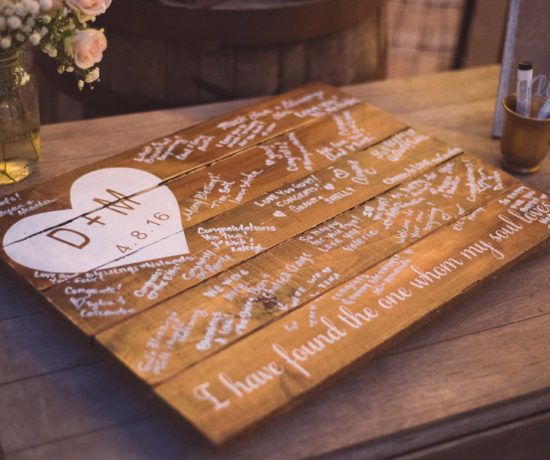
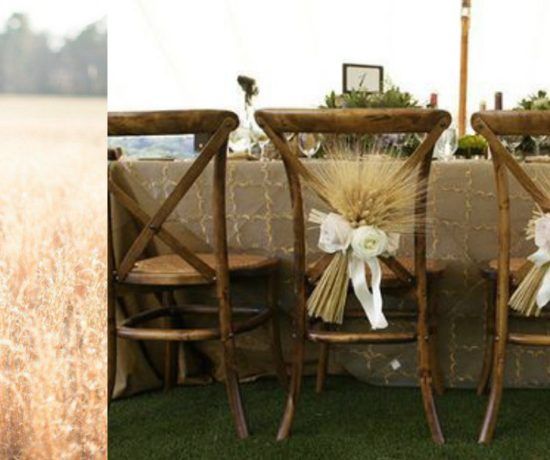
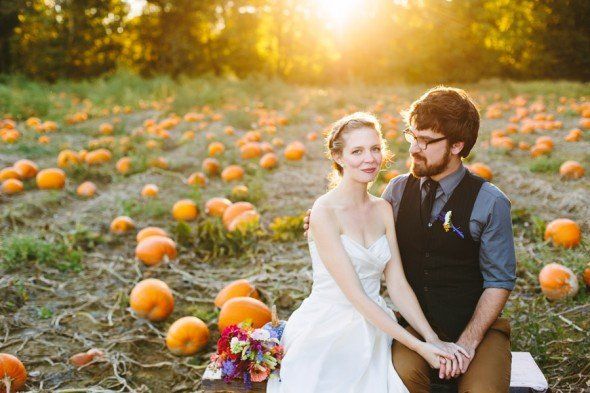
Having a rustic wedding or a country wedding can wonderful but decorating one can be a bit more of a challenge. There are some many wonderful country and rustic decorations for a wedding and we have put together what we think are some of the best in the Rustic Wedding Chic collection for Whispering Pines Catalog.

DIY Ideas For Your Rustic Country Wedding

If you are anything like me then you love the DIY look at weddings. By incorporating the DIY look into your wedding decor you get the chance to really put your own “stamp” on the day and it allows you to really have the items reflect your individual style. Sometime I hear from brides who are scared off by the DIY title because they feel they are not crafty enough to pull off a DIY project, but in reality most DIY projects are easy enough for anyone to put together, the trick is finding the right resources to help you pull the look together. Here are a few products which I featured in my appearance today on NBC’s Better CT.

Personalized Mason Jar Favors

Sending your guest home with a sweet treat at the end of the evening is a great way to cap off your wedding celebration. These personalized mason jar favors can be filled with jam, honey or candy and are a great way to thank you guest for sharing in your day. You can either take this entire project on your own or you can get this DIY look with a little help from The Cherry Grove shop over on Etsy. I worked with The Cherry Grove to pick a small mason jar with a light blue and white checked fabric and a sweet little tag as one of my featured items on Better CT today.

Gable Box Welcome Bag

If your budget allows I always suggest to brides that they welcome their out of town guest to their wedding weekend with a welcome bag. These kraft gable boxes which I found over at Whispering Pines Catalog are the perfect size for filling with snacks, little treasures or information about your wedding location. We tied on a little ribbon and topped it off with a vintage postcard with a welcome note.

Burlap Wrapped Vase Hurricanes

One of my favorite things at a wedding is when the lights are dimmed and the soft glow of candlelight is lighting up the room. These burlap wrapped vase hurricanes work as either a vase for flowers or for a candle hurricane and make for the perfect rustic wedding centerpiece. When the candles are light the glow showing through the burlap is just downright magical. Again, this is a great DIY project if your have the crafty bone or you can head over to our friends at Rustic Blend and purchase the set and get the DIY look in one easy step!

Tin Can Vase

This is a DIY project that anyone no matter what level crafter you may be can pull off. This is a simple tin can vase where the label was removed and cleaned up a bit and topped off with beautiful flowers. This is a wonderful way to “up-cycle” items for your wedding and this project is perfect budget friendly brides. This vase image came from a beautiful farm style wedding which you can see here.

Sources – mason jar favors: The Cherry Grove / gable boxes: Whispering Pines Catalog / burlap vases: Rustic Blend / tin can vase: photography by Karen Seifert Photography

Rustic Wedding Cake Toppers

Picking out your wedding cake can be a yummy experience but after you select the style you often have to start to look for the perfect cake topper. This is one part of a rustic wedding where there seems to be no rules, couples are seeking out and finding unique, rustic and chic cake toppers. Once again I did a quick roundup on etsy to find what I think are some great possibilities to “top off” your cake design. Check out our other etsy wedding roundups: favorsdecorationsideasmore.

Banner Cake Topper                                                      Rustic Birds Nest Cake Topper

banner-cake-topper    bird-nest-cake-topper

Pine Cone Cake Topper                                               Rustic Heart Cake Topper

pine-cone-cake-topper  rustic-heart-cake-topper

Woodland Cake Topper                                               Birch Tree Cake Topper

 birch-tree-cake-topper

Birch Bird Cake Topper                                               Stitched Heart Cake Topper

birch-wedding-cake-topper  

Rustic Initial Cake Topper                                       Fabric Bird Cake Topper

woodland-cake-topper  bird-cake-topper

Check out our other etsy wedding roundups: favors, decorationsideasmore.

Sources – All photos, styles & items are from individual sellers on Etsy. Please contact them directly for information. one: At Company B / two & three: Fairyfolk Weddings / four & five: April Hiler Designs / six: Sweet Pixie Pie / seven & nine: Jaden Rai Inspired / eight: Wed & roses / ten: Vintage Green Limited

Giveaway: Reserved Wedding Signs

I am so excited to have a brand new giveaway for all you brides to be. As wedding season starts to heat up I am sure most of you are trying to get your final details done so cross now you can cross one more thing off your list now that you can win these reserved signs. Thanks to Papercraft one lucky winner will get a set of 4 Reserved Seating Signs! To enter all you have to do is sign up for our Rustic Wedding Chic Newsletter. If you already a member of our newsletter then you are automatically entered for this and all of our giveaways.An elegant “Reserved” sign to tie on your chairs at your ceremony, making sure no one sits at special seats for your parents, grandparents, siblings and whoever else you want to feel special on your big day!

These signs are printed on your choice of white or ivory cardstock and mounted to your choice of color cardstock. 1 1/2″ Grosgrain ribbon in your color choice is threaded behind the paper with extra length to tie around your chair. Total length of ribbon is 45″.

The giveaway consists of 4 signs – Mother of the Bride, Father of the Bride, Mother of the Groom, Father of the Groom. We can mix and match names and titles if the winner needs to.

PRIZE: Four reserved seating signs from Papercraft
TO ENTER: Sign up for our Rustic Wedding Chic Newsletter.
If you are already a member of our mailing list than you are already entered!
GIVEAWAY CLOSES: CLOSED
NUMBER OF WINNERS: One
INFO: One entry per e-mail address. The winner will be selected at random and contacted via email. Good luck…

Welcome Sponsor: Hugs & Kisses Events


hugs-and-kisses-events

Rustic Wedding Chic is proud to welcome Hugs & Kisses Events as one of our sponsors. Hugs & Kisses Events offers full wedding planning services along with day of event coordinating and styling. We were lucky enough to feature Hugs & Kisses Events owner, Ann’s wedding, a few months ago and if her own wedding is any indication of her styling ability than I would not be surprised if many of you are emailing her right now for a consultation. Ann believes “No matter how organized, detailed, and précised a person is, my advice is to hire someone who can make your wedding planning stress-free. Hire someone who can help or do the planning, coordinating, DIY projects, scouring flea markets and swap meets, etc. for you!  So here I am, ready and thrilled to make your dreams come to life!”Visit Hugs & Kisses Events for more information / photo credits: Glass Jar Photography

DIY Flower Backdrop

I am a huge fan of crafts and DIY projects but I will be the first to admit that I really not that crafty. I always have great wedding DIY ideas but the execution part of the projects are a little difficult for me so with that said I am so thrilled to show off a DIY project that I think even I could do. Thanks to our friend Veronica Sheaffer, wedding gown designer and blogger we have a beautiful rustic wedding DIY project that I think will add a stunning addition to your ceremony location. I was drawn to this project because I often hear from brides who are looking for an idea to help create a focal point at their ceremony location and I this project is the perfect answer. Do you have a DIY project that you think our readers would like to know about? Send me and email or share it with us on our Facebook page or twitter page. See more DIY projects.easter-lily-altar

I’m pretty sure the first time I saw the Easter Lily altar from Martha Stewart my heart stopped beating for a second. I had been searching for a ceremony backdrop with a 1930s look and that altar was so sculptural and had such a great deco feel to it – I HAD TO HAVE IT. Unfortunately a couple hundred fresh Easter Lilies are not within our budget nor are they even available in late June for our wedding. So I went with artificial lilies, and although they are definitely not as fragrant, they still look seriously awesome.

The cheapest flowers I could find were bought by the bush, which meant a lot of time spent stripping the flowers and leaves from their plastic stems and then removing the stamens. The flowers then had holes running through the centers – perfect for stringing onto wire.

To make our 7 ft tall x 4 ft wide altar, I used:
- Approximately 450 artificial lilies
- Two 3 ft long wooden dowel rods
- Bendable wire
- 4 ft long leaf garland
- Masking tape

easter-lilies-altar-backdrop

The process is actually super simple. Make an “O” at the end of a length of wire and drop your first lily on, bell side down. Then crimp and twist the wire so that the bottom of the next lily will just graze the top of the first. Add another lily and so on until you’ve reached your desired length. Wrap the top of your wire around a dowel rod and begin on the next wire. I also added leaves from the lily bushes for a little extra color. Keep working with the dowel rods separately and vary the length of wire. When both dowel rods are filled, tape them together to achieve the width of your altar. The flowers will then overlap, creating great depth. The leaf garland is great for camouflaging the dowel rods – simply attach with wire.credits – This DIY project, idea, photos and instructions are courtesy of Veronica Sheaffer & My Hands Made It

DIY Doily Lantern

I love a good DIY rustic wedding project and this one may be one of my favorites, admittedly, I am not very craft but I do love looking at rustic wedding DIY project ideas! This wonderful DIY project is the brain child of our friend Veronica Sheaffer, wedding dress design and blogger. You remember some of my other post featuring this incredibly talented woman in which I showcased her complete bridal collection, her “To Catch A Thief” inspired dress as well as her Fabric Bouquet DIY and Paint Chip Place Card DIY. Today’s DIY project is one that would look stunning hanging the trees at an outdoor ceremony or would add some country sweetness to a bridal shower!

For each lantern you will need:

-          2 identical doilies with scalloped edges
-          Straight pins, if necessary
-          Needle
-          Thread
-          Scissors
-          1 skein embroidery floss
-          1 metal ring
-          1 yd of ribbon (1” wide or smaller)
-          Craft pliers
-          Sugar starch (see recipe below)

Step One: Dip one doily into the sugar starch – completely coating the entire surface of the doily.  Spread onto an upside-down mixing bowl, being careful to keep the doily centered and even.  Tip: cover the bowl in plastic wrap first for easier clean-up. If your doily is wider than the bowl, crimp the doily to fit, using pins to keep in place.

Step Two: Once the doily is completely dry (could take 1 – 2 days), remove from the bowl – the doily will keep the rounded shape. Repeat Steps One and Two with the second doily.

Step Three: With a needle and thread, stitch together both doily “bowls”, matching scalloped edges, creating a globe.

Step Four: Weave the ribbon in and out of the gaps created by the scalloped edges of the doilies.  Cut away any excess ribbon, stitch ends together and shift the ribbon slightly so your ends are hidden inside of the doily globe.

Step Five: To create a tassel, cut about 6” of embroidery floss from the skein.  Wrap the length of floss about 1” from the top of the skein a few times and knot.  Cut across the bottom of the skein and fluff the ends.  With the craft pliers, slightly pry open the metal ring – insert into the looped end of your tassel and around a thread in the bottom of your doily globe.  Close the metal ring with the pliers.

Step Six: With scissors, cut a circle in the bottom of one doily “bowl”.  Hang with string or wire.

End result -  doily lanterns!


Sugar Starch Recipe

Ingredients:

- 1/4 cup water
- 3/4 cup granulated sugar

Mix water and sugar in a small pan. Stir the mixture over low heat (do not boil) until clear and smooth. Remove pan from heat, and let mixture cool.

Thanks to Veronica Sheaffer for letting us share this great rustic wedding DIY project.
credits – This DIY project, idea, photos and instructions are courtesy of Veronica Sheaffer & My Hands Made It