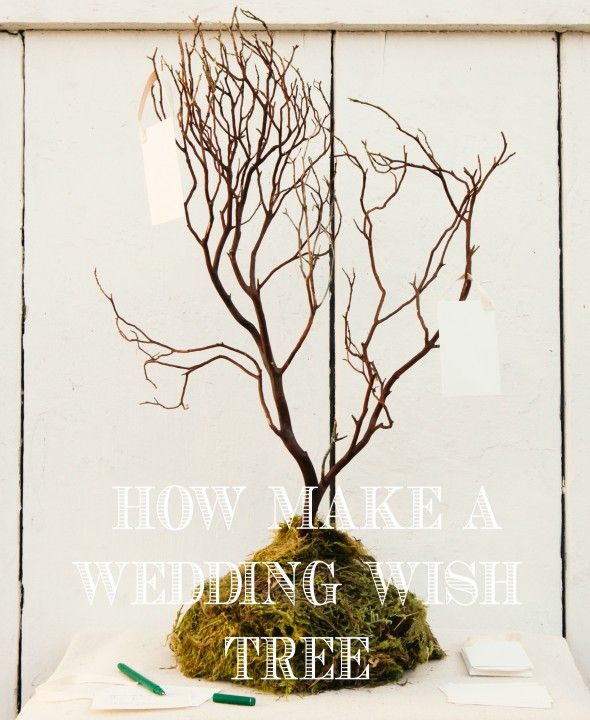
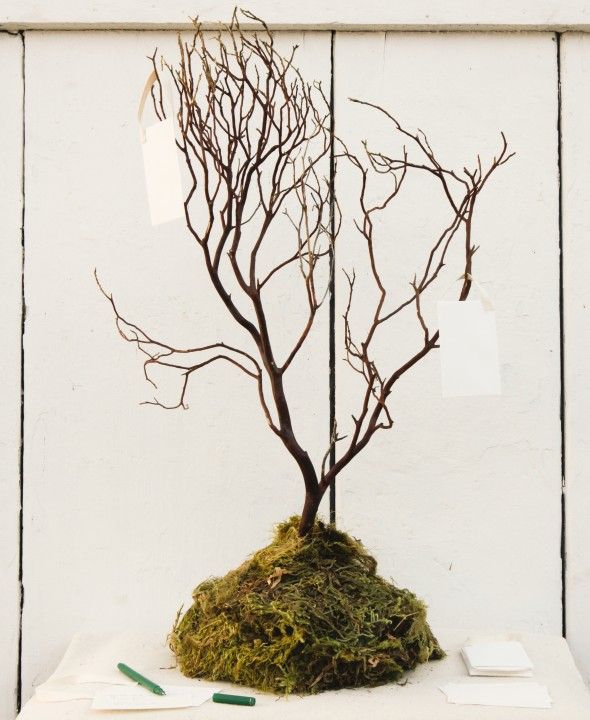
Today’s tutorial is an awesome addition to any rustic wedding! We sourced all of our materials at our local Michaels craft store for this project, making this an easy job for brides across the country! You could use a found tree branch if you have one as opposed to a preserved branch like this one to tie it into the natural surroundings of your wedding venue! We just love the idea of guests writing sweet wishes for the bride and groom and tucking them inside these lovely little envelopes for the bride and groom to open together later and cherish forever as reminders of their wedding day! Its a fun activity for all ages too, so even the youngest guests can participate! The tree itself can become something that stays with the couple through their lives, and could even be reincorporated into family events as a thanksgiving tree! You could also tuck some of your wedding florals into the moss or adorn the branches to further tie the tree into your rustic wedding theme!
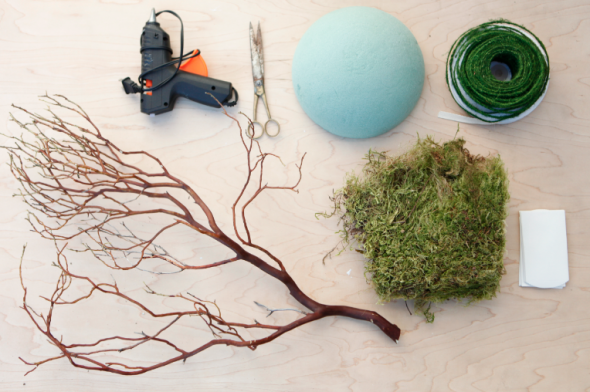
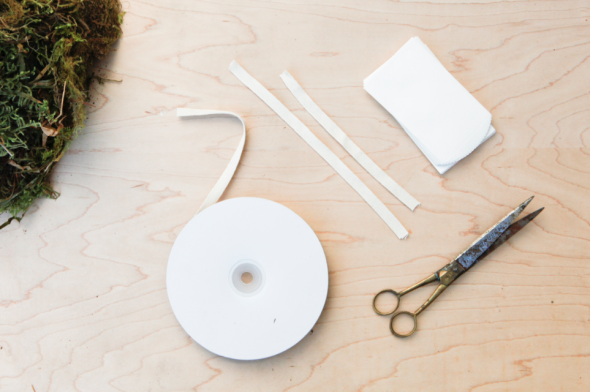
What You’ll Need : Tree Form / Half Sphere of Dry Foam / Moss Wire / Preserved Moss / Envelopes / Paper / Cloth Ribbon / Scissors / Hot Glue Gun
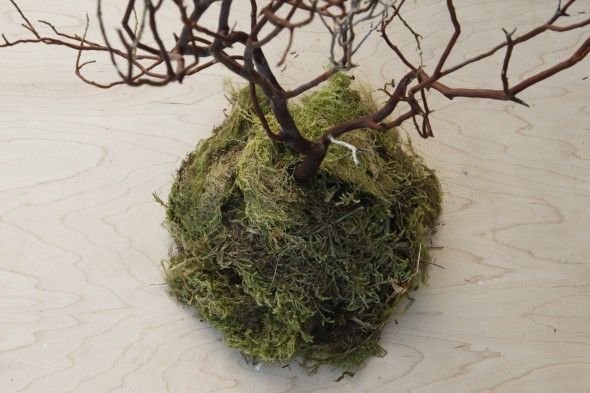
1. Firmly press the tree branch into the foam base from straight down. If you need to hold it snugly in place, use some hot glue to secure it. Make sure it is straight by seeing if it will stand on its own. If you need to make adjustments, push gently until it is straight and then secure the branch with hot glue.
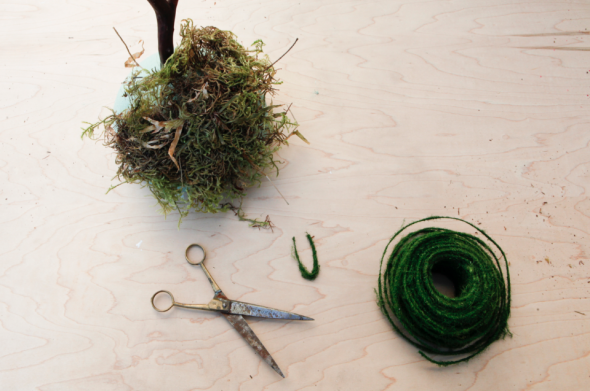
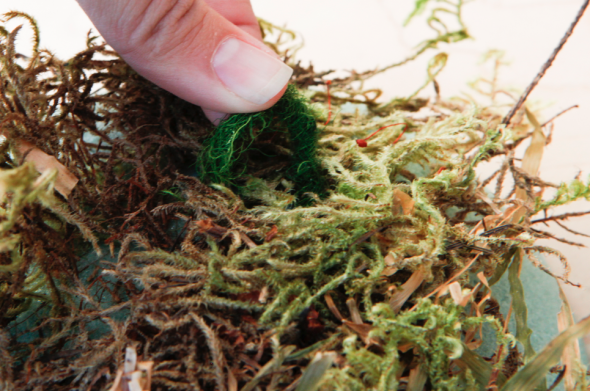
2. Pinch off sections of moss to cover the base. You will want to start at the base on one side and move around the bottom and then up towards the top. To secure the moss in place as you go, cut small sections of moss wire and create little U shaped pins.
3. Once you have the moss in place, use the moss U’s to pin the moss down in place. These are brilliant bc they will snugly hold the moss while staying totally invisible!
4. Work your way around the foam, pinning in sections of moss until the entire base is covered. Make sure all of the moss sections are secure!
5. Cut strips of cloth ribbon to about 4-5 inches. You can vary the lengths as you go to allow the for envelopes to hang differently on the branches.
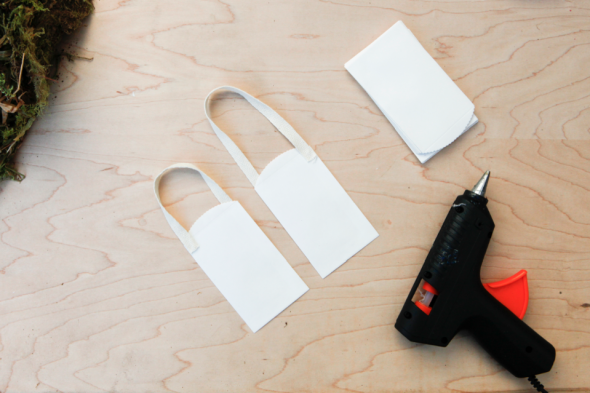
5. Cut strips of cloth ribbon to about 4-5 inches. You can vary the lengths as you go to allow the for envelopes to hang differently on the branches.
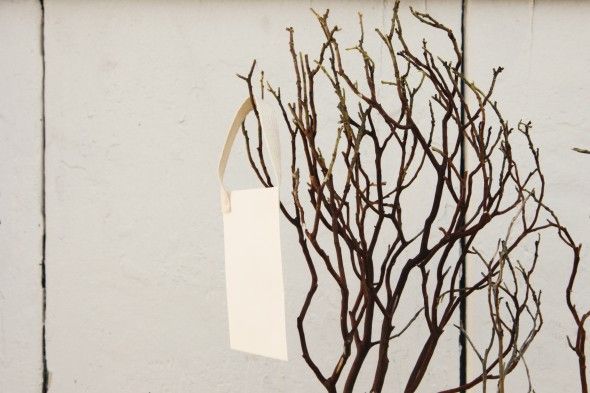
7. Test the envelope to make sure it will hang well on your tree branch and see that the ribbon is the right length.
8. Set your wishing tree out with your envelopes and slips of paper for your guests with write the newlyweds well wishes and hang them on the tree! Its a beautiful addition to a welcome table and a stunning alternative to a traditional guest book! You could also save them to open on your first anniversary!
Photography : MCR PROJECTS




No Comments