I love a good DIY rustic wedding project and this one may be one of my favorites, admittedly, I am not very craft but I do love looking at rustic wedding DIY project ideas! This wonderful DIY project is the brain child of our friend Veronica Sheaffer, wedding dress design and blogger. You remember some of my other post featuring this incredibly talented woman in which I showcased her complete bridal collection, her “To Catch A Thief” inspired dress as well as her Fabric Bouquet DIY and Paint Chip Place Card DIY. Today’s DIY project is one that would look stunning hanging the trees at an outdoor ceremony or would add some country sweetness to a bridal shower!
For each lantern you will need:
– 2 identical doilies with scalloped edges
– Straight pins, if necessary
– Needle
– Thread
– Scissors
– 1 skein embroidery floss
– 1 metal ring
– 1 yd of ribbon (1” wide or smaller)
– Craft pliers
– Sugar starch (see recipe below)
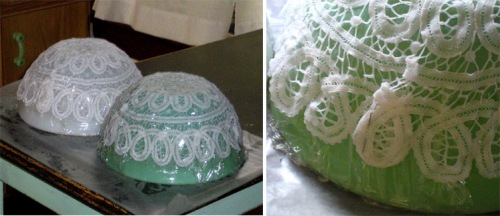
Step One: Dip one doily into the sugar starch – completely coating the entire surface of the doily. Spread onto an upside-down mixing bowl, being careful to keep the doily centered and even. Tip: cover the bowl in plastic wrap first for easier clean-up. If your doily is wider than the bowl, crimp the doily to fit, using pins to keep in place.
Step Two: Once the doily is completely dry (could take 1 – 2 days), remove from the bowl – the doily will keep the rounded shape. Repeat Steps One and Two with the second doily.
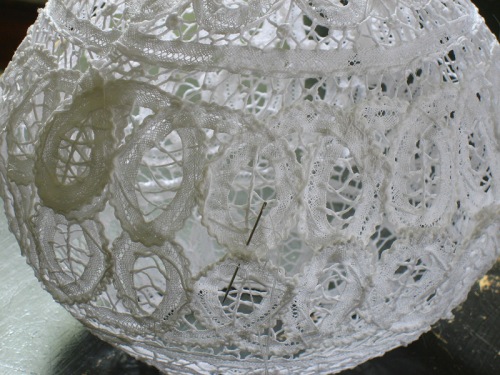
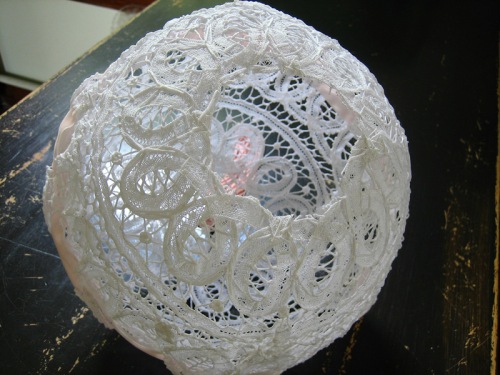
Step Three: With a needle and thread, stitch together both doily “bowls”, matching scalloped edges, creating a globe.
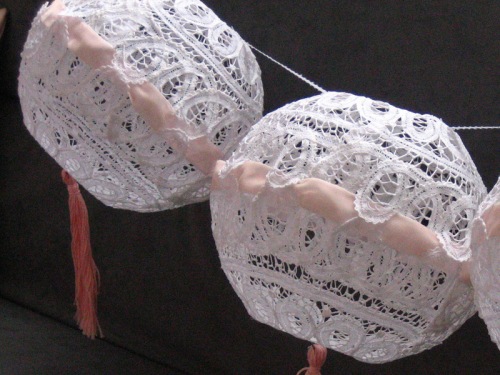
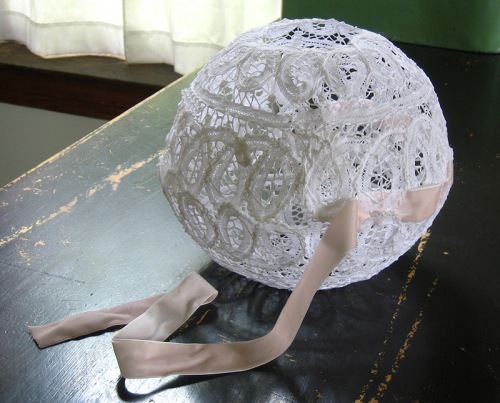
Step Four: Weave the ribbon in and out of the gaps created by the scalloped edges of the doilies. Cut away any excess ribbon, stitch ends together and shift the ribbon slightly so your ends are hidden inside of the doily globe.
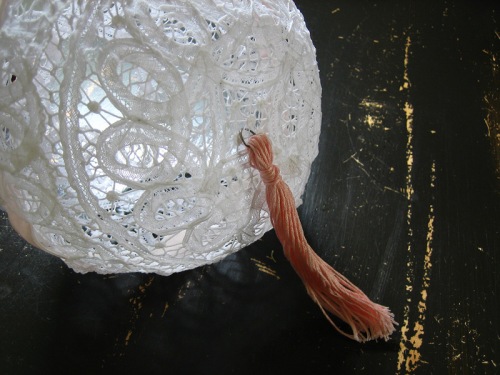
Step Five: To create a tassel, cut about 6” of embroidery floss from the skein. Wrap the length of floss about 1” from the top of the skein a few times and knot. Cut across the bottom of the skein and fluff the ends. With the craft pliers, slightly pry open the metal ring – insert into the looped end of your tassel and around a thread in the bottom of your doily globe. Close the metal ring with the pliers.
Step Six: With scissors, cut a circle in the bottom of one doily “bowl”. Hang with string or wire.
End result – doily lanterns!
Ingredients:
– 1/4 cup water
– 3/4 cup granulated sugar
Mix water and sugar in a small pan. Stir the mixture over low heat (do not boil) until clear and smooth. Remove pan from heat, and let mixture cool.
Thanks to Veronica Sheaffer for letting us share this great rustic wedding DIY project.
credits – This DIY project, idea, photos and instructions are courtesy of Veronica Sheaffer & My Hands Made It

5 Comments
DIY Wedding Accents | Custom Weddings and Events | Karen Bohanon | 254-317-8418
May 14, 2013 at 11:00 am[…] Doily Lanterns Source: https://rusticweddingchic.com/diy-doily-lantern […]
Natalie
December 8, 2012 at 9:45 amDo you know where we could buy doilies in bulk? And how many inches in diameter is the doily in the picture?
Danielle
November 18, 2012 at 12:59 pmjust wondering if these would work with paper doilies or if it has to be fabric??
Wedding Belles: Style Shower « eyeblinkfashion
May 9, 2012 at 8:44 am[…] (courtesy of rusticweddingchic.com) […]
30 DIY Doily Crafts
April 19, 2012 at 12:16 am[…] Doily Lantern via Rustic Wedding Chic […]