 This afternoon’s floral project is one of my favorites so far in our DIY Wedding series! The end result is just so beautiful I wish I could have them around the studio all of the time. Regardless of what color hydrangea you work with, they catch the light beautifully and look like they are light as air. We think they would be awesome to do in clusters of various sizes, and you can find all kinds of oasis globes online. If you add water to the globes they can last up to a week or more! These could be used to frame your ceremony backdrop or to adorn a photo booth. They also look gorgeous hung from tree branches in an outdoor setting, or indoors could be suspended from barn beams. We also love the idea of resting them on tables as centerpieces or used to adorn a sweets table. This is another project that is super child friendly and would be a perfect activity for you to do with your flower girls before your wedding. We noticed that the longer the stem you leave the longer the flowers last so if you are wanting lasting power I would recommend larger sprigs with longer stems as opposed to cutting individual stems loose from the bunch! Have fun!

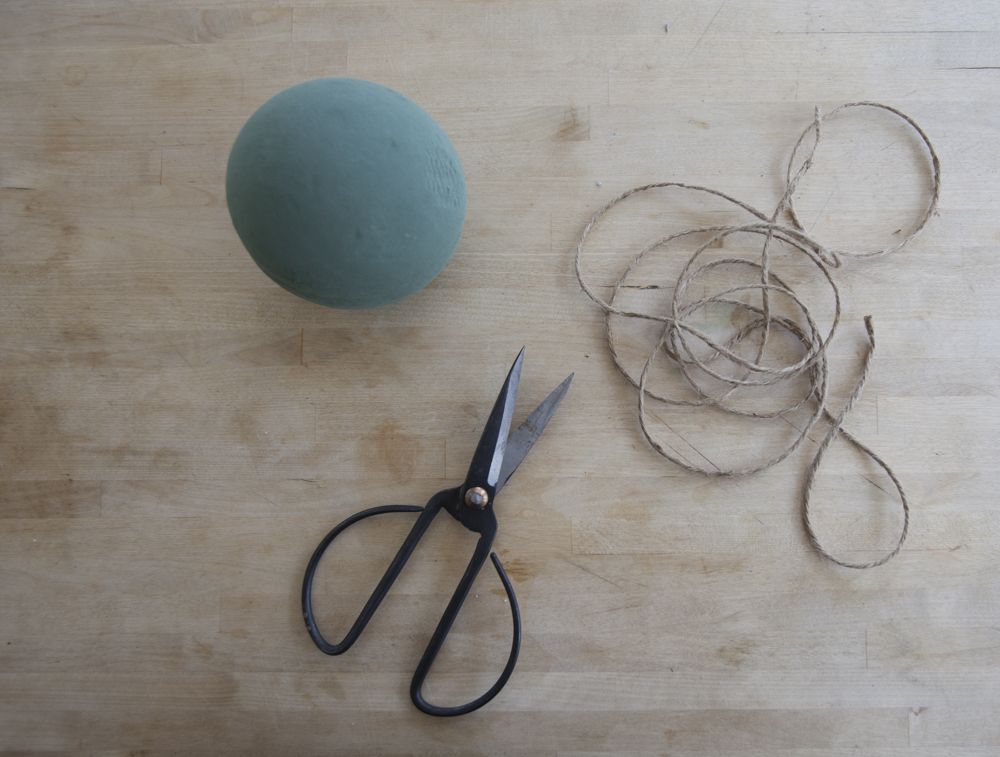
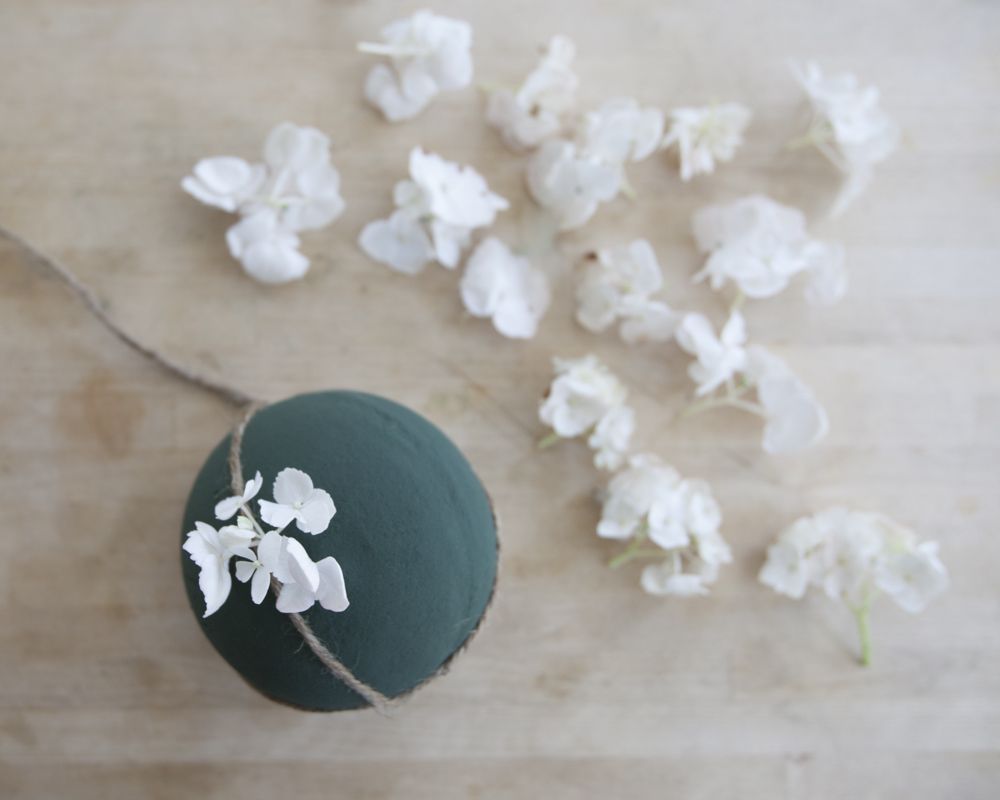
What You Will Need : Foam Globe / Twine / Water / Scissors / Hydrangeas / Clippers / Pink Filler Flowers ( optional )
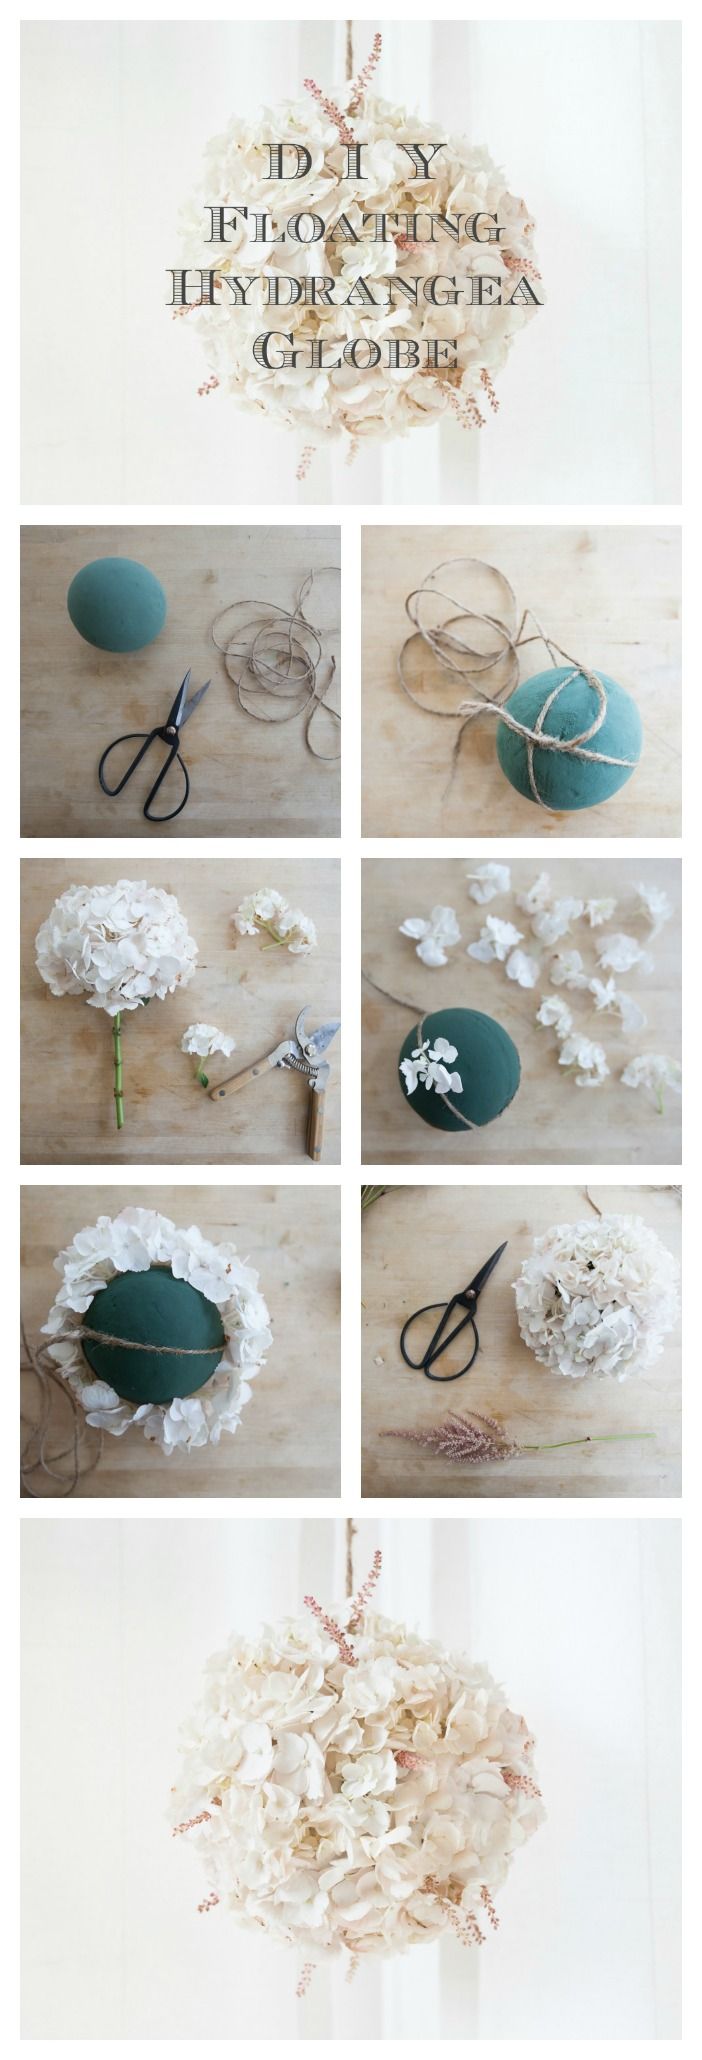
1 ) Trim enough twine to wrap twice around the globe, leaving more than enough to hang your globe at your location.
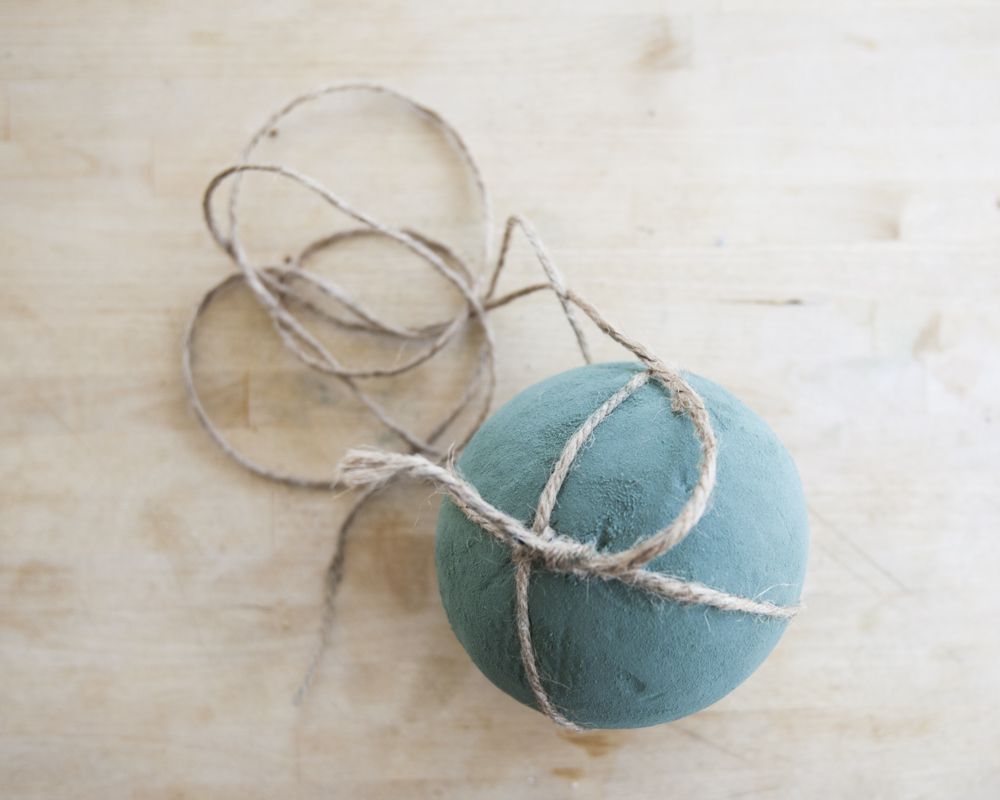
2 ) Carefully wrap the twine once around the globe, knot once, then wrap around again at a cross. Tie with a double knot and trim off excess. You may gently press the twine into the foam for a stronger hold.
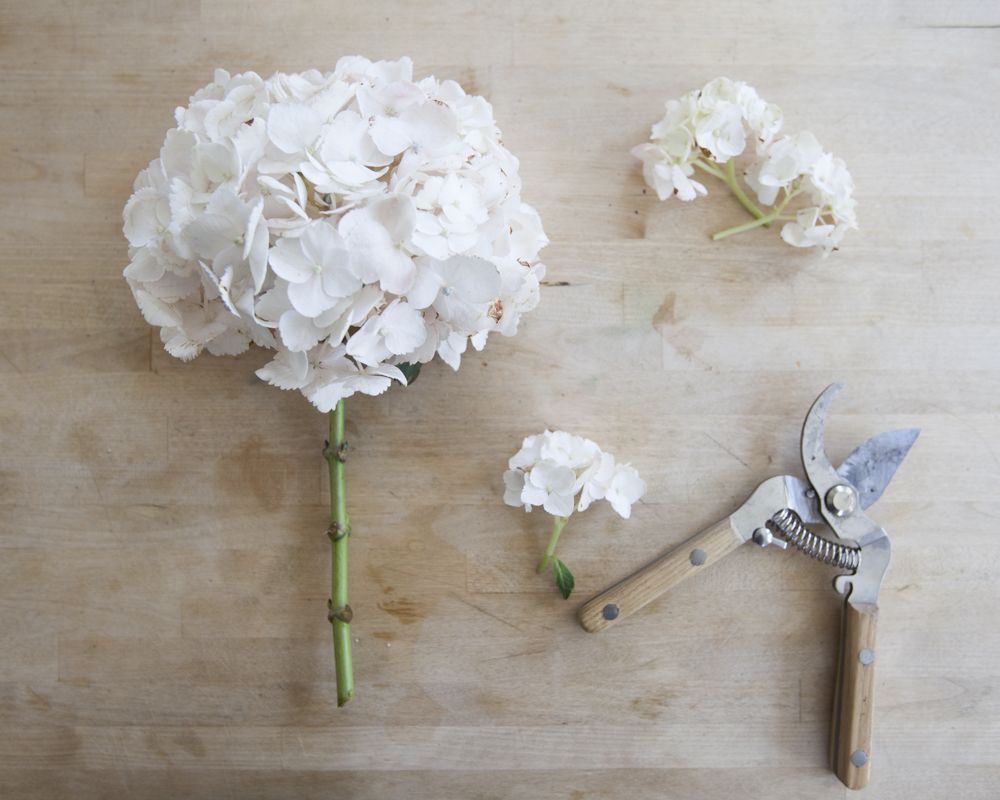
3 ) Clip off sprigs from the head of your hydrangea. You want to cut the stems that are attached to the main stem, giving yourself 1-2 inches of stem to work with.
4 ) Run the foam under water for a couple seconds so that it absorbs enough water to feel wet on all sides. It doesn’t need to be totally soaked through. Starting on one side, carefully press the stems into the foam, sliding about one inch of stem directly into the foam.
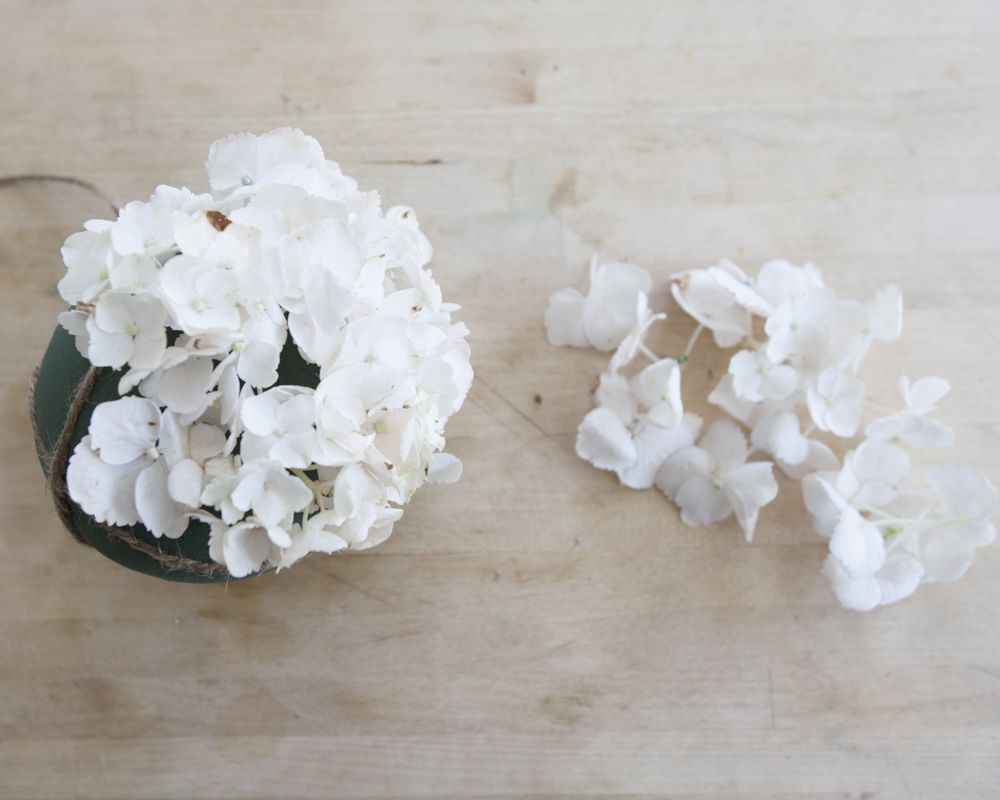
5 ) Work your way around the globe with the largest of the sprigs that you have cut.
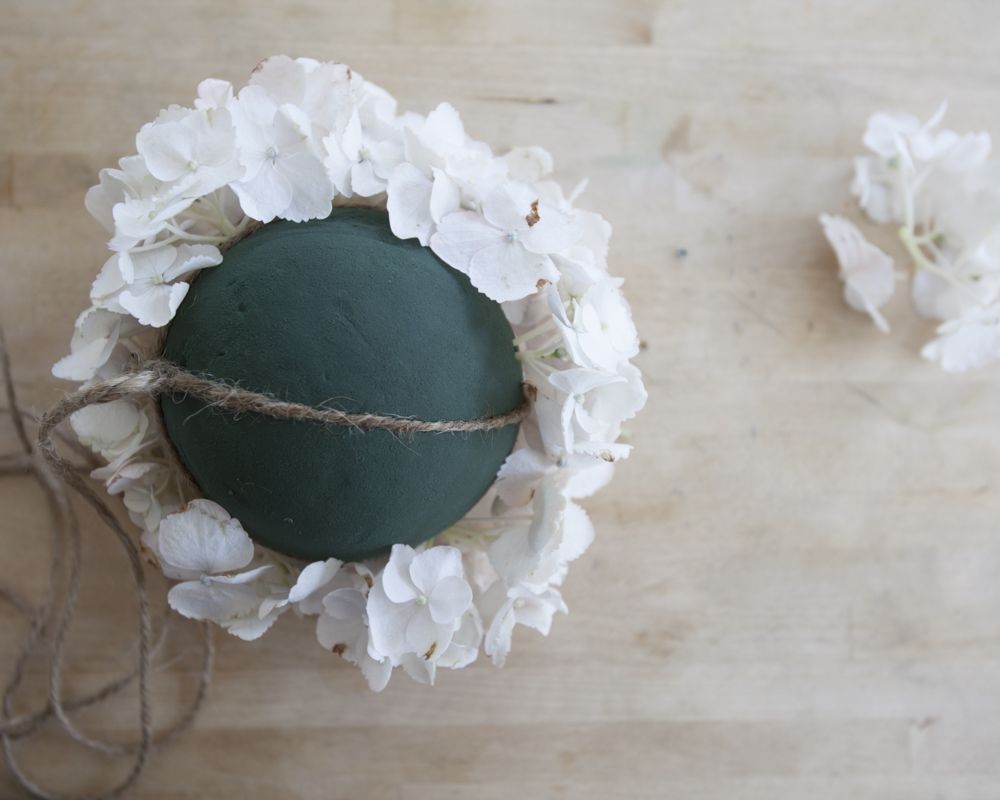
6 ) When you get to the other side, carefully rest the globe on the table top and continue. You may also use a cushion of paper towel or cloth if your hydrangeas are particularly fragile.
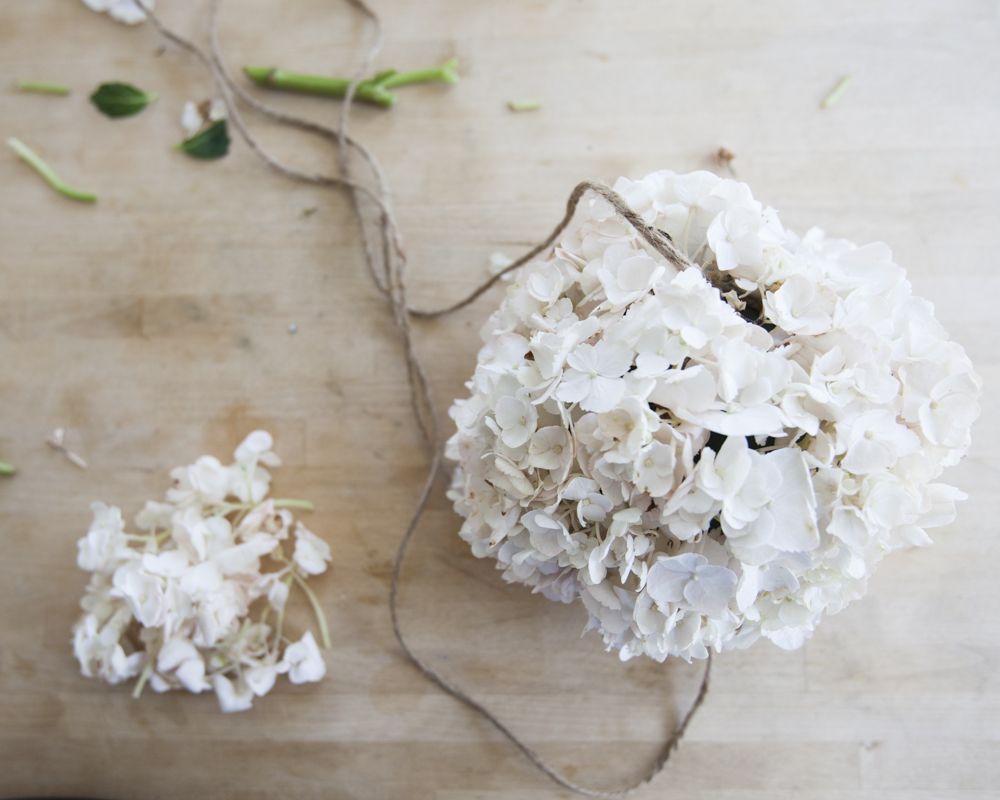
7 ) Once you make it all of the way around with the larger sprigs, go over the globe once more filling in bare spots with smaller sprigs until you can’t see the foam through the petals.
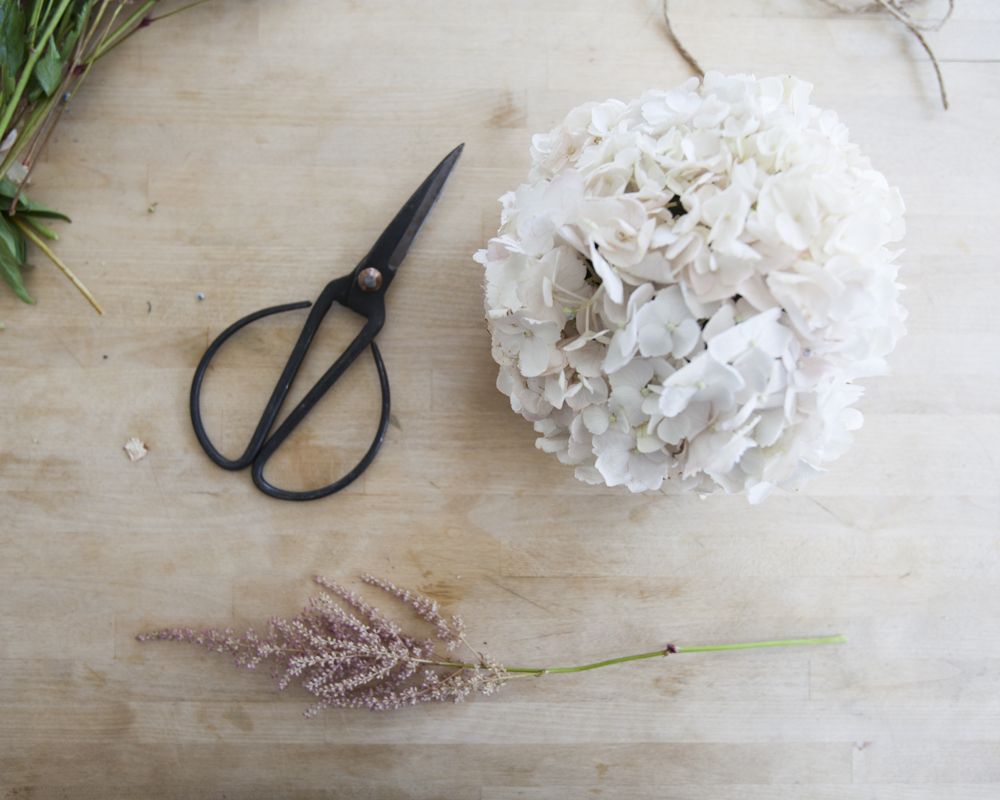
8 ) If you so choose, add pink accents at this stage. Cut sprigs of pink filler that are 2 – 3 inches long.
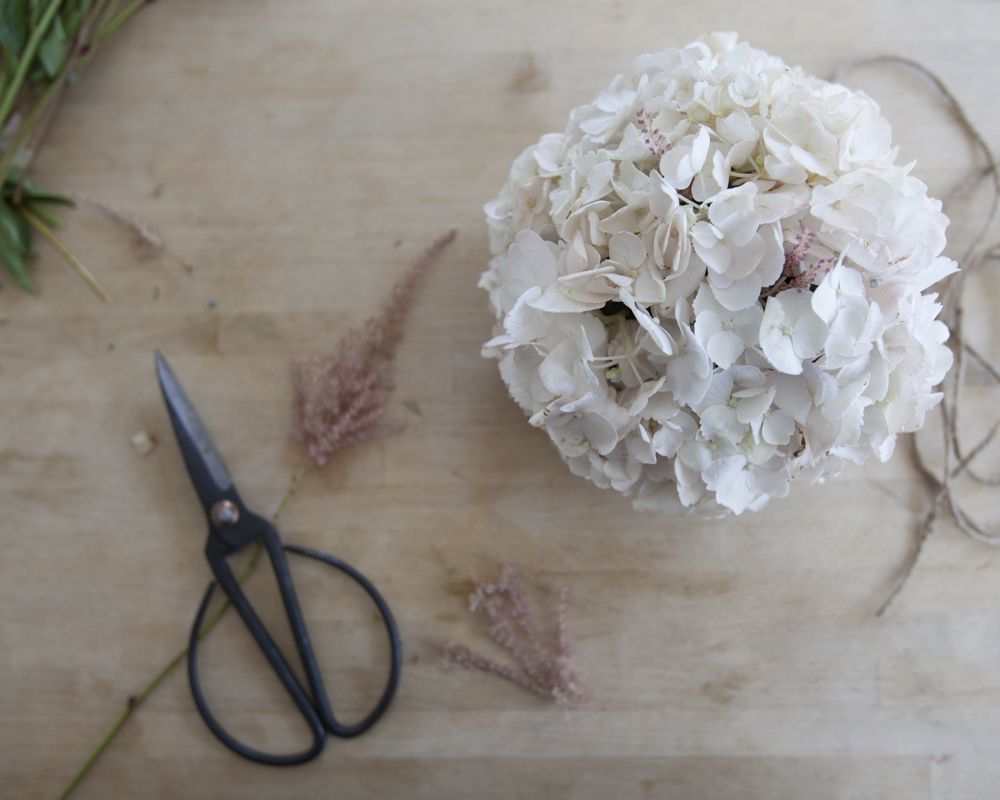
9) Slide these into the foam in bare spots to create a random yet even distributions of accents.
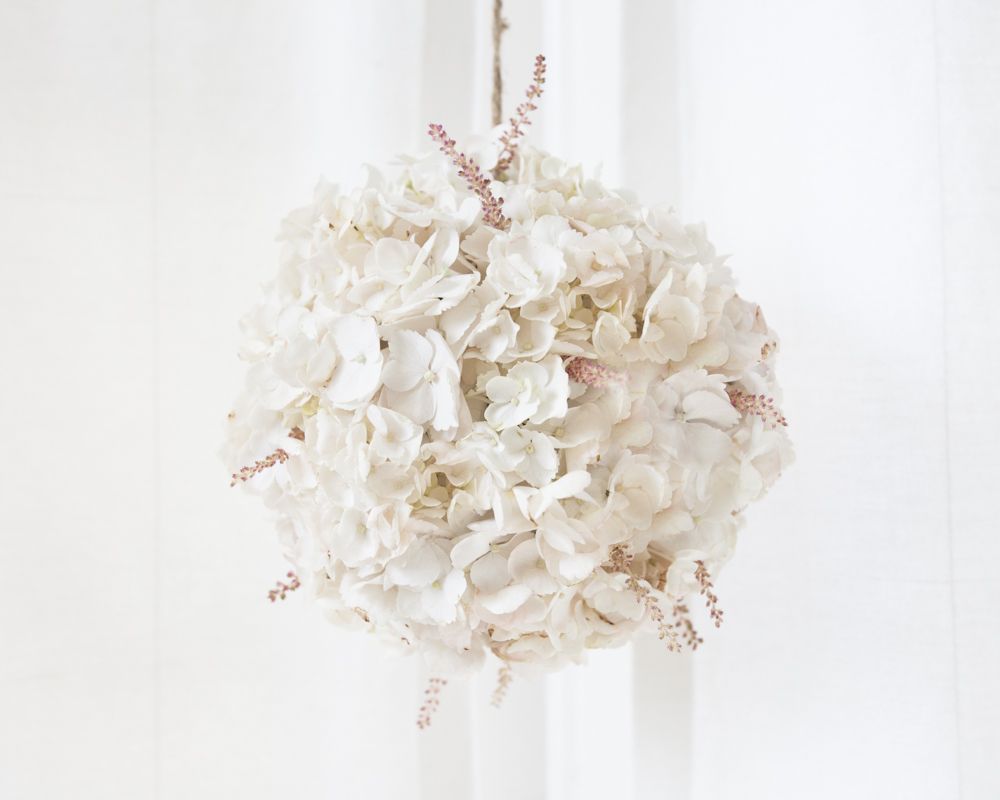
10 ) Hang your globe in your desired place using your extra twine. To prolong the life of the flowers, if the foam feels dry at any time, sprinkle with water.
Photography : MCR PROJECTS
No Comments