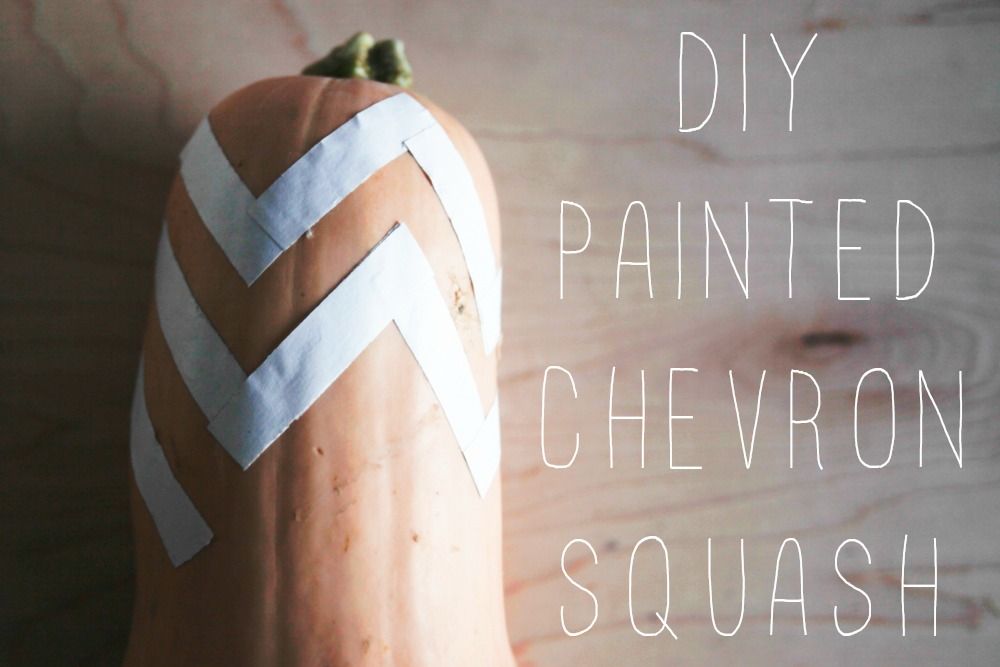
 Today’s DIY project is super fun and easy and perfect for a fall wedding! Chevron Squash could be a great addition to your rustic wedding centerpieces, and the varieties of pumpkins and squashes this time of year are abundant! We used a ghost pumpkin and a butternut squash that we found at the grocery store for ours but heritage pumpkins or acorn squash would work nicely too! You could also opt for a metallic paint or multiple colors to tie them into your wedding theme! Have fun!!
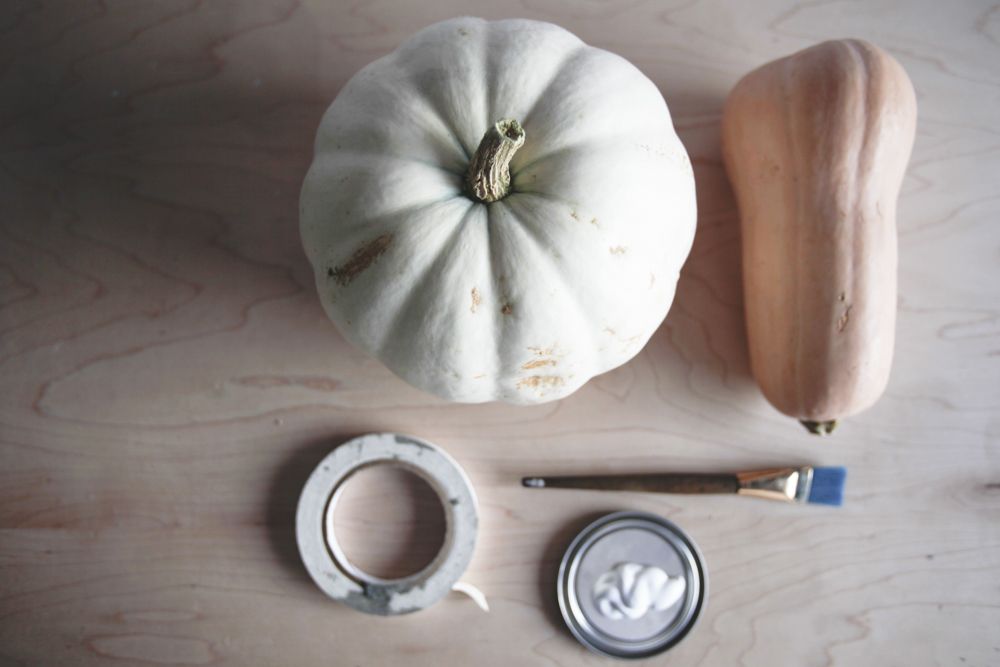
What You’ll Need :
Painter’s Tape / White Acrylic Paint / Scissors / Paint Brush / Various Squash & Pumpkins
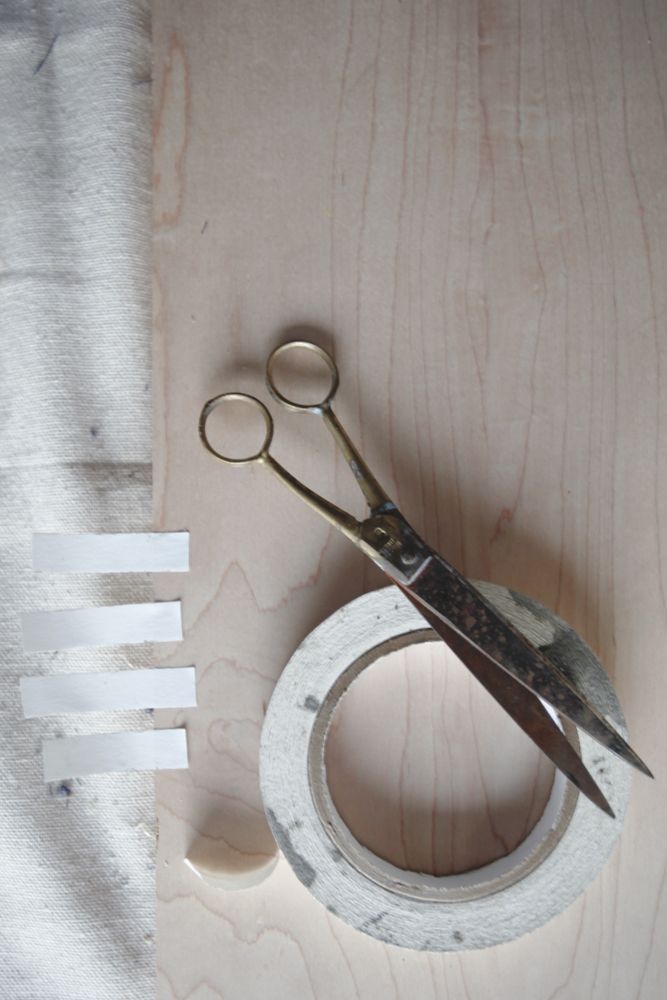
1 ) Cut tape into strips of equal length. You will probably need between 30 – 40 depending on the squash and number of stripes you plan to paint.
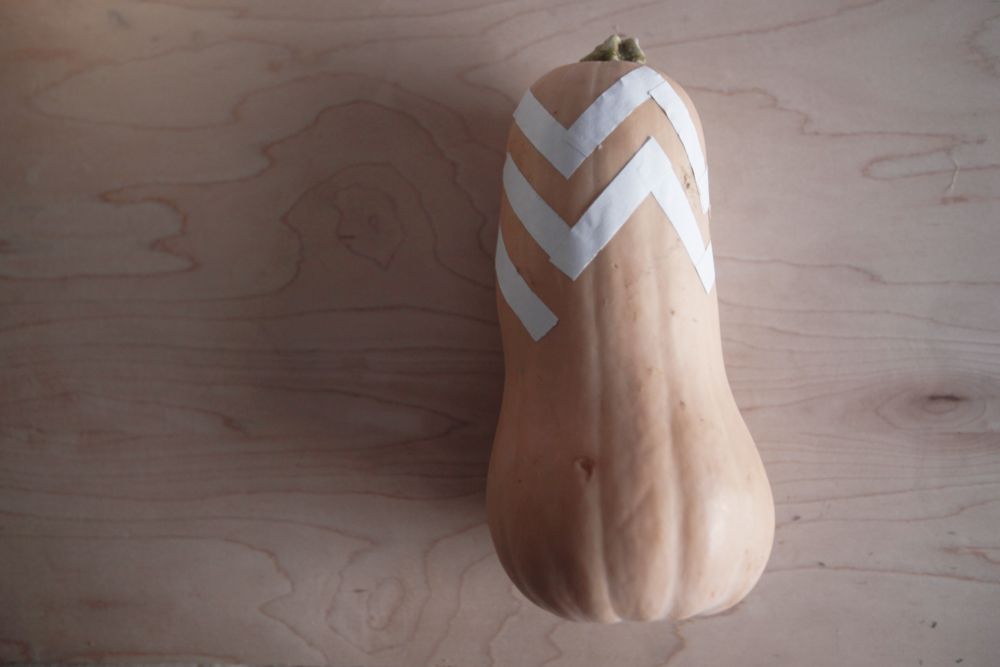
2. Apply strips of tape to squash, connecting at right angles. You may need to trim some of the tape to account for the natural shape of the squash.
TIP : Smooth the tape down to make sure the tape is pressed down at the edges as best you can so that the paint can’t drip under the tape. This will ensure that you get a cleanly stenciled pattern.
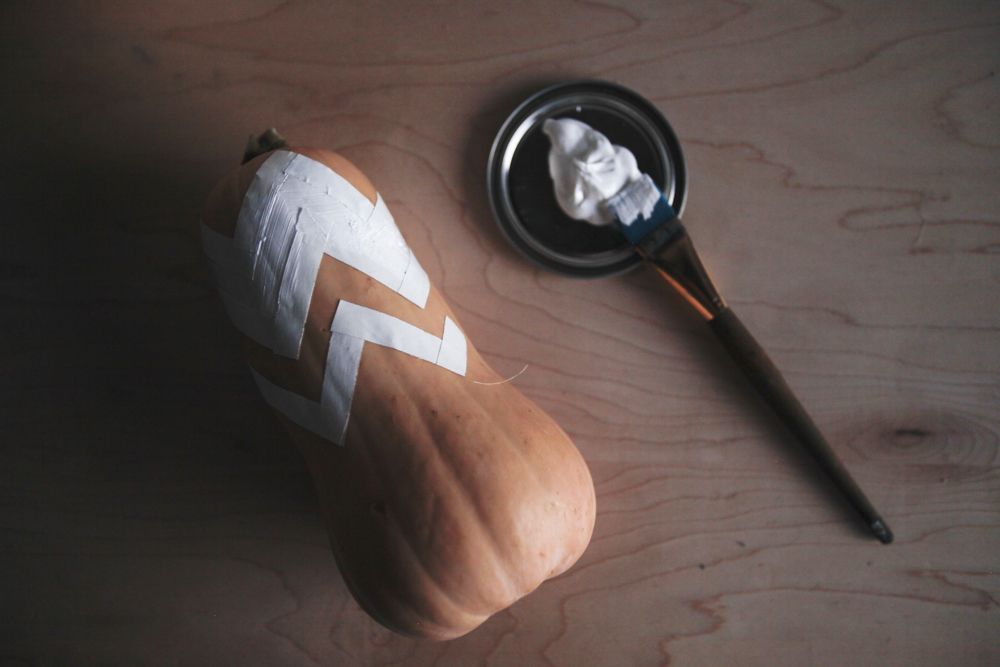
3. Now, using a medium sized paintbrush, carefully paint between the taped off lines you have made on the squash.
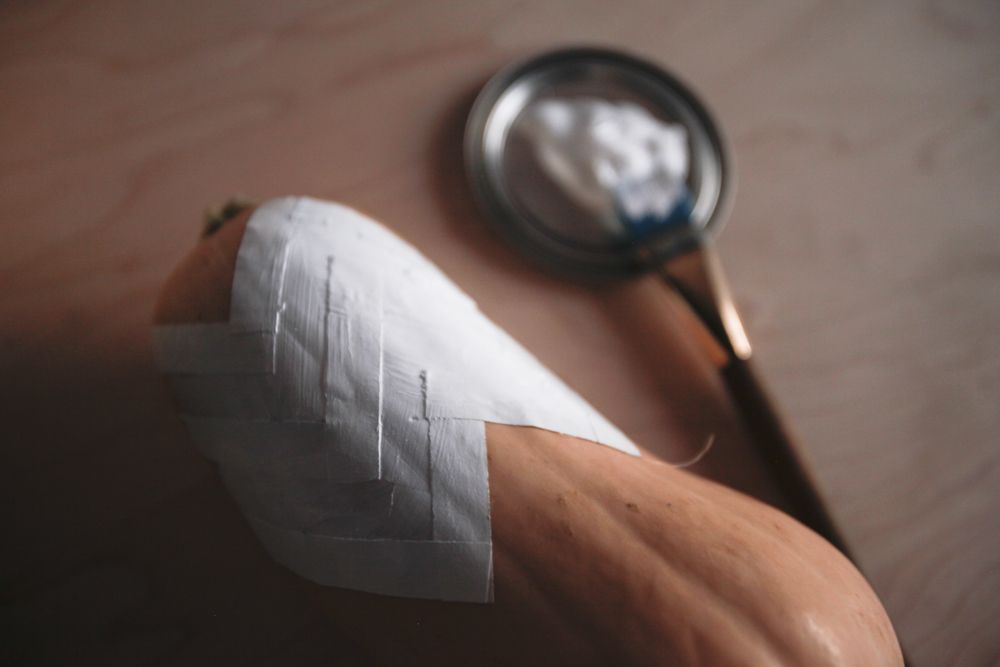
4. Allow the paint to dry. You may need to apply a second coat.
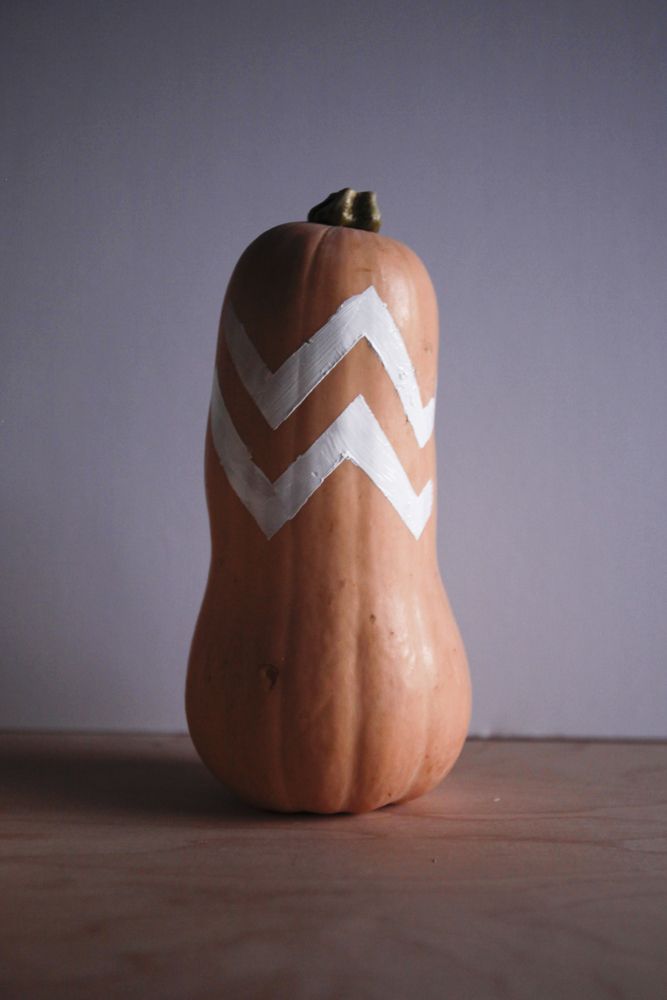
5. When the paint has dried, carefully remove the tape to reveal your painted chevron pattern!
Photography : MCR Projects
No Comments