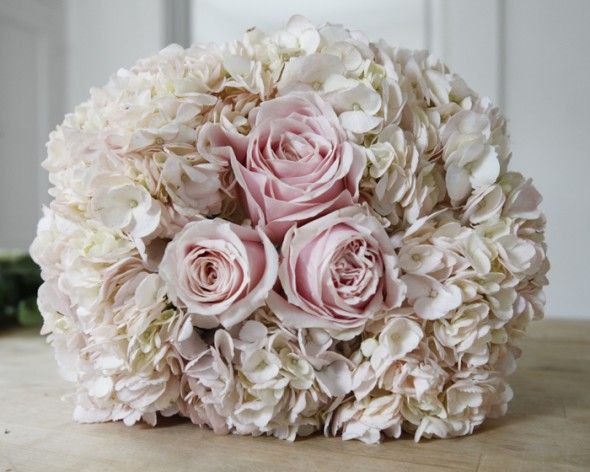
 Making your own wedding bouquet may seem like a big undertaking but it not as hard as it sounds!! Its also a great way to make sure your bouquet is exactly what you want for your big day. Here is a step by step for how I constructed my dream wedding bouquet starting with a shopping trip at the Los Angeles Flower Market and resulting in, well, you’ll see! One thing to keep in mind is to make sure it’s secure! This may take some practice, but it’s worth it since your bouquet needs to make it though your whole wedding day! Happy making!
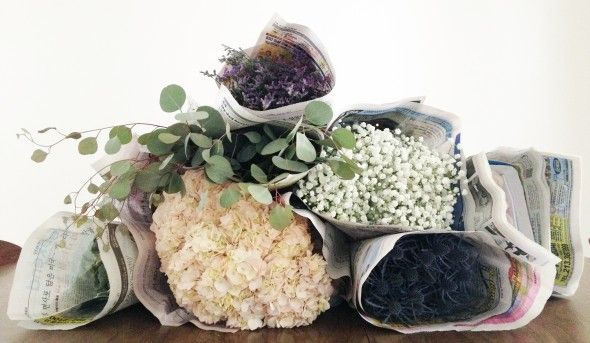
1 Visit your flower market and gather the flowers you want to use.
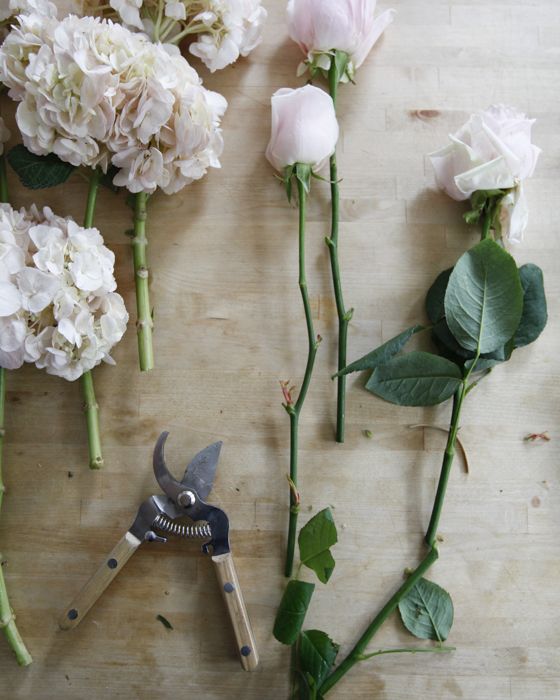
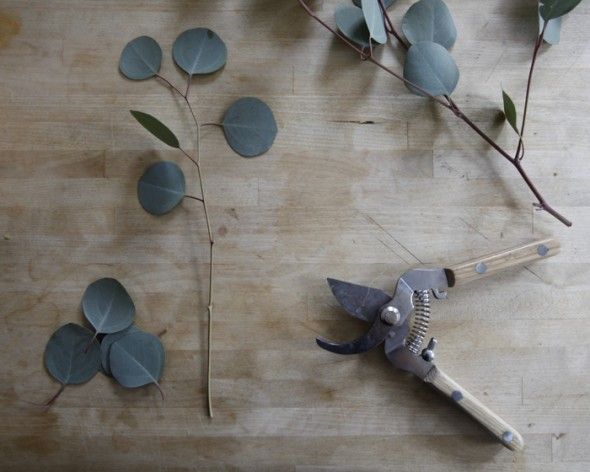
We got : blush hydrangeas, blush roses, purple thistle, baby’s breath, eucalyptus and some soft leafy greens.
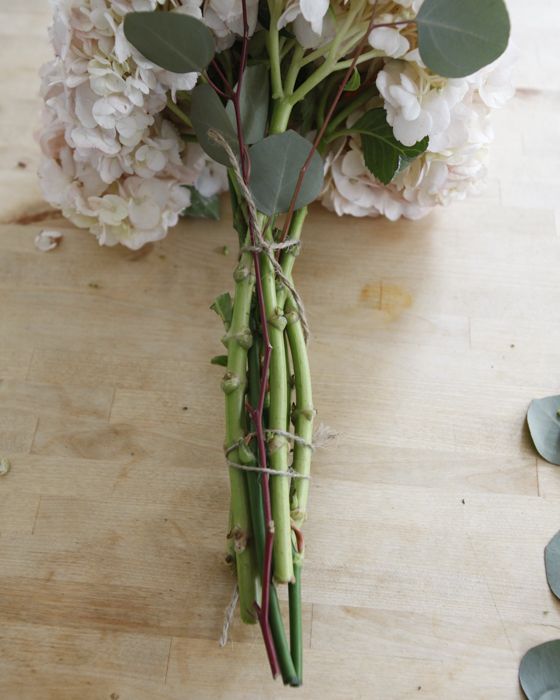
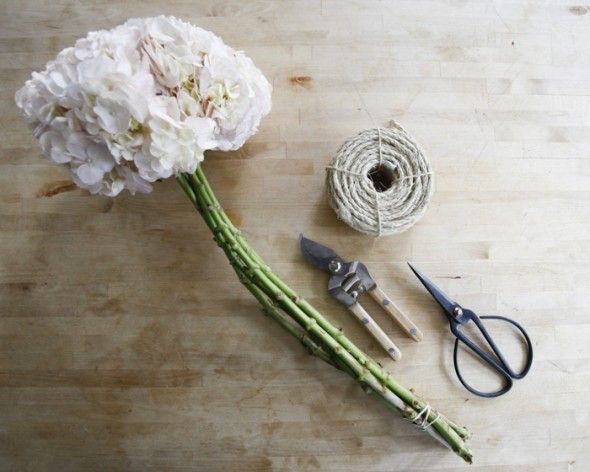
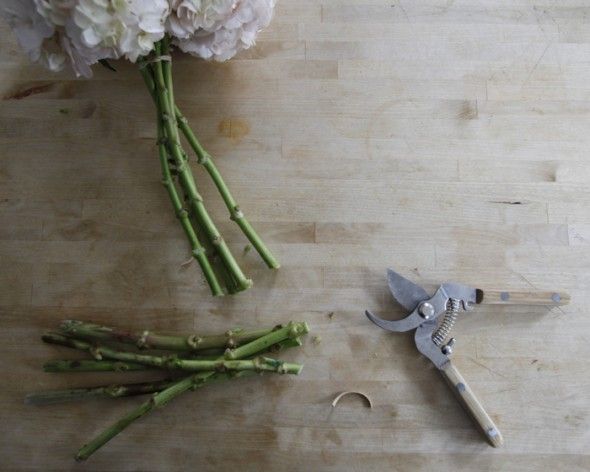
7 Bind the rose and hydrangea stems about 3 inches from the stem ends, and slide the eucalyptus under the twine, evenly around the outside of the bunch.
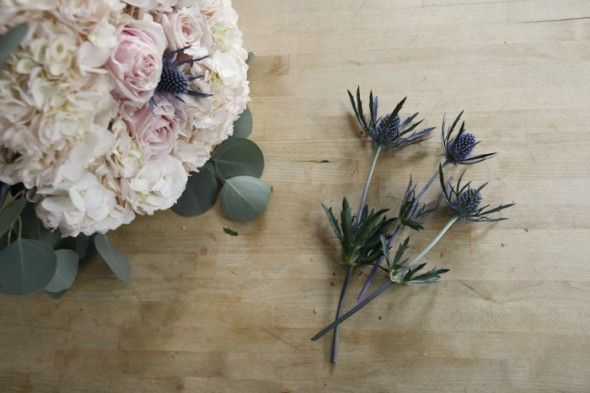
8 Trim the thistle blossoms so that the stem is long enough to be secure in the bouquet handle ( about 3 – 4 inches ) Then slide the thistle into the hydrangea blossoms so that they rest on the petals.
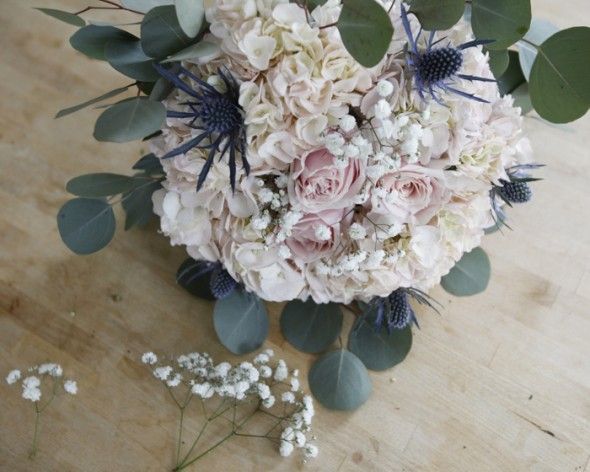
9 Add sprigs of baby’s breath to the bouquet for extra flourish if you want! Baby’s Breath looks great in photographs and smells faintly of honey !!
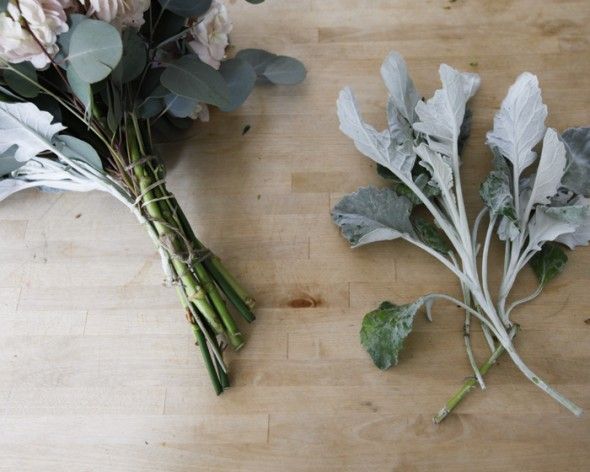
10 Tie a rubber band around the top of the base of the stems. Then tuck the ends of the leafy greens around the outside of the bouquet.
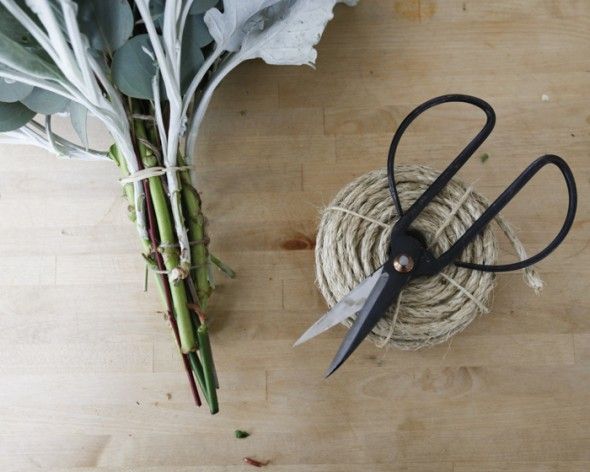
11 Measure enough twine to wrap your bouquet handle and cut it a inches longer than you think it needs to be. If the bouquet doesn’t feel totally secure by this step, don’t hesitate to add extra rubber bands before you start wrapping of the base!
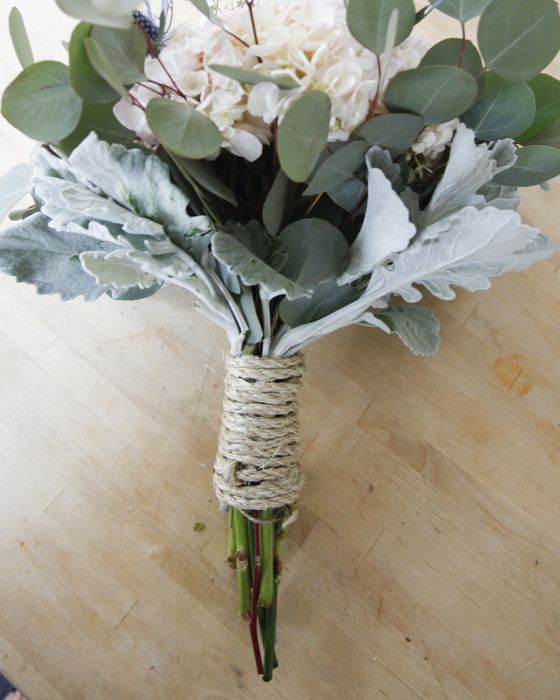
13 Holding the twine tight with one hand, wrap the base of your bouquet with the other hand. When you get to the base use the extra end of twine to make a single tight knot and then simply trim and tuck the ends in.
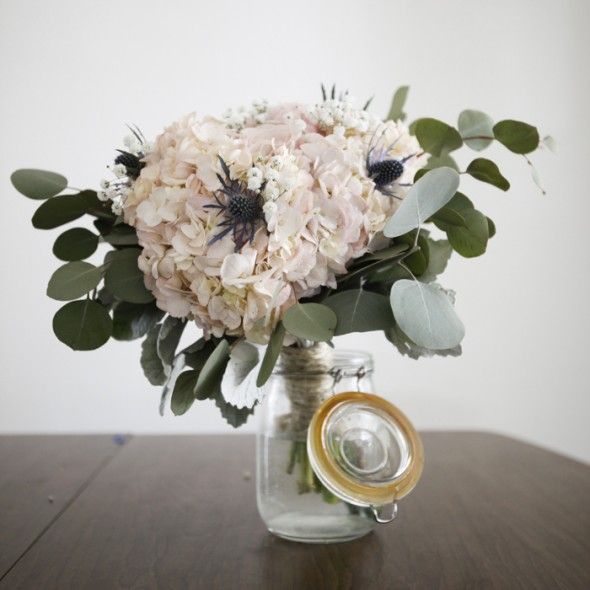
14 Now your bouquet is finished! Be sure to set it aside in some water until it is ready to be carried!
Photography : MCR PROJECTS



1 Comment
Wedding Flower Options | Make My Day Perfect
November 20, 2013 at 12:32 pm[…] Rustic Wedding even shows you how to make your own! […]