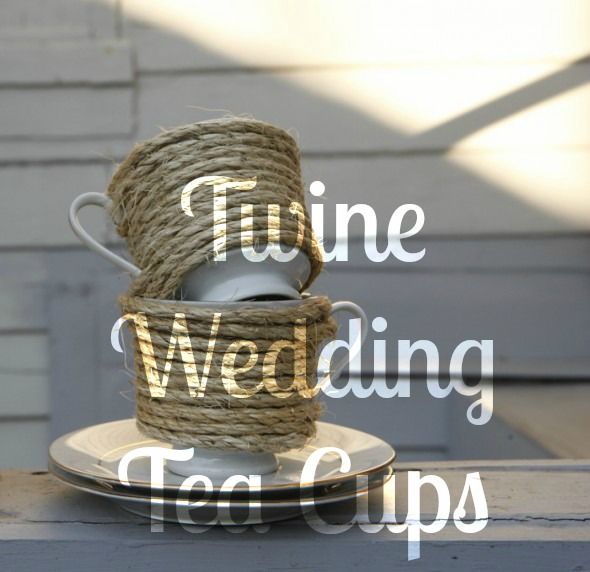
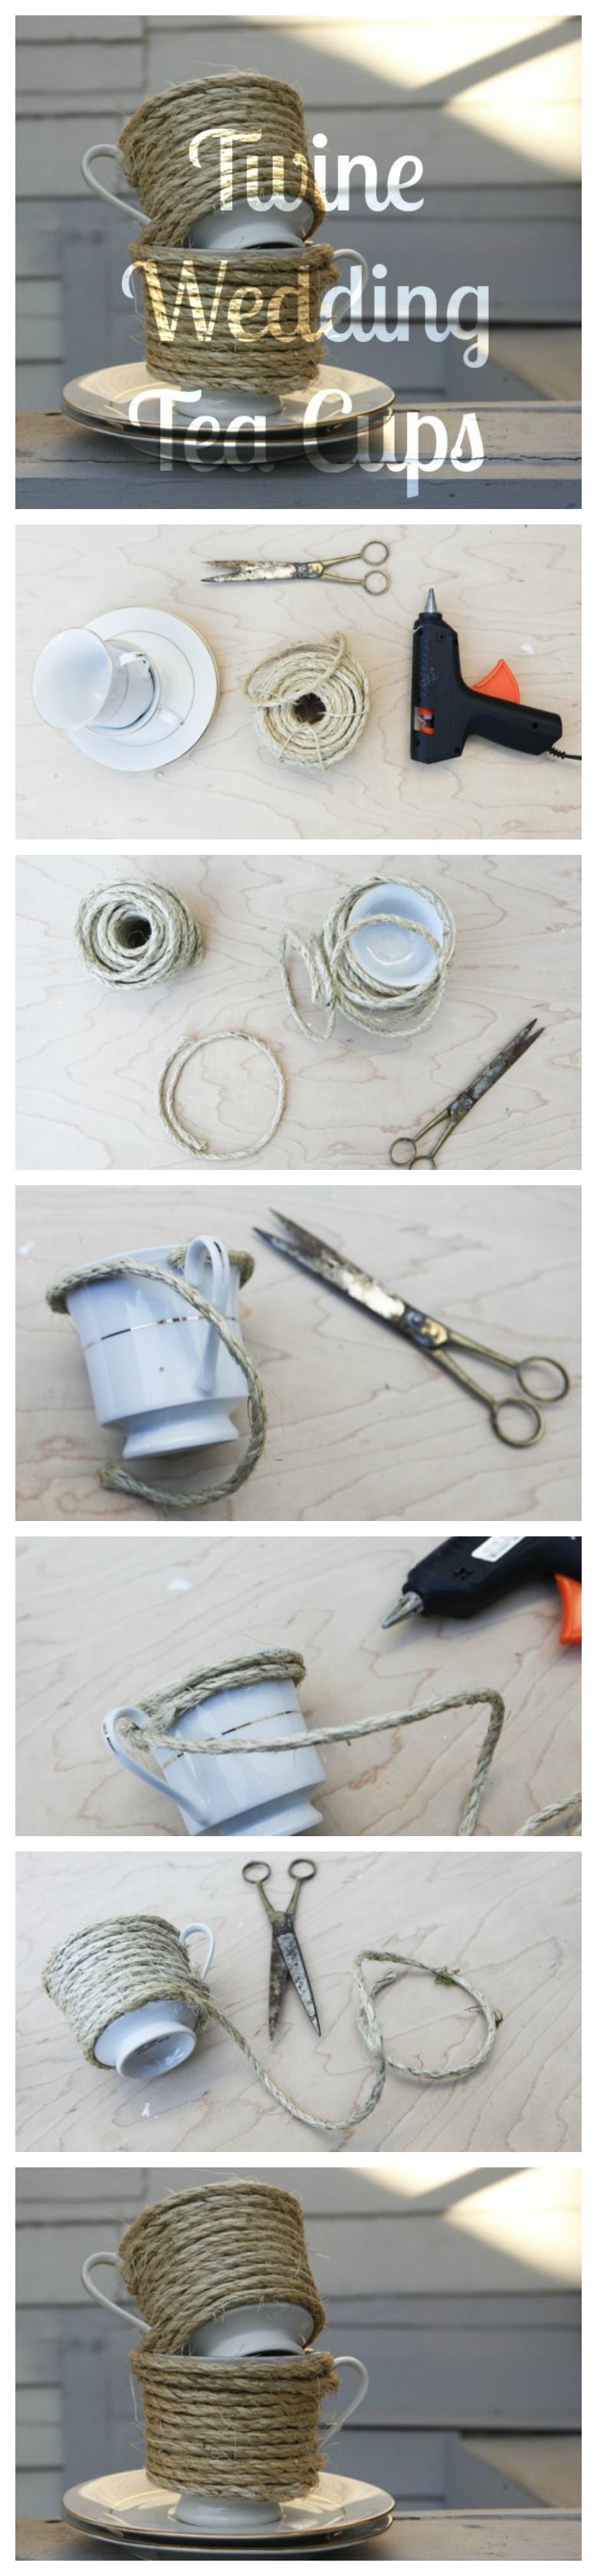
 These twine wedding tea cups are an awesome rustic chic accessory for your wedding! We found our teacups at a goodwill for a few dollars each. You can also easily mix and match due to the twine wrapping that will cover most of the design on the sides. These would be perfect to use for wedding flowers as rustic wedding centerpieces or to fill with candy or favors. For variety you could also use different thicknesses of twine on different cups, and mix and match cups and saucers! Another cool idea would be to spray paint the saucers gold for an extra fancy touch! Hope you have fun! See our entire section of rustic wedding do it yourself projects, country wedding DIY projects and more.
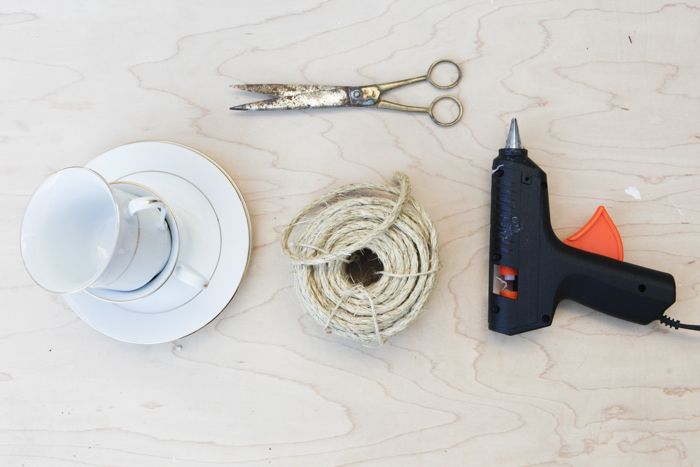
What You’ll Need : Tea Cups & Saucers / Scissors / Hot Glue Gun / Twine
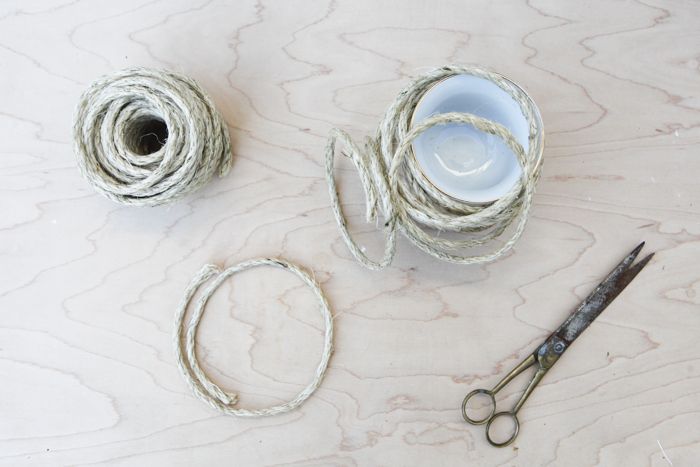
1) Measure a length of twine that will be long enough to cover the entire outside of the teacup and trim with scissors. Leave a few extra inches just in case you need them!
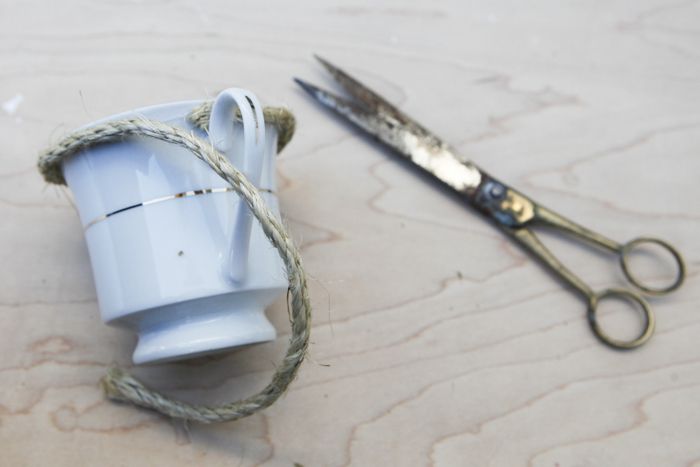
2) Glue one end of the twine just beneath the lip of the teacup, just above the handle. Using your hot glue gun, line the underside of the lip of the teacup and press the twine into it until it almost meets the end of the twine.
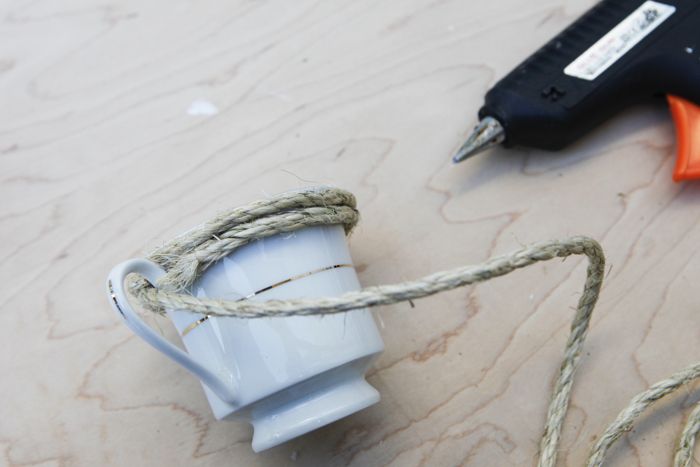
3. Trim the end of the twine so that it meets the first glued end. Starting at the edge of the handle, just beneath the top layer of twine. Wrap around, running a line of glue under the twine. If you press the twine up as the glue cools, the coils will be the tightest.
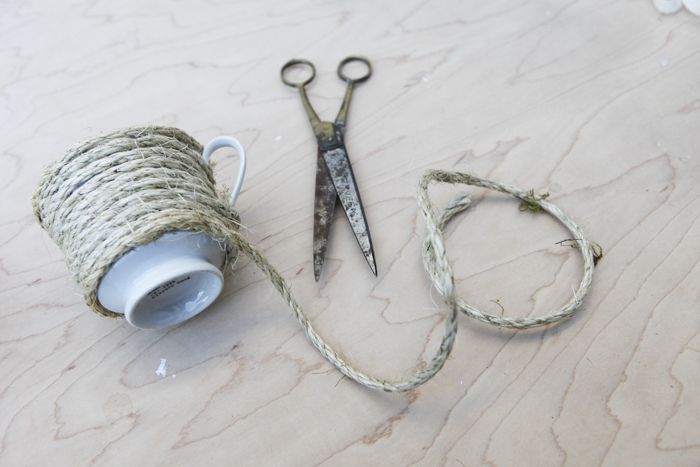
5. Continue around the teacup until you get to the bottom of the teacup. When you have covered the entire side of the cup, trim the extra twine off and glue the end down.
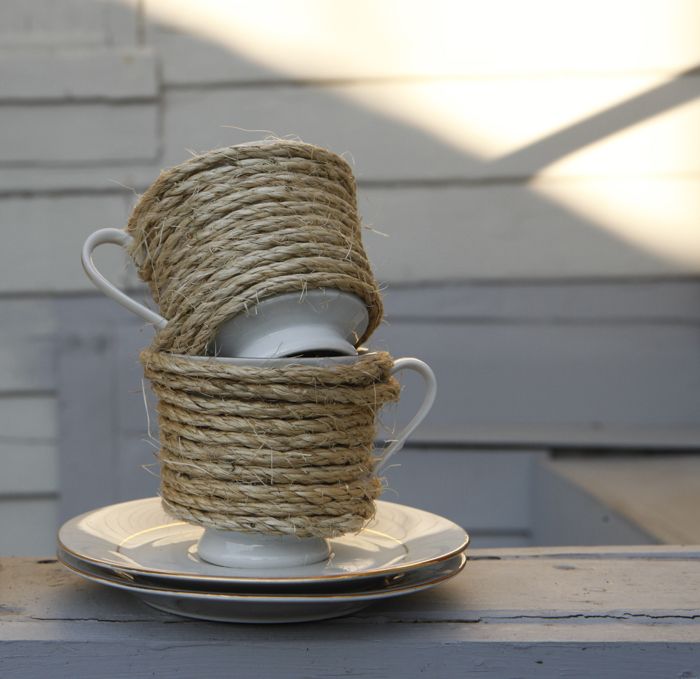
6. Stack cups or fill with candy or flowers to use as centerpieces or favors!
Photography : MCR PROJECTS
Step by Step :
No Comments