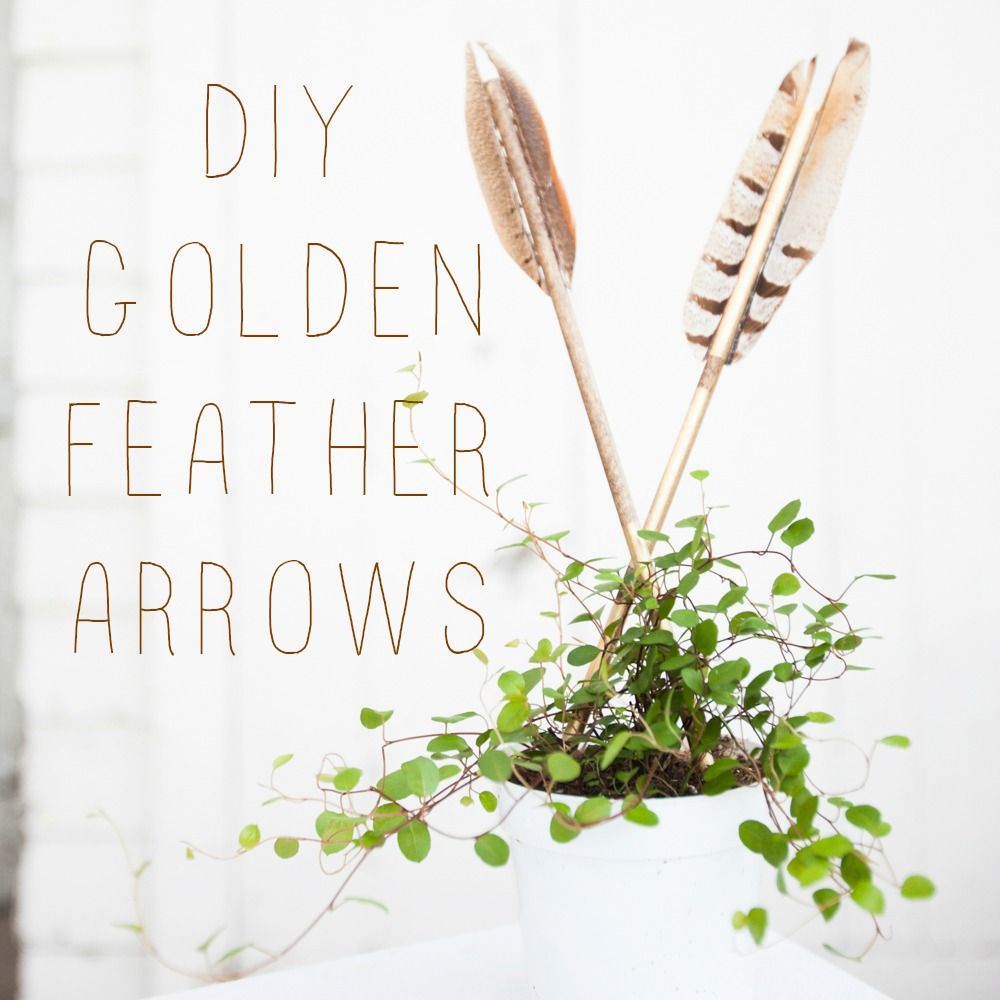
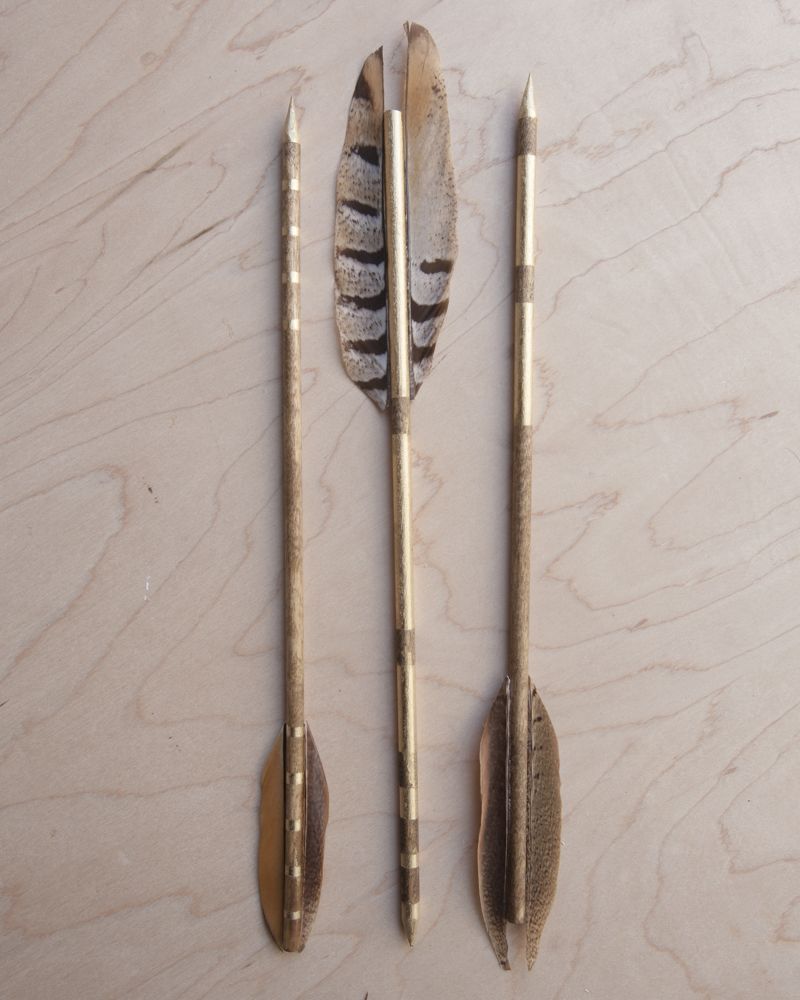
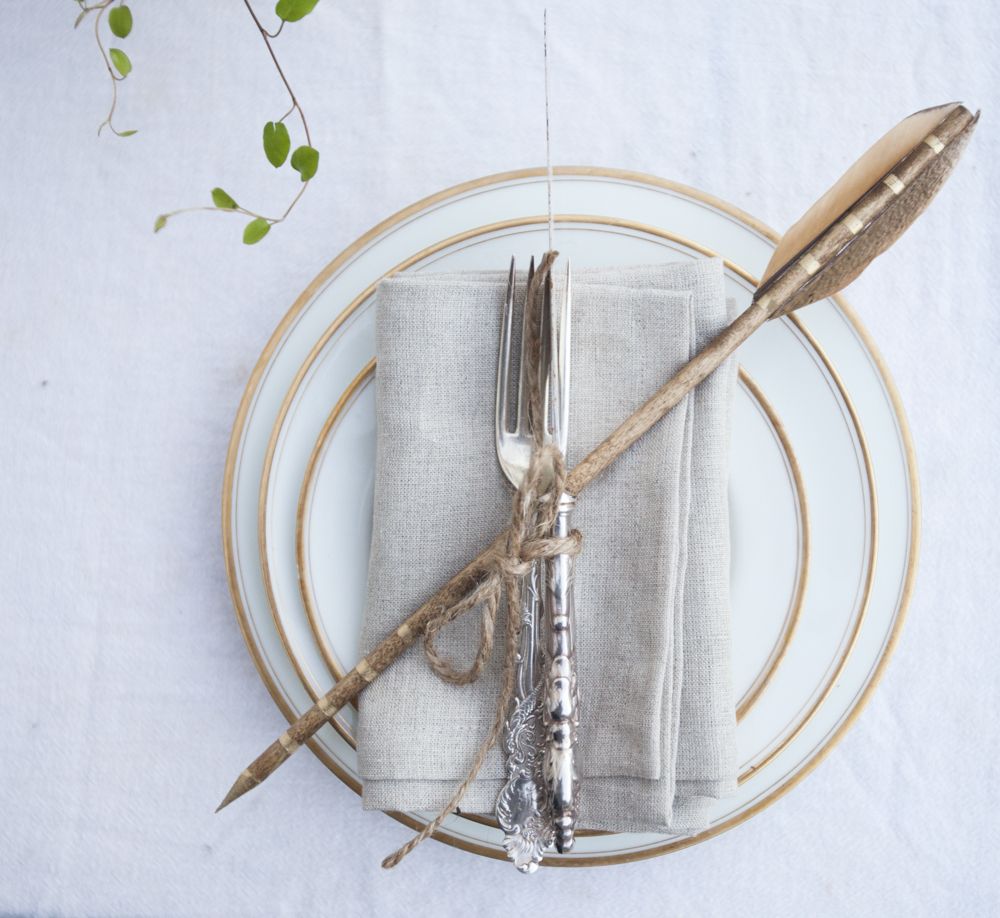
 Today’s project is so much fun and very customizable to your rustic chic wedding decor! We chose to make these arrows in a neutral gold and brown theme but you could go in any direction you want with colorful striping or you could make them with white feathers for a more wedding-like look. These arrows can also be styled in a number of ways! I would love to see them used as place cards with names attached or written on the shaft, or as centerpiece additions! They could also be great as guest favors, scrawled with the wedding date or solely used to decorate your sweetheart table. They are relatively easy and inexpensive to make in larger quantities so it would be possible to make enough for everyone at your wedding if you so choose! Craft dowels are easy to find at craft and hardware stores, as are the rest of the supplies you will need. Zucker is a great source for a great selection of feathers! Happy making!
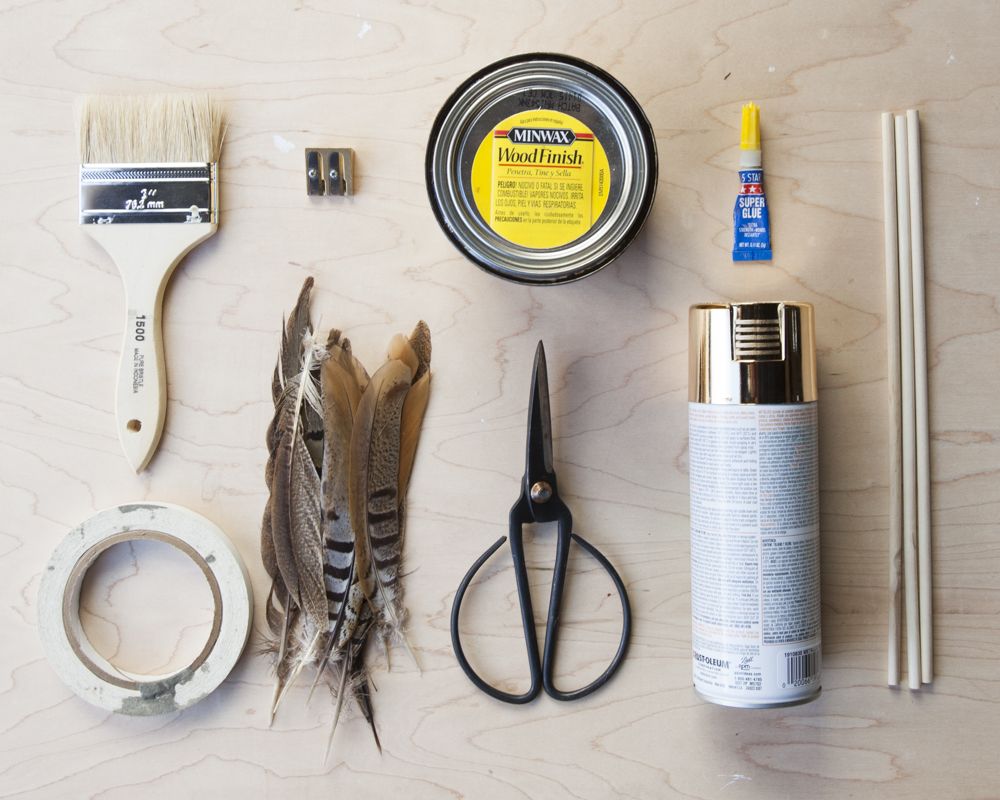
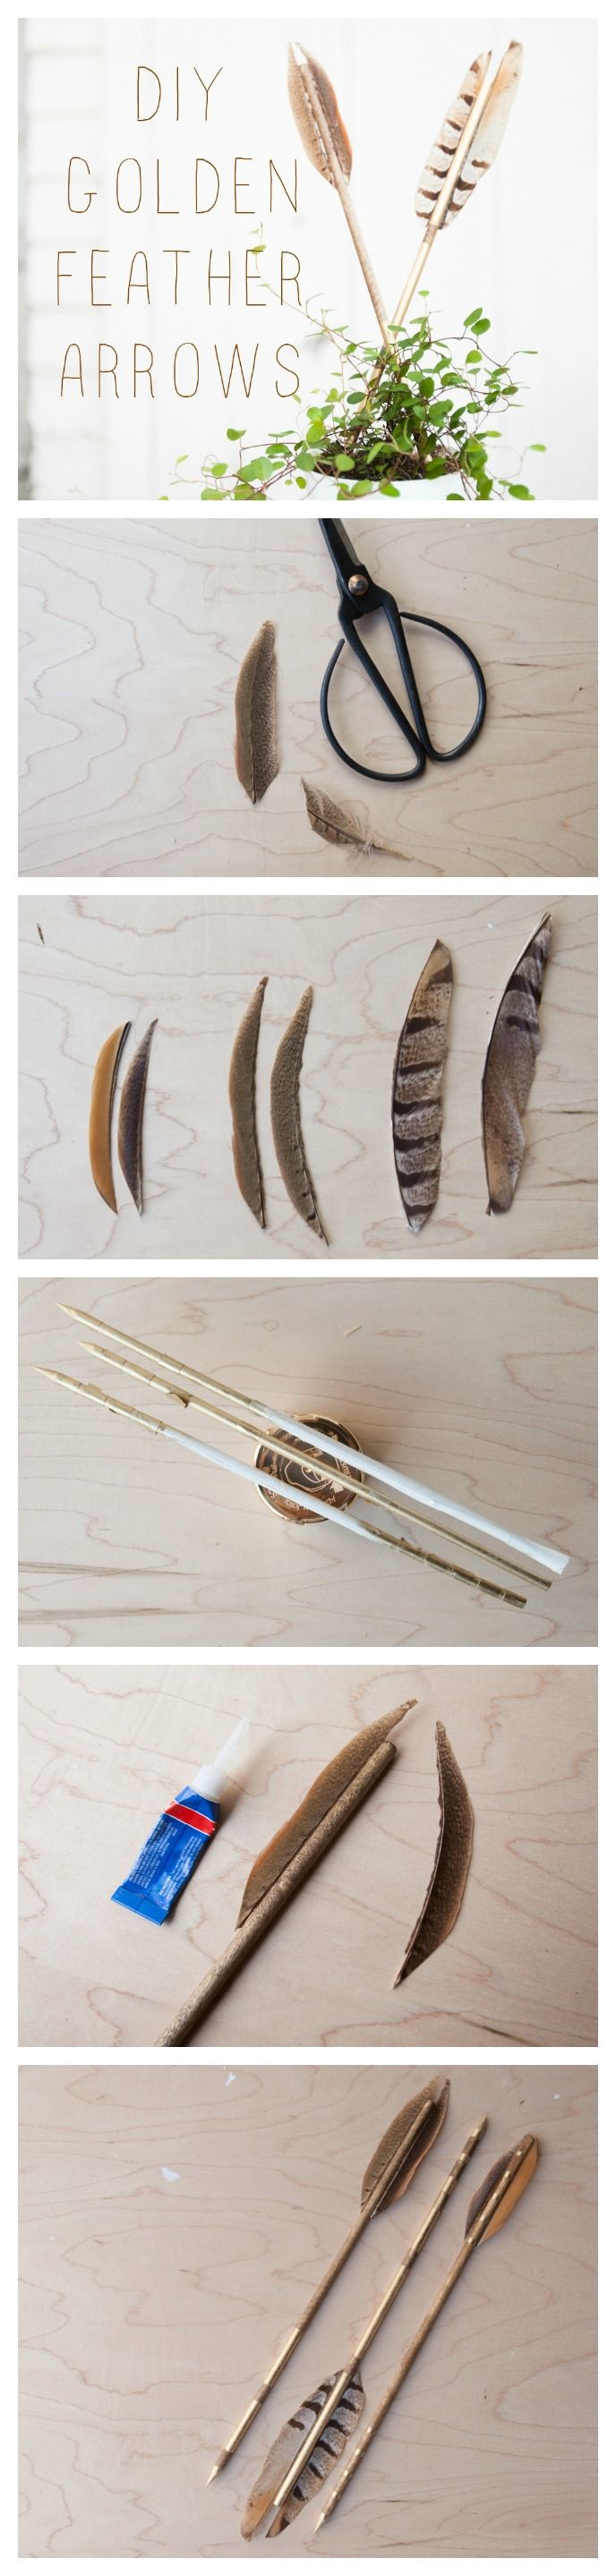
What You’ll Need : Woodstain / Wood Craft Dowels / Scissors / Pencil Sharpener / Stain Brush / Gold Spraypaint / Masking Tape / Super Glue / Feathers
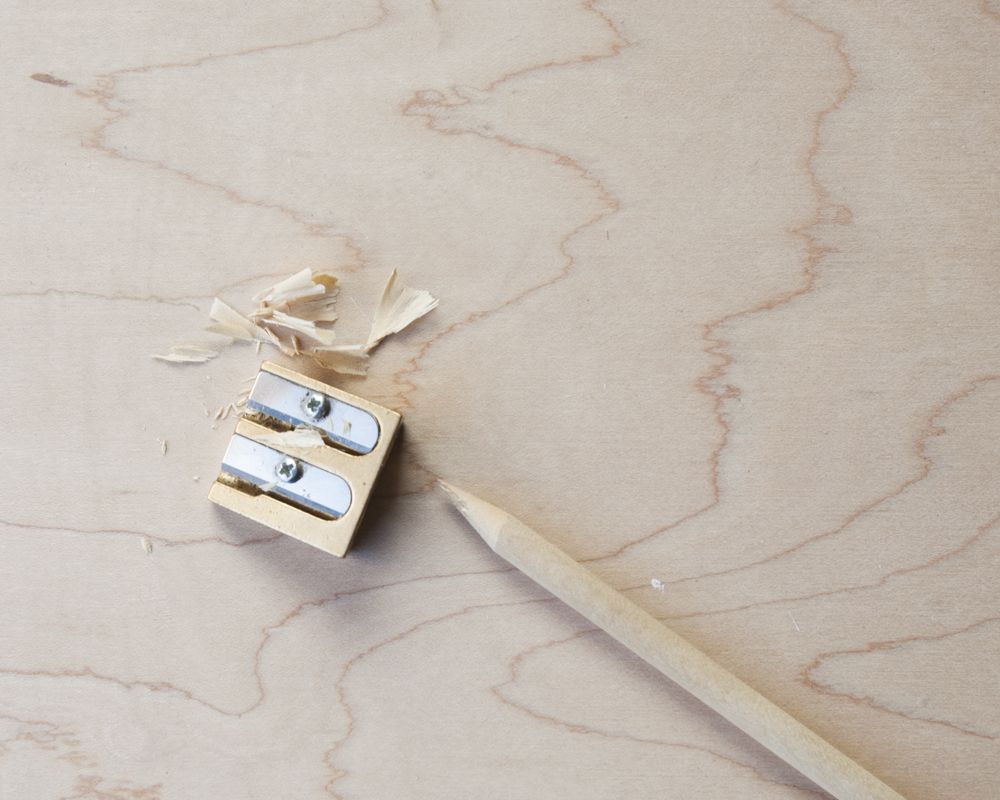
1 ) Sharpen one end of each dowel with the pencil sharpener.
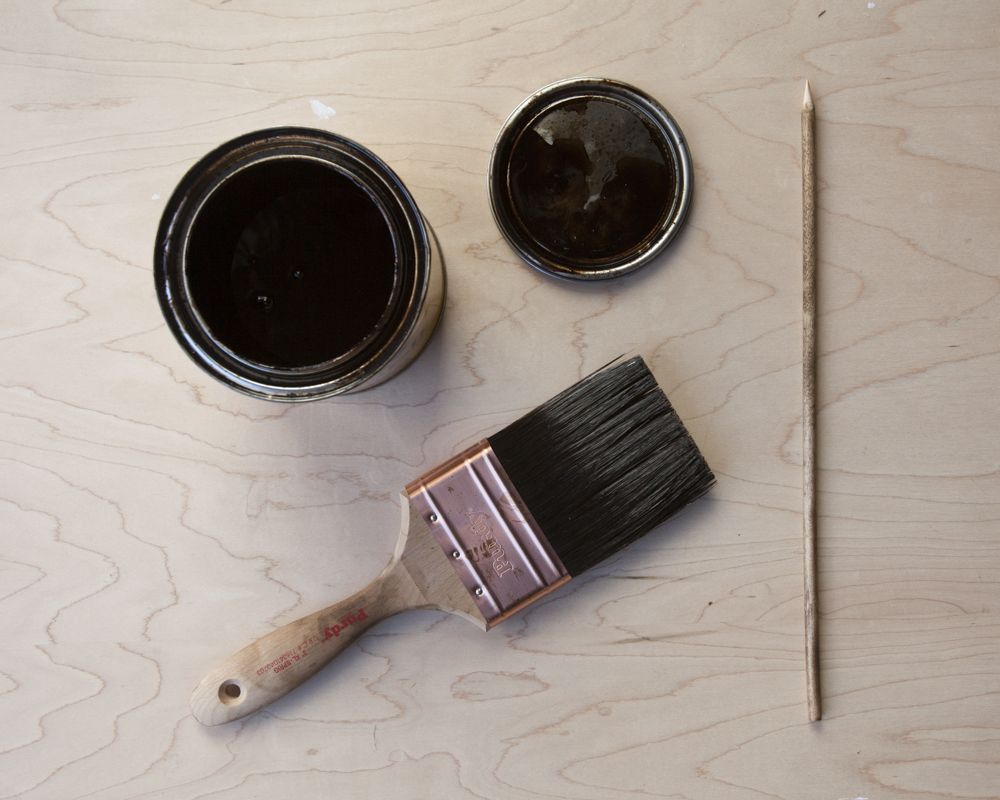
2 ) Carefully stain the wood dowel with the stain of your choice or leave the wood raw if you’d rather. Wipe excess with a paper towel or clean rag. Set aside to dry. Apply second coat if desired.
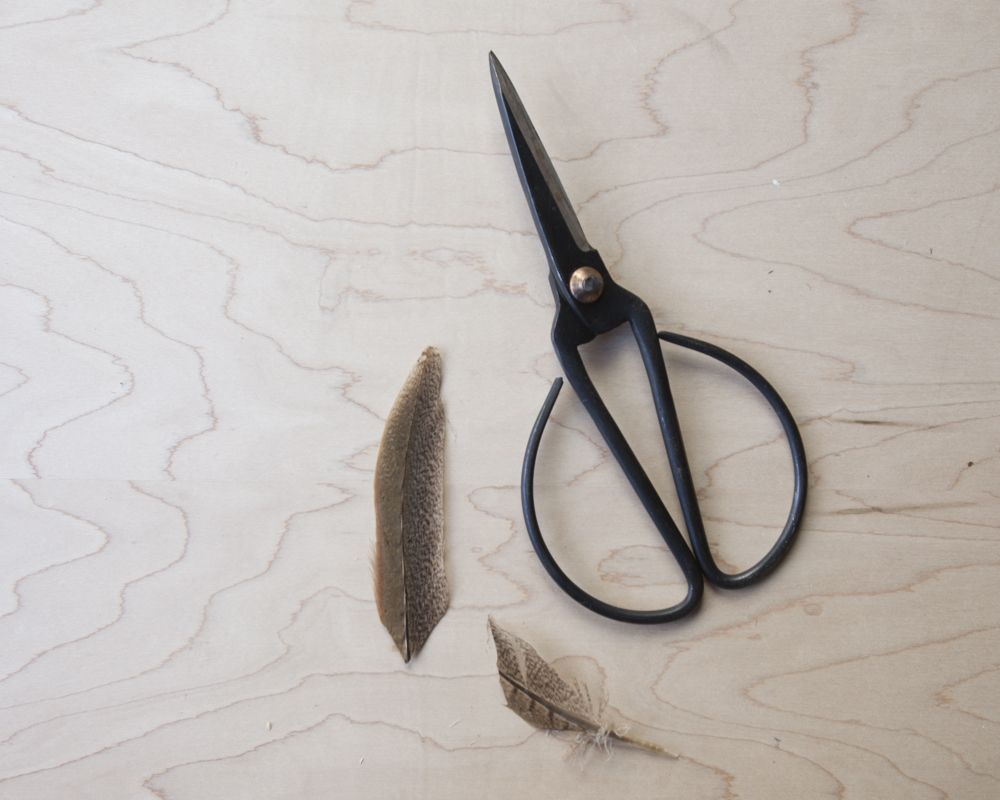
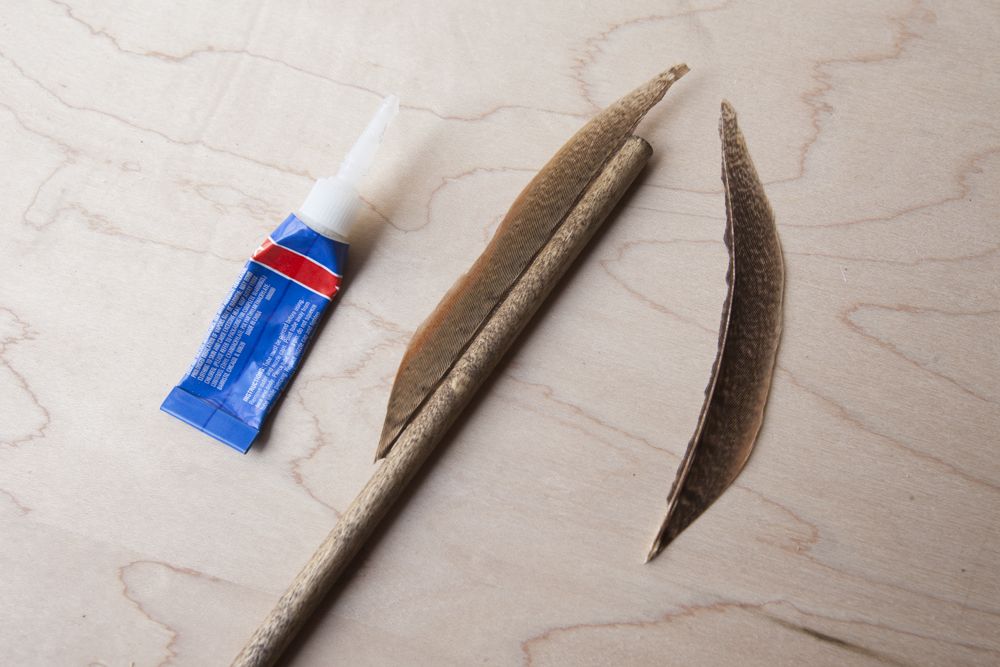
3 ) Clip the ends of the feather at an angle so that it is the desired length. You will use two feathers per arrow so trim the feathers to the same length.
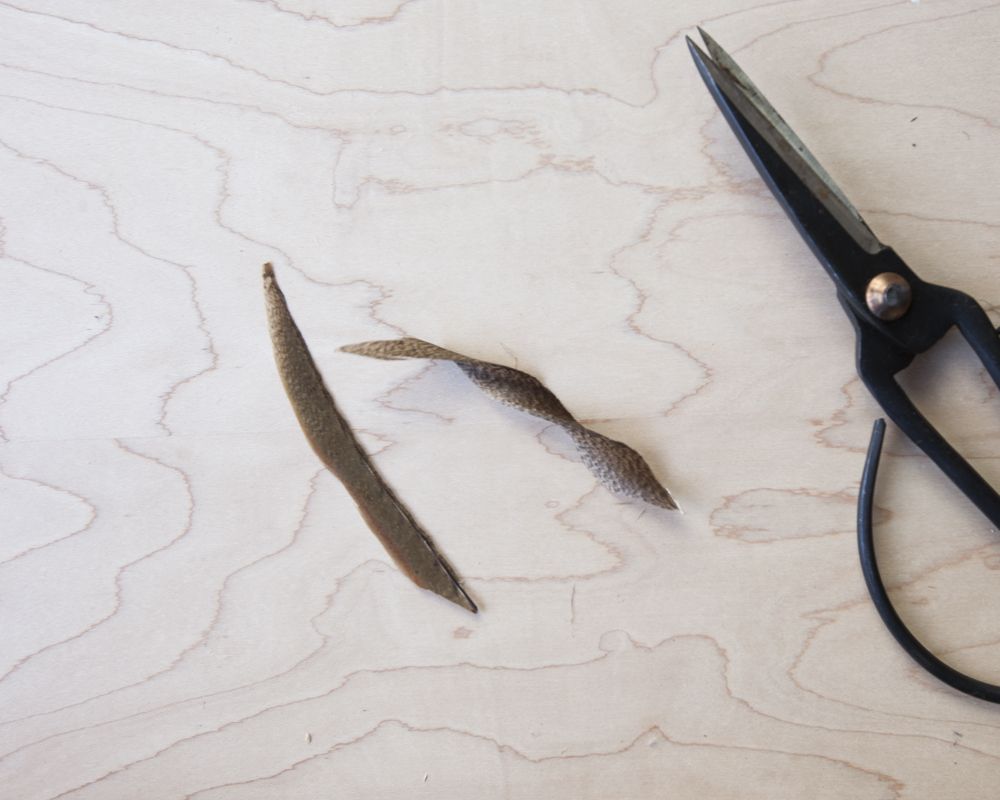
4. Carefully cut along the side of the spine opposite the side of the feather you want to use. The side that you cut along will be discarded.
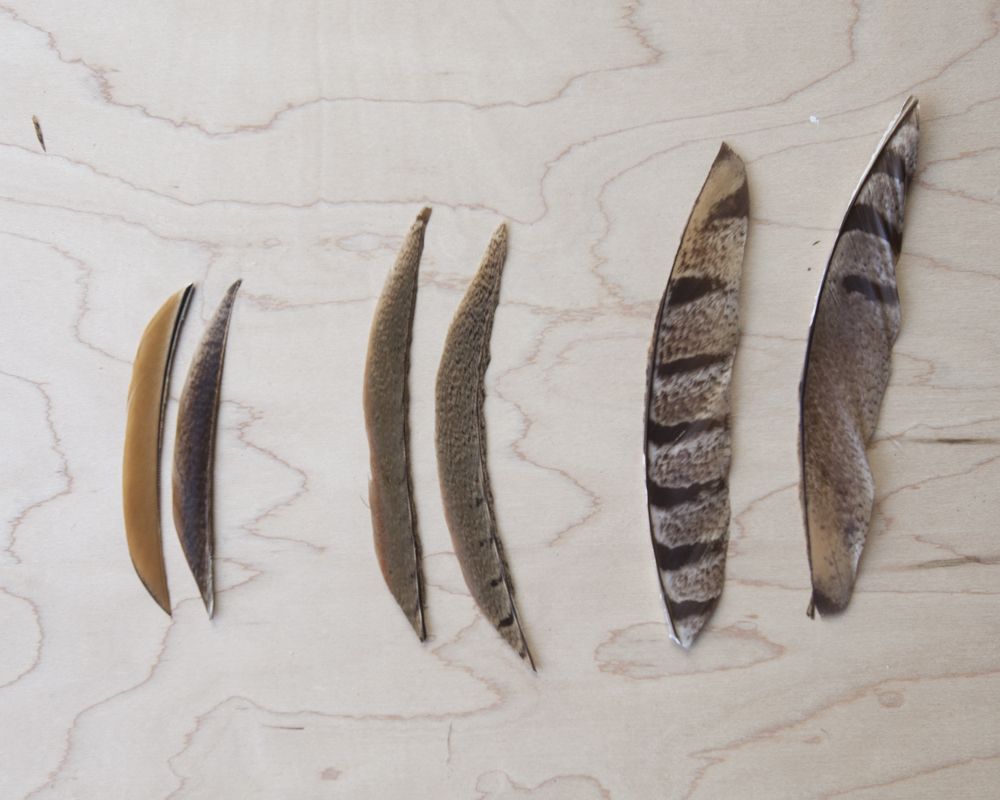
5. Do one final trim of the pairs of feathers so that they are even.
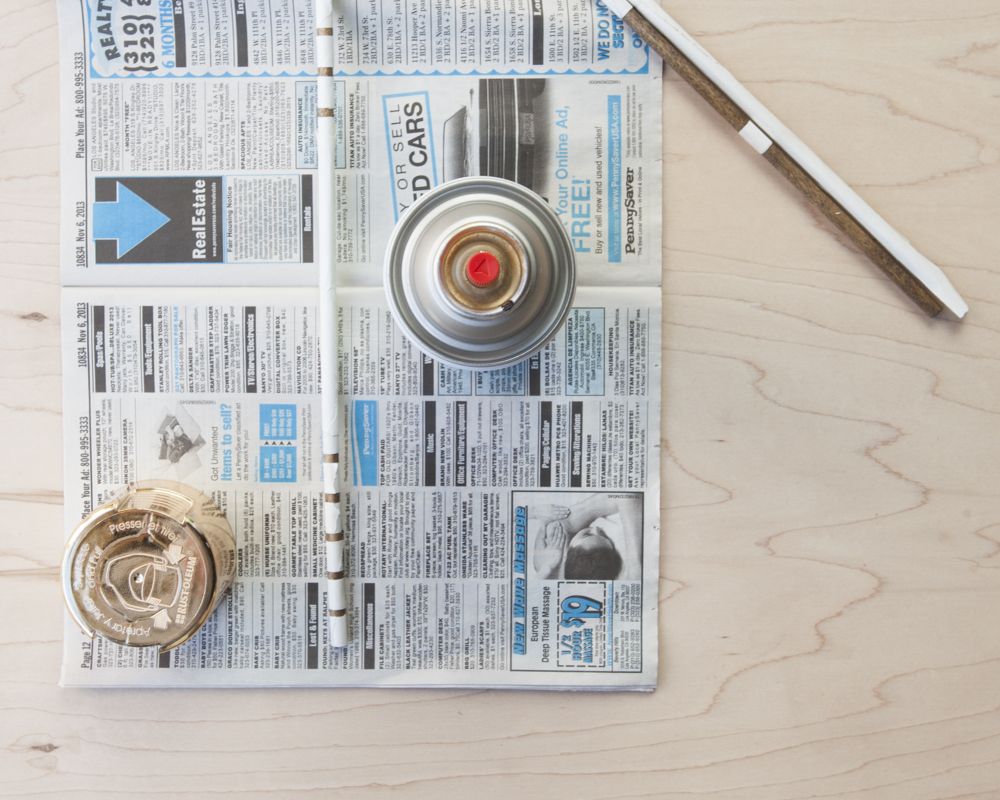
6. One the stain has dried on the dowels, tape off the areas that you want to remain wood, you will be spraying the exposed wood gold. You can vary striping patterns or keep them the same from arrow to arrow! Leave the tips exposed so that they arrows have golden points!

7. Once you have sprayed the arrows, set aside to dry. I like to use the cap of the spray paint as a support for the arrows.
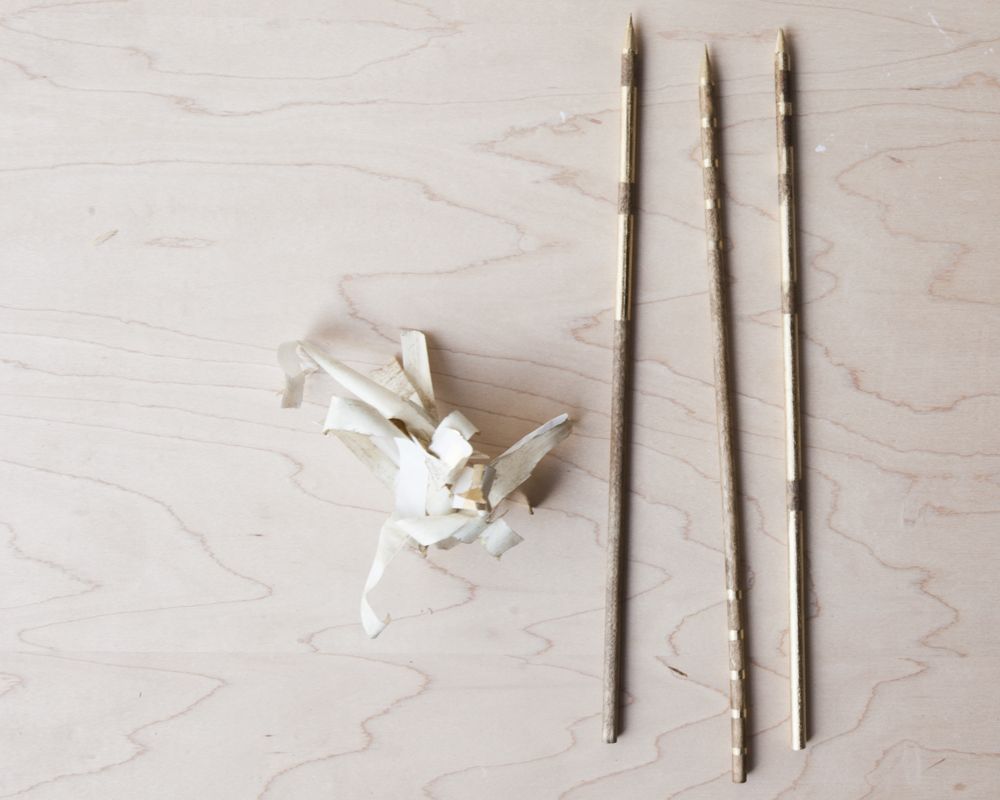
8. When the spray paint has dried, carefully remove the tape striping to reveal your golden stripes.
10. Very carefully, line the spine of each feather with superglue and press along the end of the dowel. Hold into place until the glue has dried. It speeds up the process to gently blow on the glue. Once secure, glue the other feather directly opposite the first.
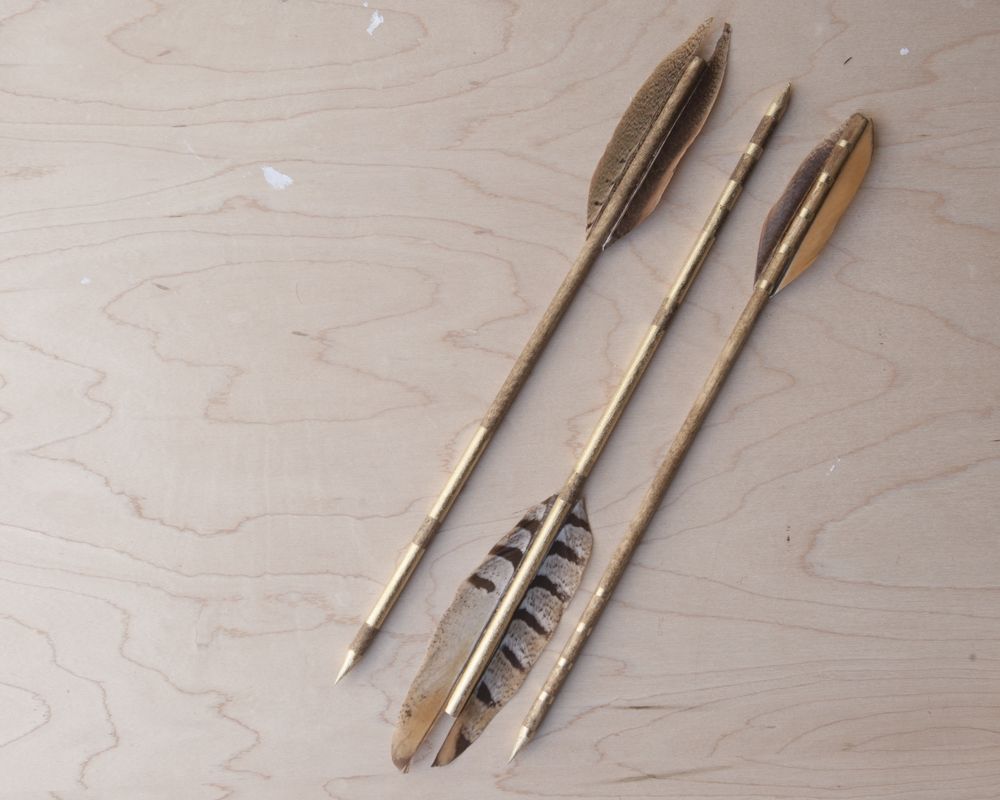
9. Set aside to allow the glue to dry completely.
 Photography : MCR PROJECTS
2 Comments
DIY + Tutorials | DIY: Golden Feather Arrows
February 19, 2014 at 7:32 am[…] Find the full tutorial here! […]
Cupid's Arrow Wedding Inspiration Board | SouthBound Bride
February 10, 2014 at 2:05 am[…] {Our Labor of Love}; Cupid dessert display {Natalie Spencer Photography/Darling & Daisy}; arrow place setting {MCR […]