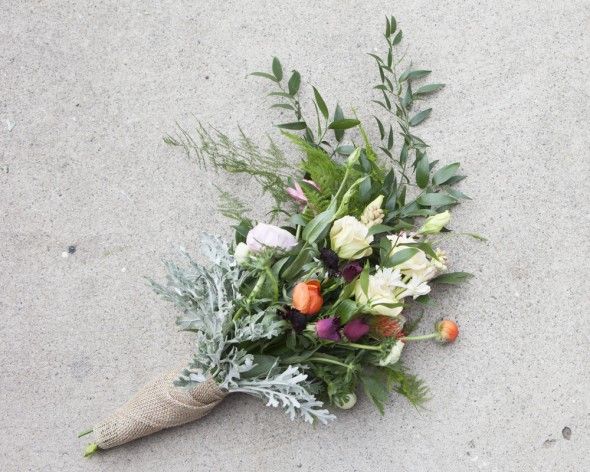
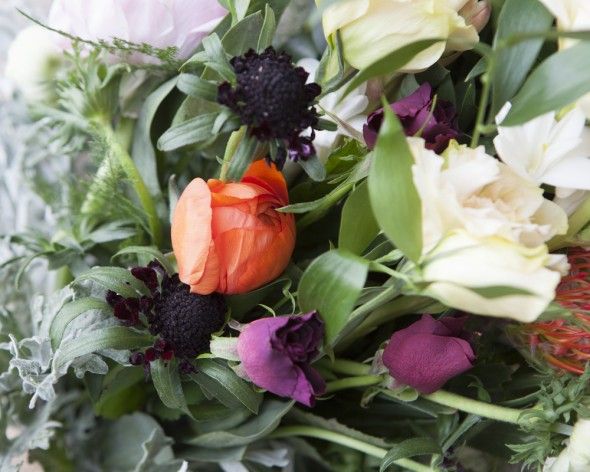
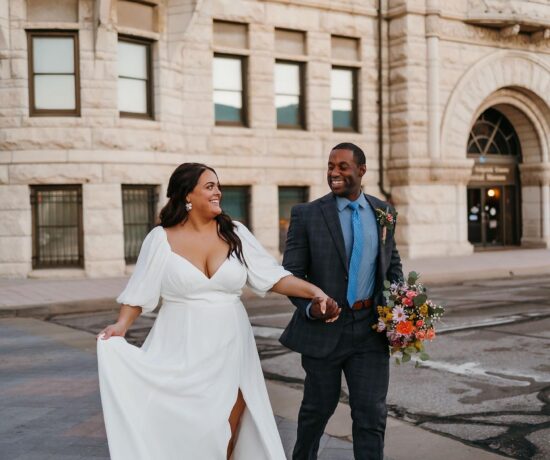
 Designing and arranging your own wedding bouquet can be so much fun and a great way to contribute to your DIY wedding. We wanted to try our hand at an eclectic bouquet so we went to our local flower market and picked some gorgeous colors we thought would work well together. Our focus was on contrast with this design. We wanted some blush tones mixed in with some warm and lively pops of color. We also wanted to offset the brightness with some dark purples and plums to give it the contrast we were looking for. Since we put so much variety into the bouquet itself, we kept things simple by wrapping it with burlap so that the focus could be the floral arrangement! We also picked a few flowers with beautiful scents so that this bouquet could be both gorgeous looking AND wonderful smelling! Check out our other bouquet tutorial for working with Hydrangeas and Roses!
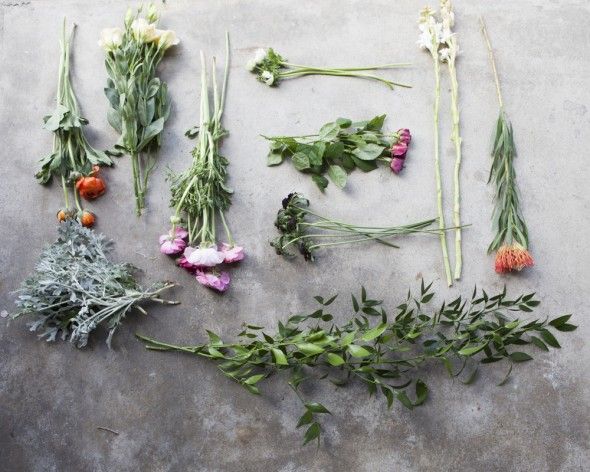
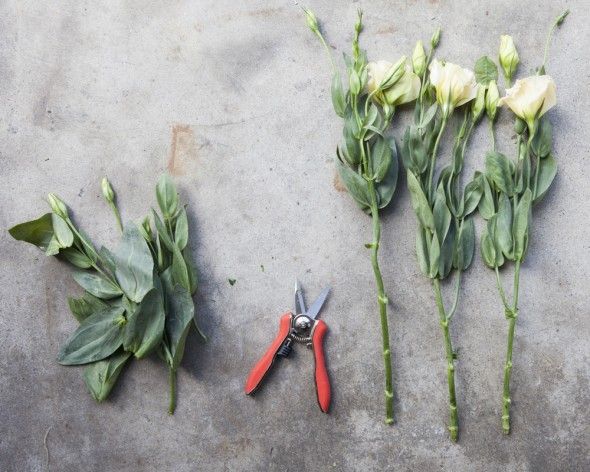
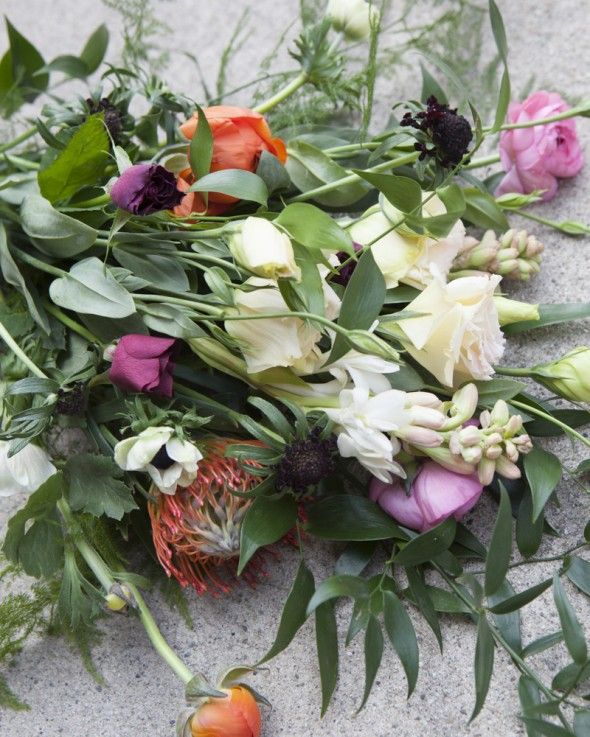
Here’s what we used! We chose a variety of greens, blush tones and bright colors.
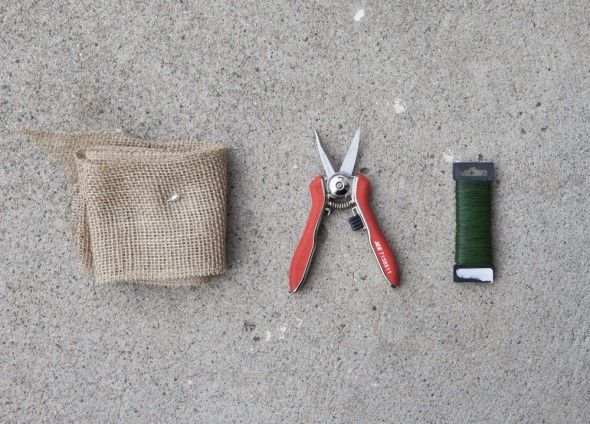
What You’ll Need : Flowers Flowers & Flowers / Pruning Shears / Burlap / Pin / Floral Wire
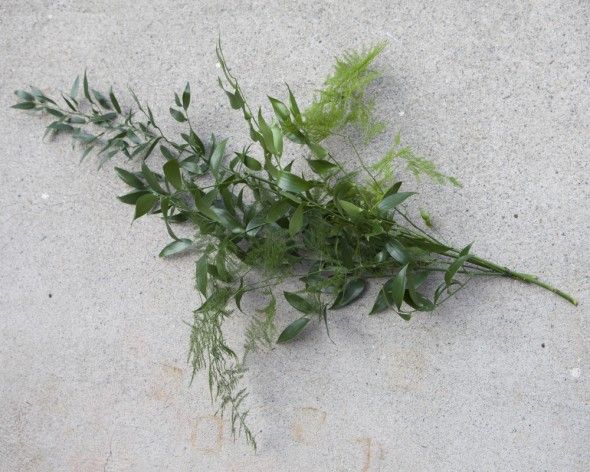
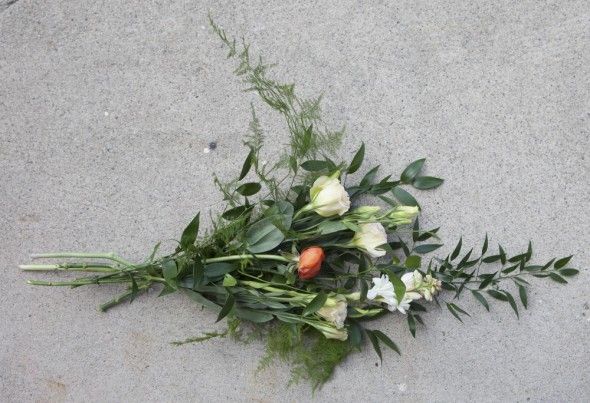
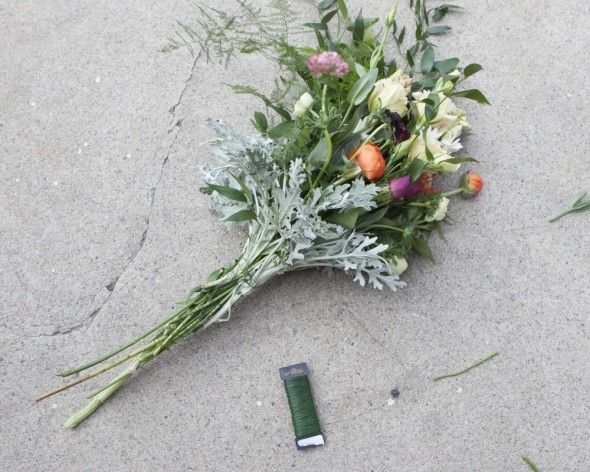
First, start with your greenery as this will make the body of your bouquet. Assemble it in a way that create what feels like a frame for your flowers so that you can use them to fill in as you go.
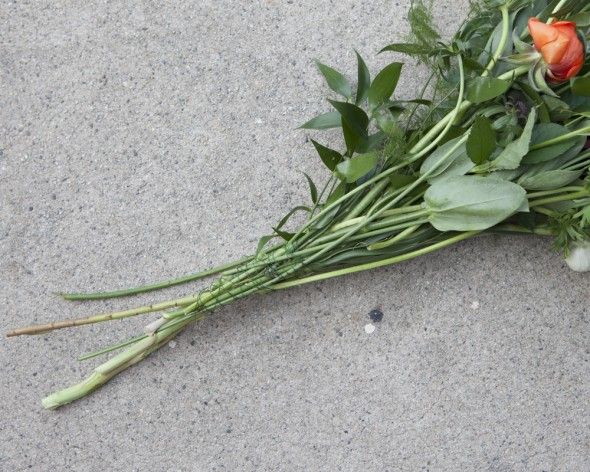
Next, remove the leaves from the bases of the stems of the flowers you will use. This will keep the handle of bouquet from being unnecessarily thick. You will also want to trim the ends off so that the flowers are about the right length. You can always trim off the extra length later but they will be easier to work with if you trim them to the approximate length of your bouquet handle.
Once your lower stems are cleaned and trimmed, start filling the spaces in the greenery, paying close attention to spacing, color and texture as you go.
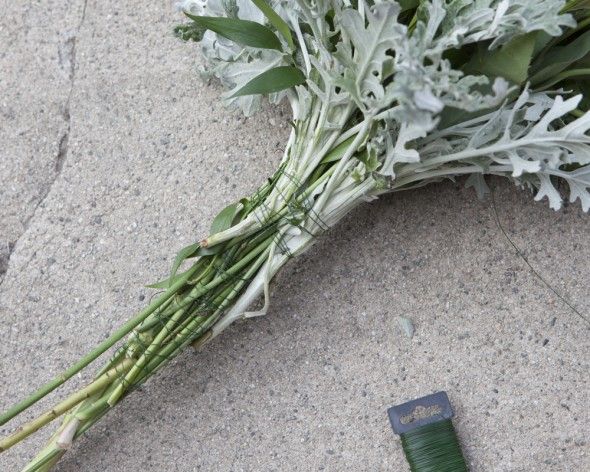
When you get to a place where you have most of the body of the bouquet filled in, carefully wrap the base of the floors tightly with floral wire. You can test the strength of the hold by tugging gently on some of the flower stems to make sure nothing is loose.
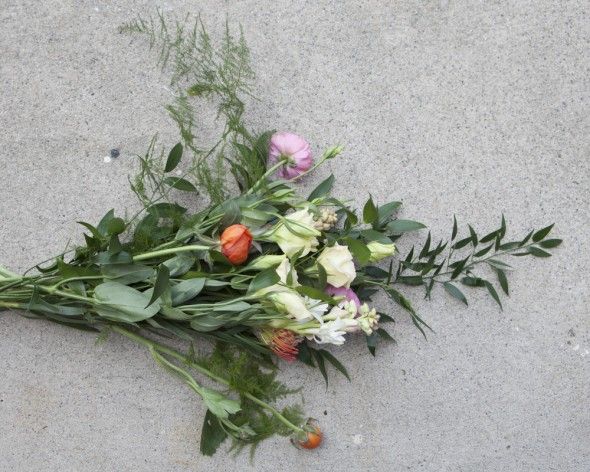
Once at this stage, take a close look at the bouquet and look for places where you want to add some detail texture or contrast. Look at the bouquet from all sides and find any noticeable gaps or places where it doesn’t look quite right. When you add stems be sure to secure them with some extra wire.
Now add contrast where you think it belongs. You way want to space it out and then add small clusters of dark flowers to add to the impact, like we did here.
When the composition of the bouquet is all set, you can add some soft sage to the base. This is a great way to protect the brides hands & dresses from any thorns that may protrude at the base of the bouquet. It also creates a beautiful transition to the burlap with a juxtaposition of texture.
Once the sage is wrapped, take one more length of wire and wrap the entire base of the bouquet one last time to make sure it is extra secure.
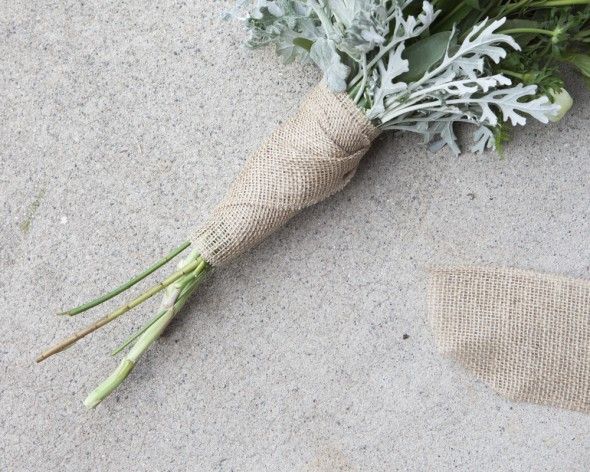
At this point you want to set your bouquet in water if you need to store it overnight. When you are ready to wrap your handle the day of your wedding, starting at the base, wrap the handle of the bouquet tightly with burlap, working your way toward the top.
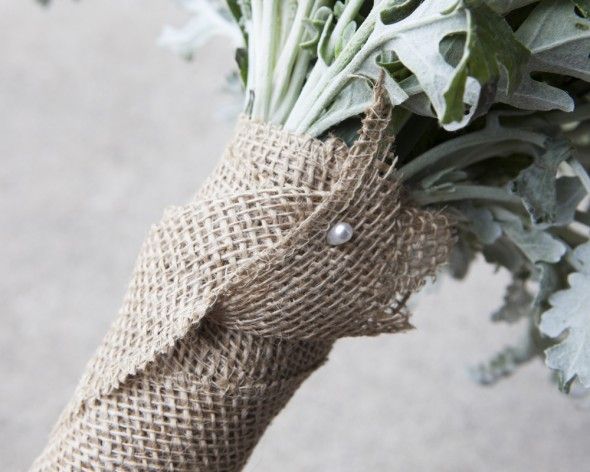
Once you get to the top, trim off the end of the burlap ribbon and fold the rough edge underneath. You can secure the wrapping with a single pin. Try to pierce one of the thicker stems of the bouquet through the burlap for a super tight hold. Make sure you pin at an angle and that the pin doesn’t pass all of the way through the burlap.
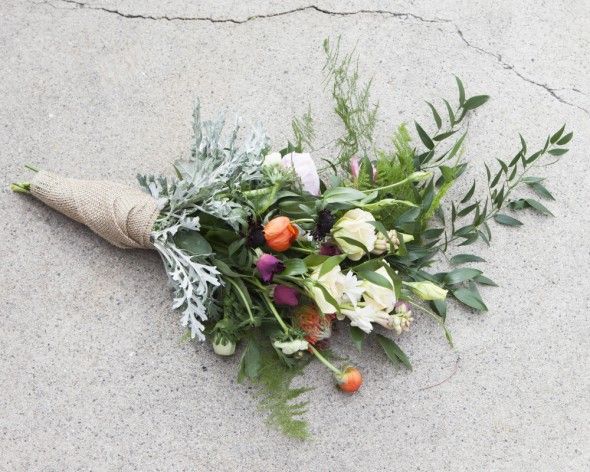
Now you have completed your bouquet! At this stage pick it up and see how it feels in your hands.
You will want to see how the scale and greenery feel. If it feels to full, take this opportunity to prune off some extra leaves or greenery.
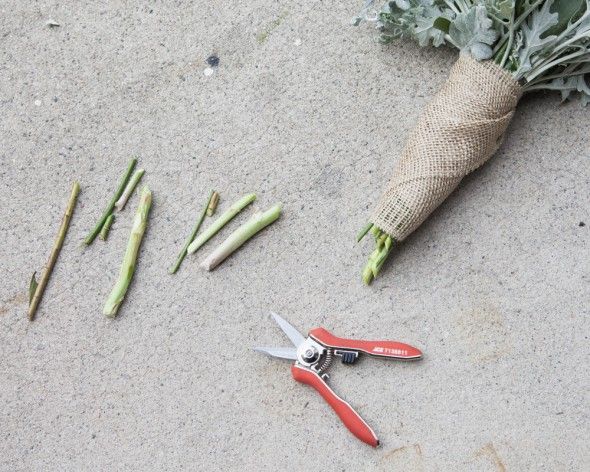
Your final step will be to trim the extra stems off the bottom leaving a small portion of stems showing. Et voila, you are ready to walk down the aisle with your beautiful creation!

 Photography :
No Comments