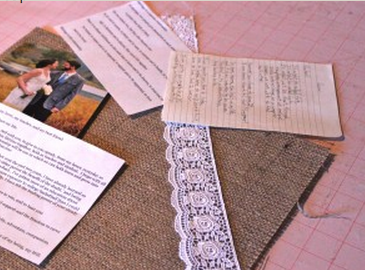
I am always on the lookout for new and great rustic DIY wedding projects so when I saw this cute idea from our friend, Rachel over at Nerdy & Hip I knew I had to share it. This great country DIY project creates the perfect place to keep your special wedding vows long after the wedding day. Think of how wonderful this project would look hanging in your house, a great way to always relive the memory of the wedding day. You might remember that we featured Rachel’s burlap banner DIY project a few months back. Be sure to check out Nerdy & Hip, a fun blog and shop that I know all you rustic brides will want to check out.
Step One: Get Married!
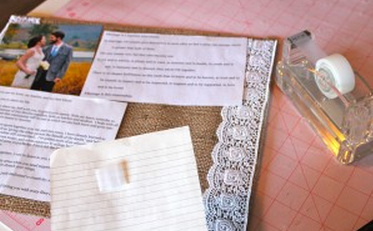
Step Two: Gather the following materials –
- A frame large enough to display all of your items.
- A photo of yourself and your partner on your big day
- Your vows, any other writings or poems that were shared that you want to include
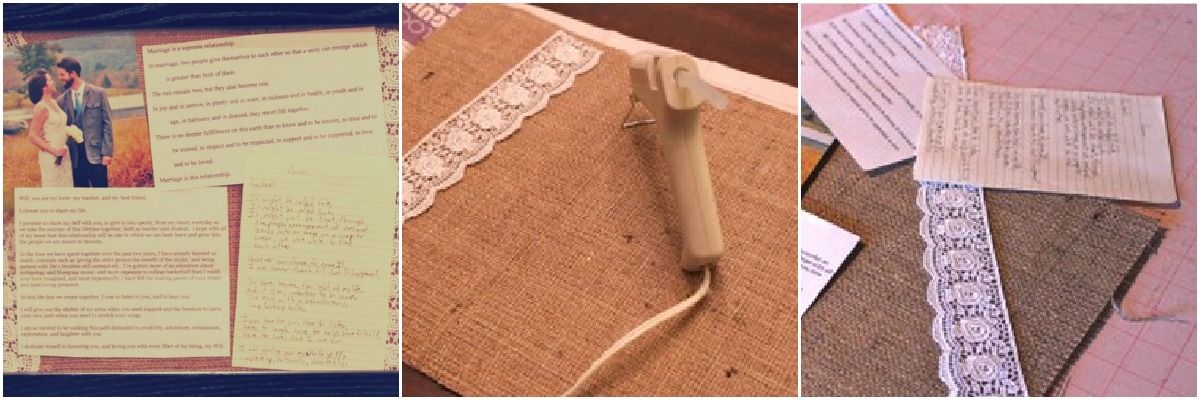
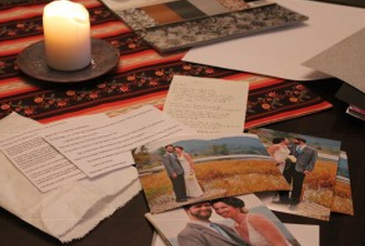
- Fabric from your wedding or decorative craft paper to use as a background – we think burlap is a wonderful idea!
- Glue Gun (a heavier tape, such as masking, could also be used)
- Scissors
- Scotch Tape
- *An iron may be necessary for background fabric
Step Three: Create your background using the piece of cardboard or glass that comes with the frame. Place the glass or cardboard on top of your background fabric and outline with a writing utensil that will leave a mark that you can easily see and cut out. My frame measured 8×10 and my burlap needed to be trimmed to fit the frame. Iron out your fabric and/or ribbon if necessary.
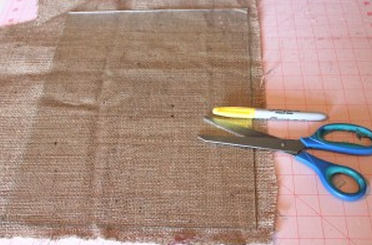
 Step Four: Trim the vows and photo, if necessary, to ensure that everything will fit in your frame. Experiment with the placement of your vows, photo, etc. to see what layout you like the best! Once you figure this out – it is time to seal the deal!
Step Five:
Attach your background items first using a glue gun to make several small dots along the edges and pressing. (I use my scissors to press the fabric down on the hot glue so I don’t burn my fingers.) I added a strip of white lace to each side of the background.

Step Six: Place the vows and photos to the background, using scotch tape for this is best. Carefully place the entire piece into the frame. Double check to make sure that nothing has shifted out of place before closing up the prongs on the back of the frame.
The Finished Product!

All photos & descriptions of this how to project are courtesy of Nerdy & Hip and can not be reproduced without permission
1 Comment
heather
February 1, 2013 at 6:22 amLove these! However, I would shop your local craft stores scrapbooking isles to find adhesives. Scotch tape and masking tape are not acid free and will harden, become brittle or change colors over time. I like to use the sponge dots to add dimension and the photo corner stickers to add a little decoration. These are made to last years and years so you can enjoy your creations for a long time! 🙂